When you have multiple support agents who should handle live chat requests, you need to share the chatbot with each agent and configure notification preferences so the right people are alerted. This article covers the full setup process.
Overview
The multi-operator workflow has three parts:
- Share the chatbot with each operator via the Team tab
- Each operator sets up their identity (name and avatar) in Account Settings
- Configure notification preferences so each operator only receives alerts for the chatbots they handle
Step 1: Share the chatbot with operators
Select your chatbot and click the Team tab. Click Invite Team Member to open the invitation modal.

Enter the operator's email address, select an access level, and click Invite.

- Limited access is enough for operators who only need to respond to live chats and review conversation history
- Full access also allows editing chatbot settings and training data
The invited user must have a ChatLab account. If they do not have one yet, they can register for free. Once they accept the invitation, they automatically start receiving live chat notifications for the shared chatbot.
Repeat this step for each operator you want to add.
Step 2: Set up operator identity
Each operator should configure their display name and avatar so visitors know who they are talking to. This is done individually by each operator in their own account.
Go to Account Settings > Live Chat User Settings. Enter a name or nickname and optionally upload a custom avatar.
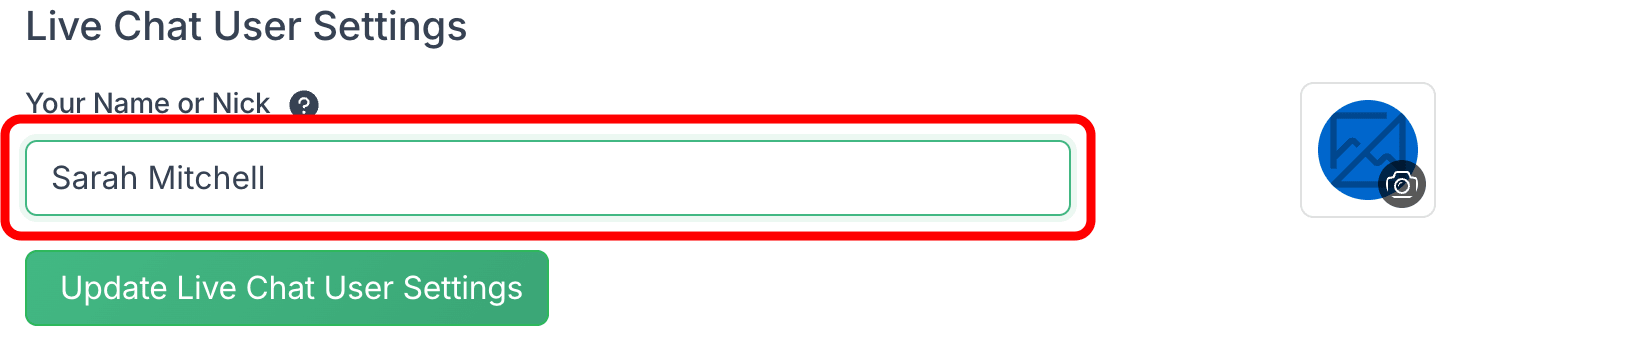
Click Update Live Chat User Settings to save. The name and avatar appear in the chat widget when the operator responds during a live chat session, and are also visible in the chatlogs history.
If an operator does not set a custom name and avatar, "Admin" and a default headphones icon are shown instead.
Step 3: Configure notification preferences
By default, every user who has access to a chatbot (either as owner or as a shared team member) receives live chat notifications for that chatbot. You can adjust this per chatbot.
Go to Account Settings > Live Chat Notifications. Under Individual Chatbot Notifications, toggle notifications on or off for each chatbot. Click Save Live Chat notification preferences after making changes.
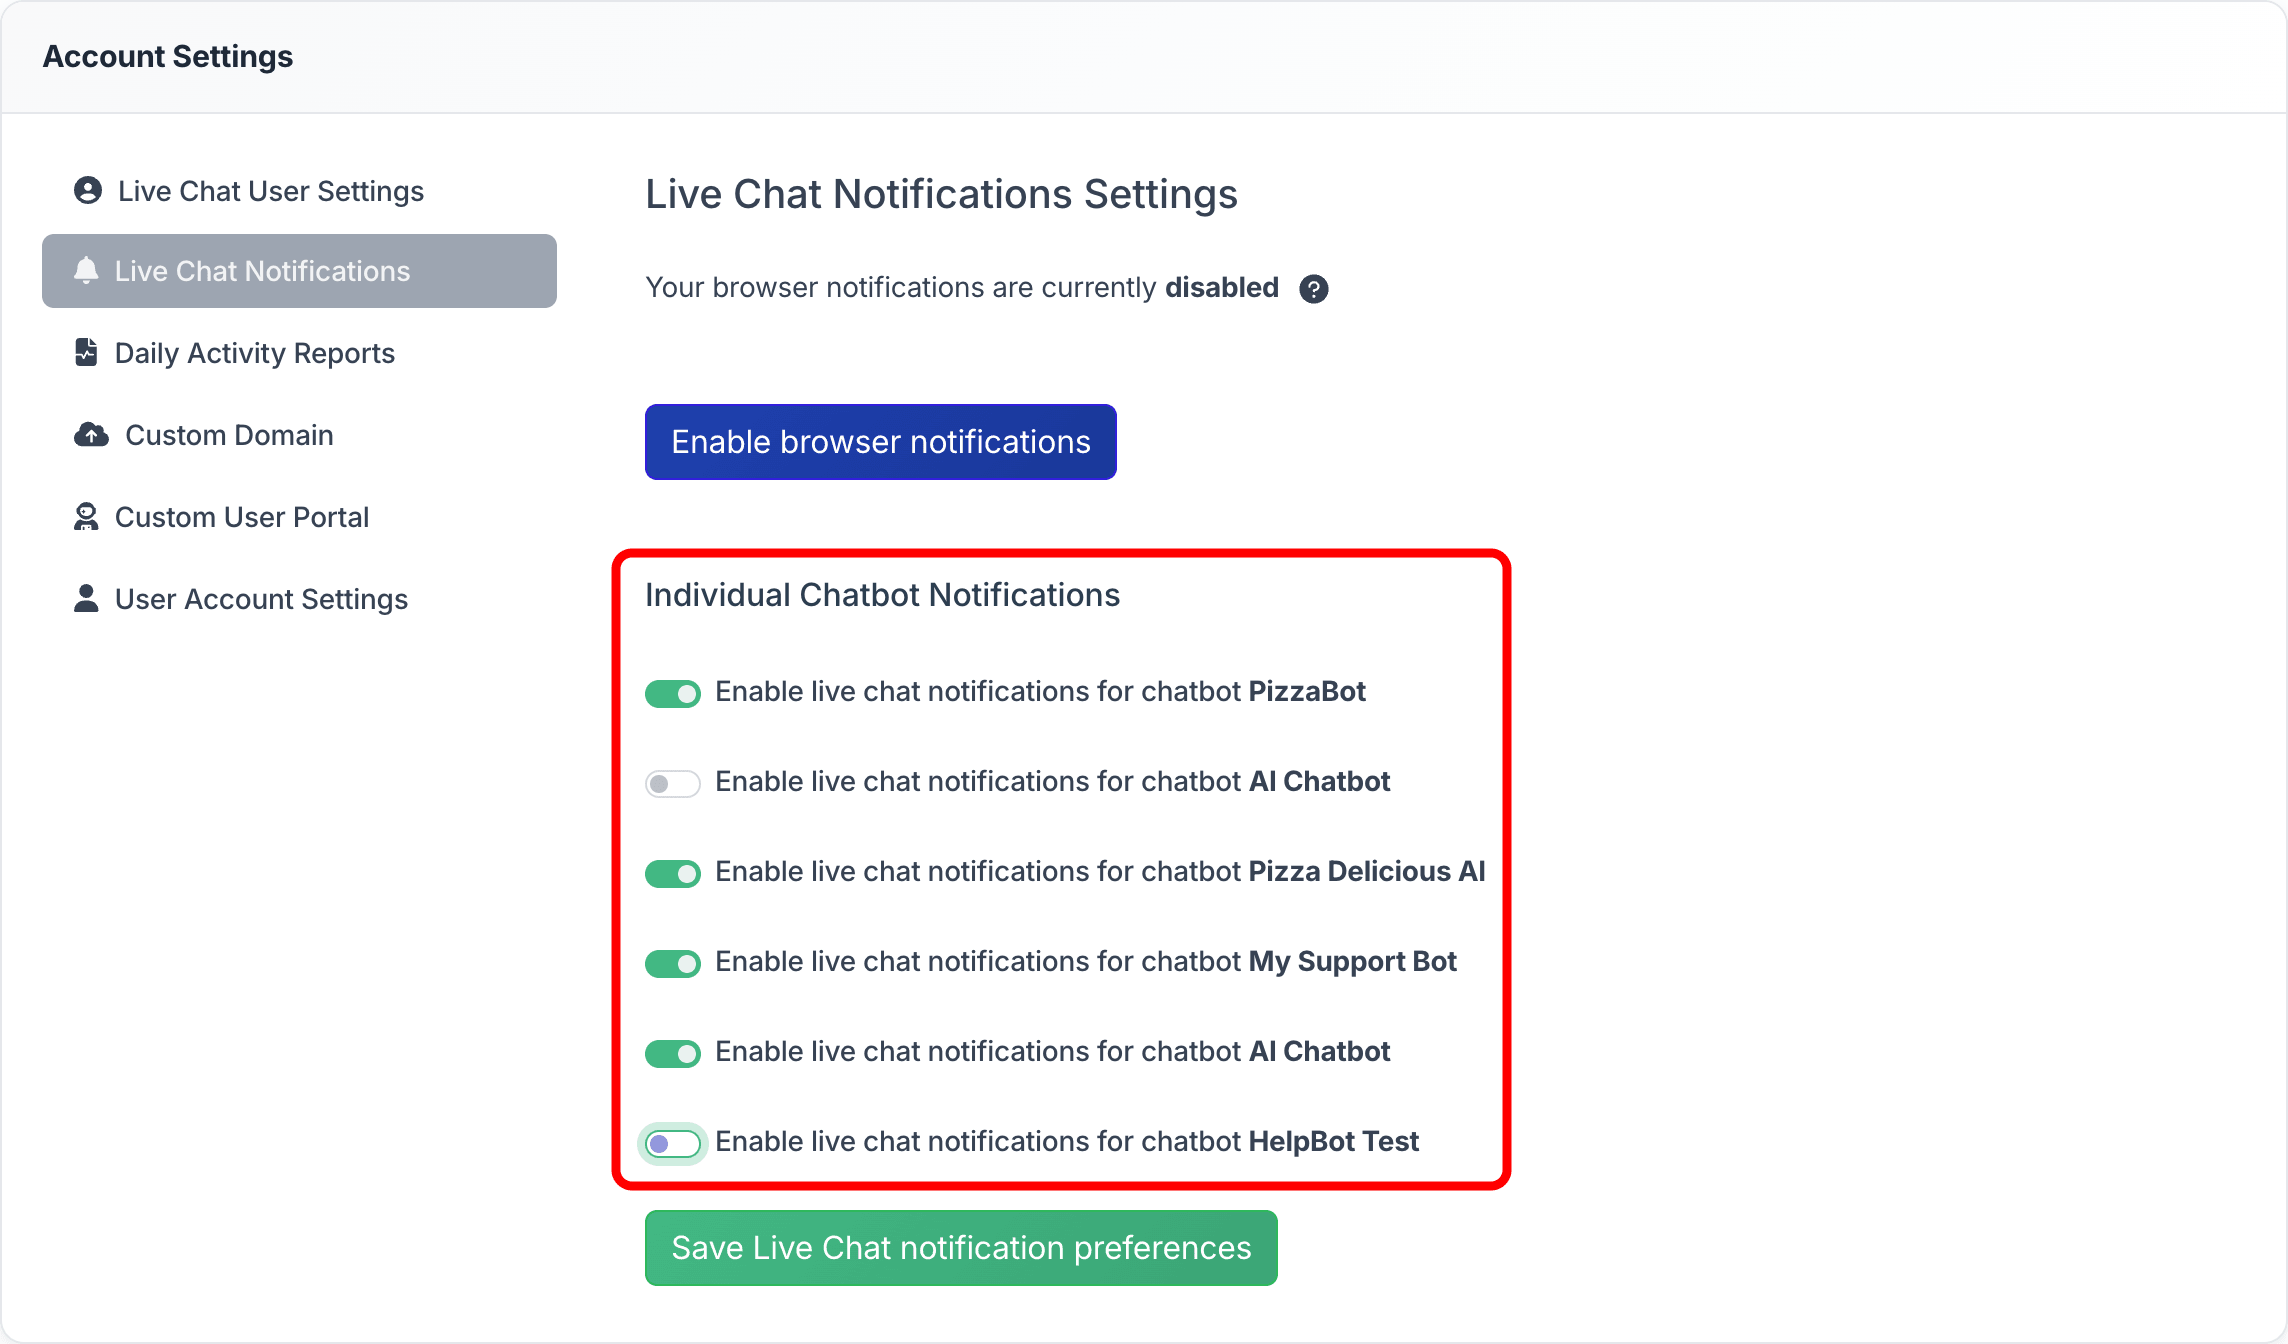
This allows you to:
- Delegate specific chatbots to specific operators by disabling your own notifications and keeping them enabled for the assigned agents
- Split responsibilities across your team so each operator only monitors the chatbots they are responsible for
- Keep notifications enabled for all chatbots if every operator should be able to respond to any incoming live chat
Each operator manages their own notification preferences independently, so changes by one team member do not affect anyone else.
Browser notifications
For real-time desktop alerts with sound, each operator should also click Enable browser notifications on the same page. This ensures they receive an immediate alert when a visitor requests a live chat or sends a message.
Related articles
- Live Chat -- how to enable live chat, configure the schedule, and customize messages
- Managing incoming Live Chat conversations -- how to respond to live chats from the Chatlogs panel
- Inviting administrators -- detailed guide on sharing chatbot access with team members