Custom domains allow you to serve the chatbot script and API from your own domain instead of the default chatlab.com addresses. This is a prerequisite for setting up a Custom User Portal, providing a fully branded experience for your clients.
Using a custom domain does not mean you need to host any software on your servers. This is a DNS-level change only -- the software continues to run on ChatLab infrastructure, but your users see it under your domain.
Benefits of custom domains
- Branding -- your chatbot script and API run under your own domain, reinforcing your brand identity
- Credibility -- a custom domain gives your service a professional, trustworthy appearance
- Custom User Portal -- custom domains are required before you can enable the branded client portal
- Full white-label -- combined with a custom logo and user portal, your clients never see the ChatLab name
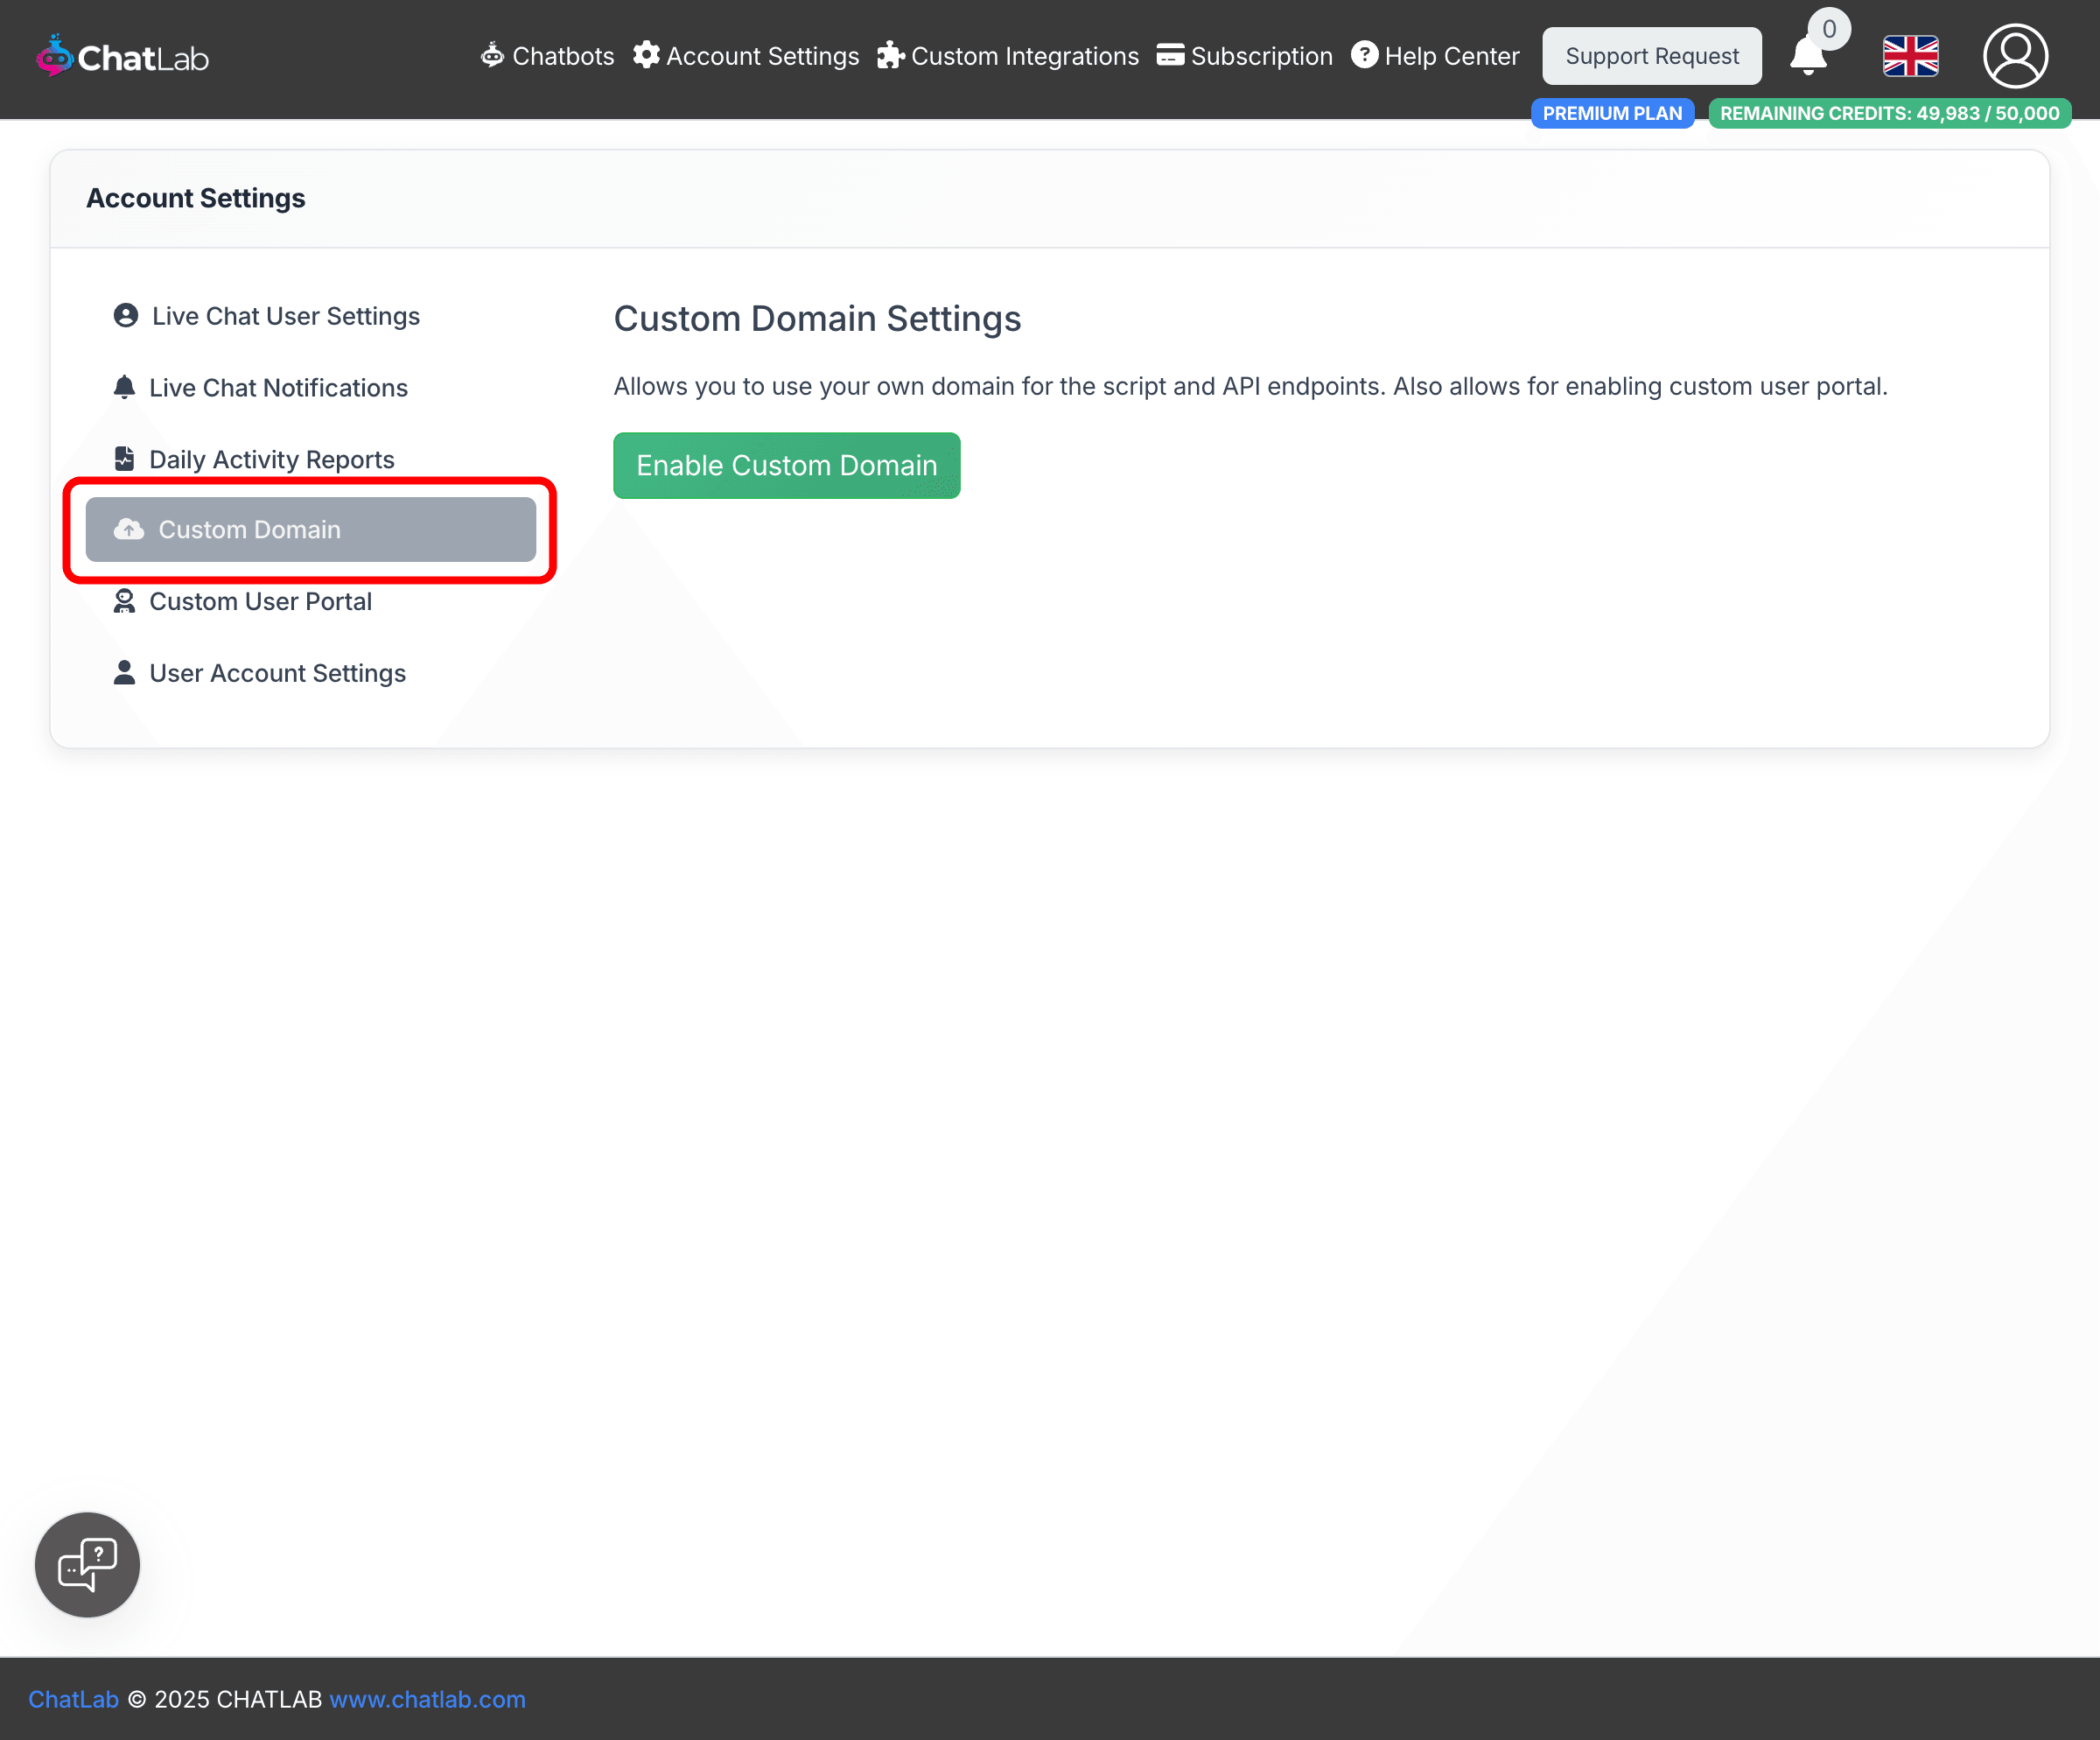
Where to find custom domain settings
Go to Account Settings in the main navigation menu, then select Custom Domain in the left sidebar.
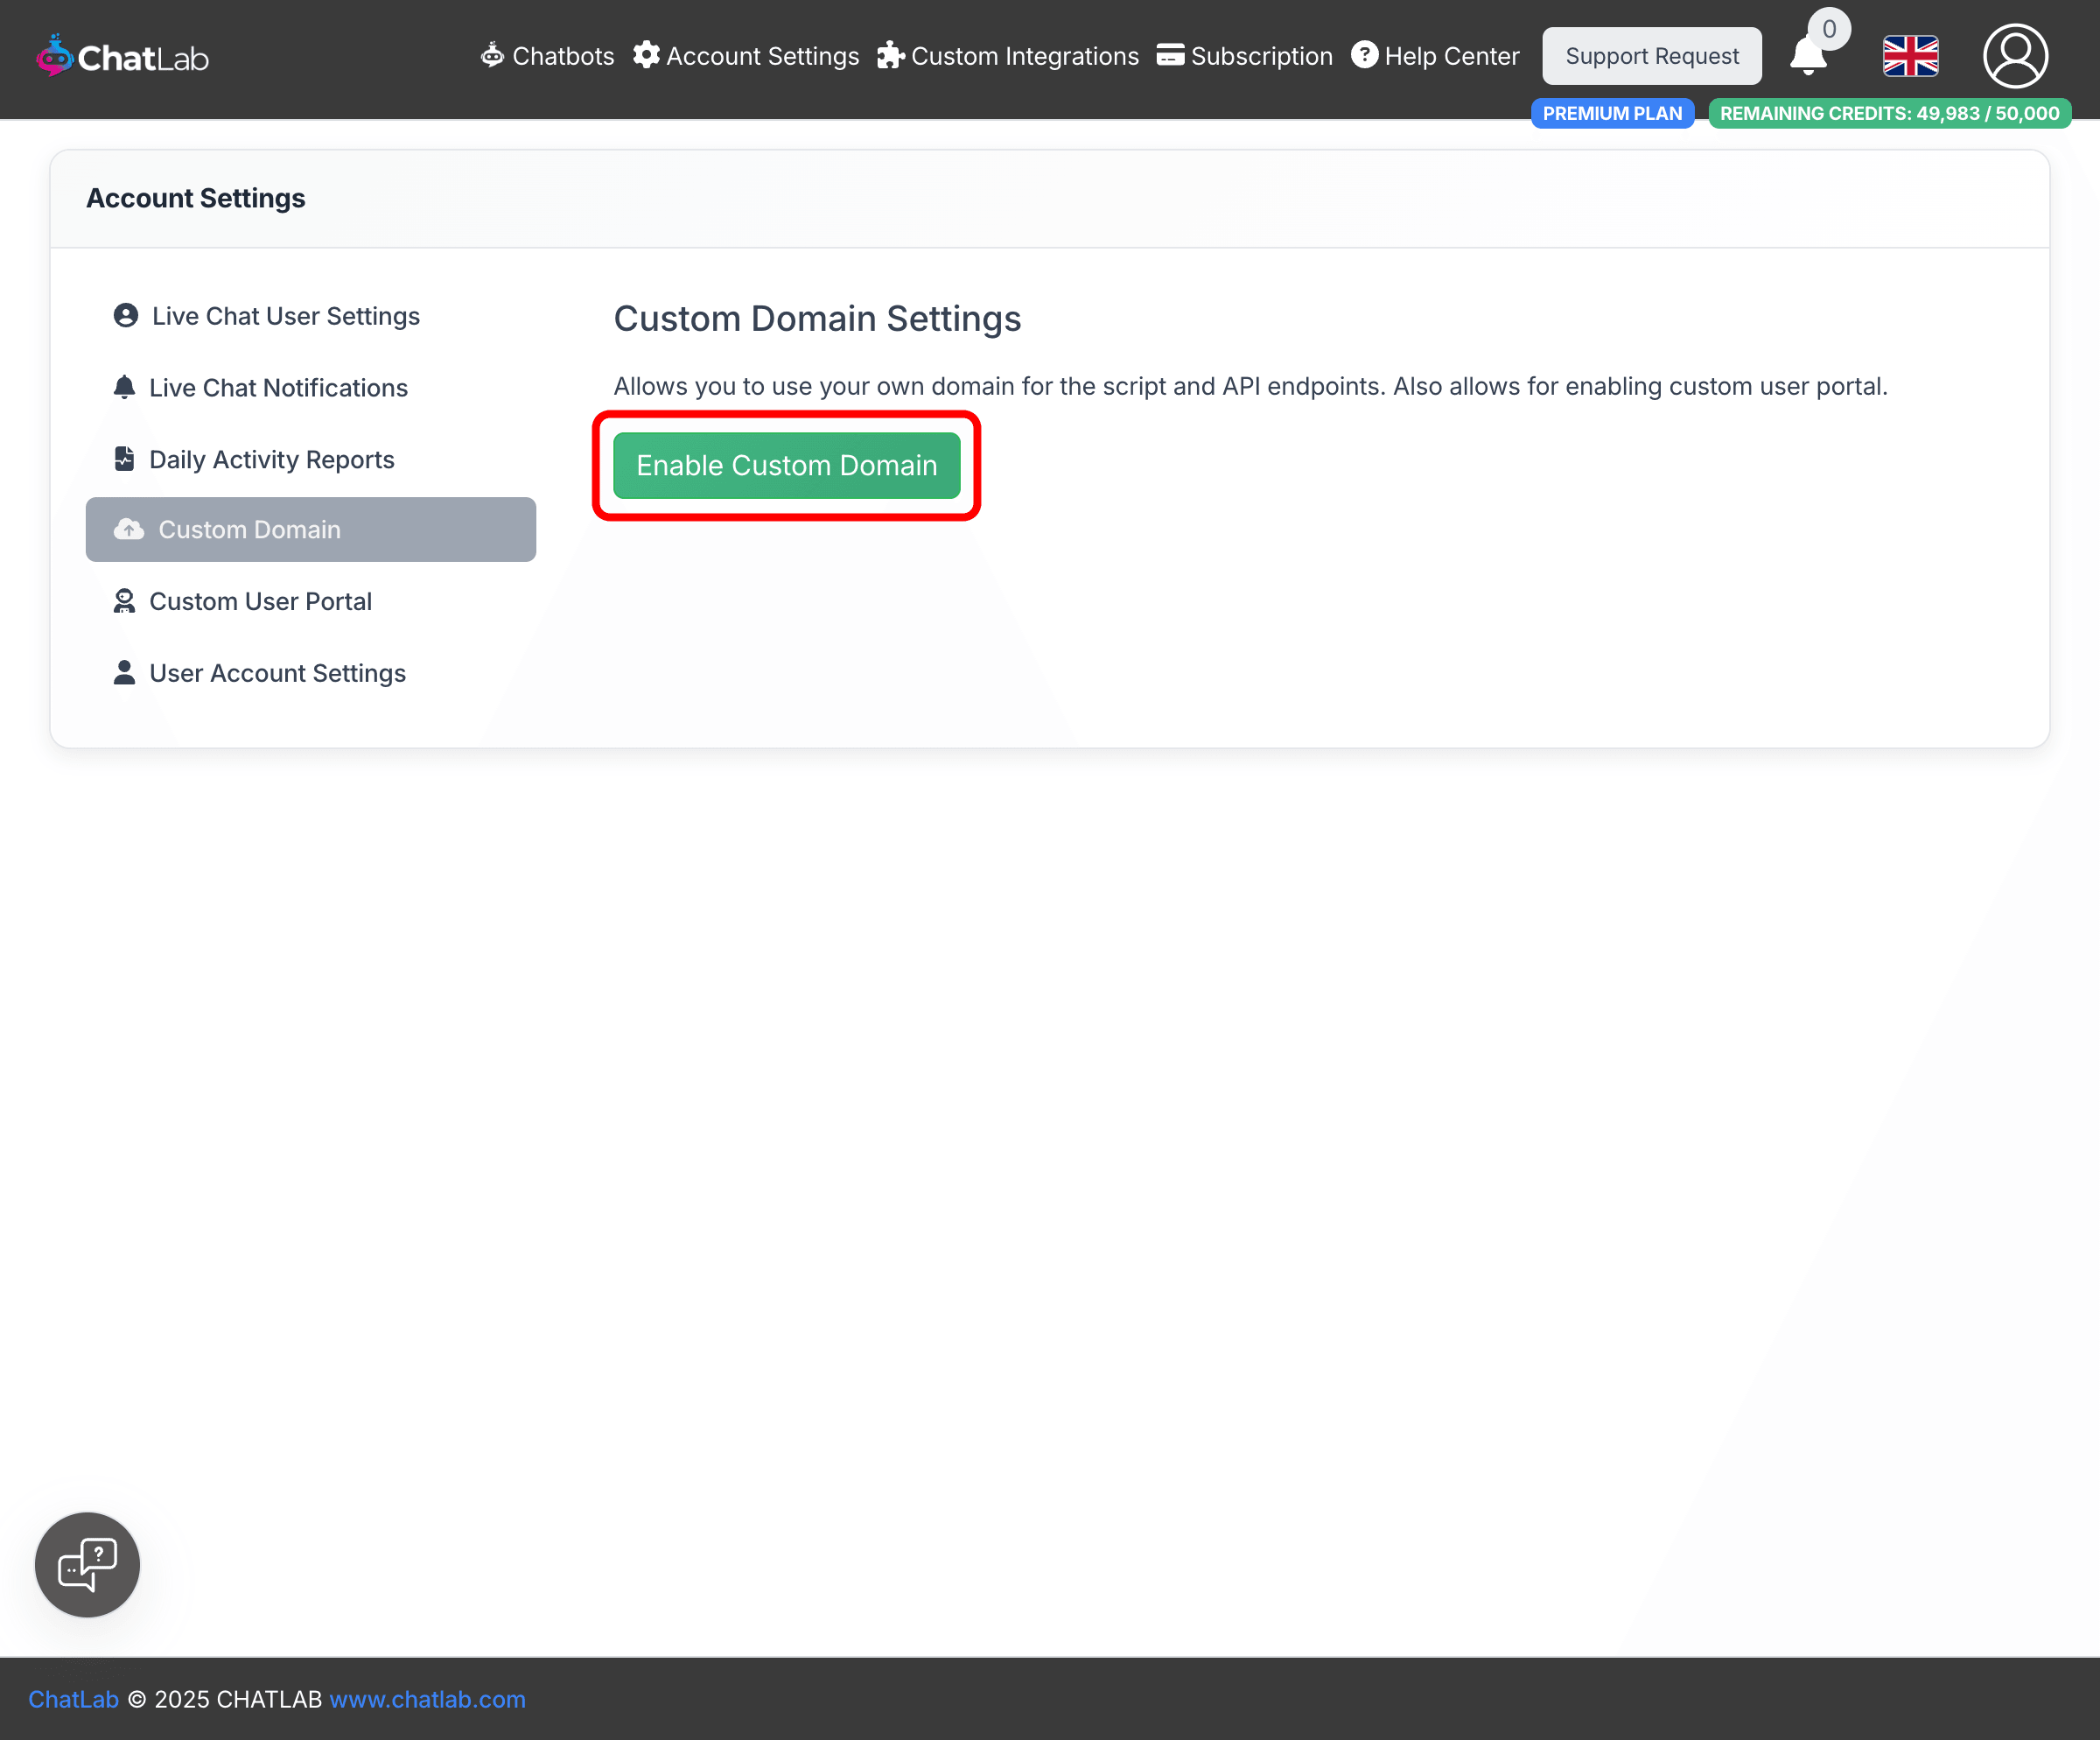
Enable custom domains
Click Enable Custom Domain to reveal the configuration form.
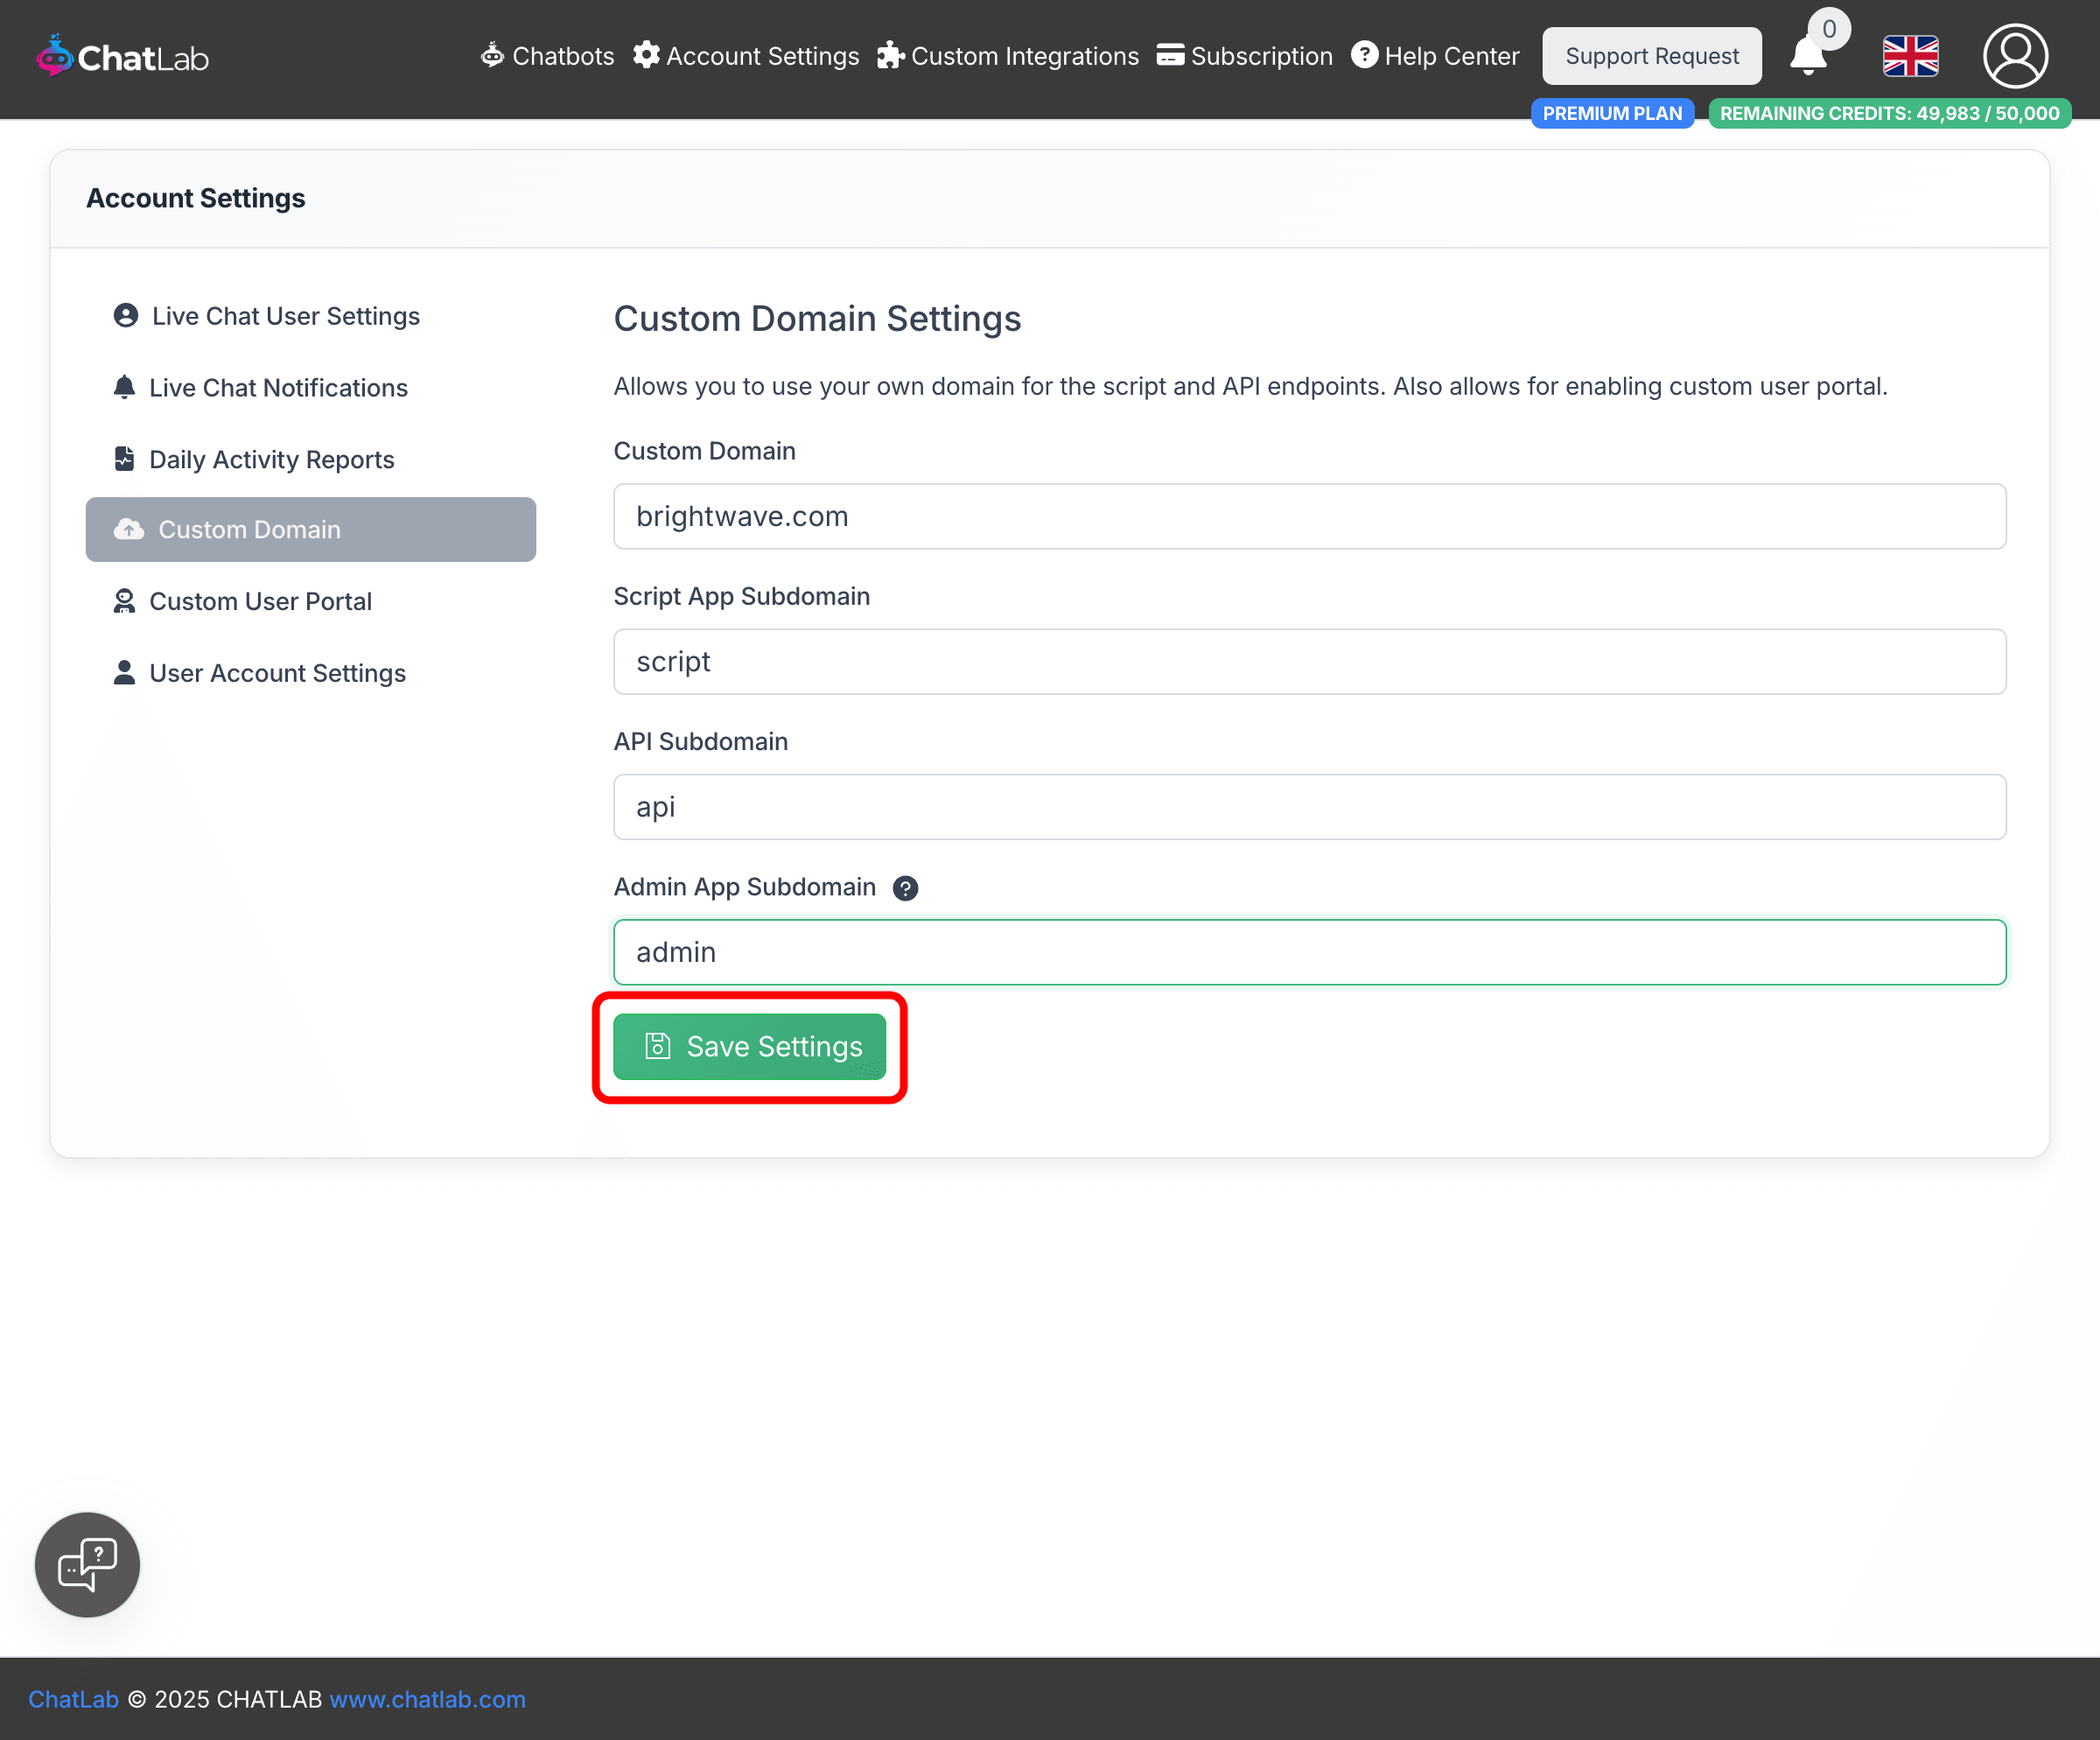
Configure your subdomains
You need to provide four pieces of information:
-
Custom Domain -- the main domain you control, for example
brightwave.com. This is the parent domain under which the three subdomains will be created. -
Script App Subdomain -- the subdomain used to serve the chatbot script. For example, entering
scriptresults inscript.brightwave.com. In the standard ChatLab setup, this script is served fromscript.chatlab.com. -
API Subdomain -- the subdomain used for backend API calls. For example, entering
apiresults inapi.brightwave.com. In the standard setup, API calls go toapi.chatlab.com. -
Admin App Subdomain -- the subdomain reserved for the admin application and user portal infrastructure. For example, entering
adminresults inadmin.brightwave.com. This subdomain is required for infrastructure setup even if you don't plan to enable the Custom User Portal immediately.
After filling in all fields, click Save Settings to submit your request.
Note: Subdomains should contain only letters, numbers, and hyphens. Do not include dots or the full domain name in the subdomain fields.
Setup process
After submitting your request, an automated setup process begins. You will receive email instructions at each stage. The overall process works as follows:
-
Submit your request -- fill in the form and click Save Settings. You will see a confirmation that your request is pending.
-
CAA records (if needed) -- if your domain has CAA records that restrict certificate issuance, you will receive an email asking you to add CAA records for Amazon certificate authorities. Add these records to your DNS and wait for propagation.
-
Domain ownership verification -- you will receive an email with CNAME records to add to your DNS. These records prove you own the domain. Add them exactly as provided, including any leading underscores and trailing dots.
-
Automated infrastructure setup -- once ownership is verified, ChatLab automatically configures the server infrastructure, SSL certificates, and traffic routing for your custom domain.
-
Setup complete -- you will receive a final confirmation email. Your chatbot script and API are now served from your custom domain.
Note: DNS changes can take up to 48 hours to propagate at each step. The setup process continues automatically once records are detected -- you do not need to notify ChatLab after adding DNS records.
Assigning a chatbot to your custom domain
Once your custom domain is active, you can assign individual chatbots to use it. Open a chatbot's settings, go to Settings > Whitelabel, and toggle on Host chatbot on custom domain.
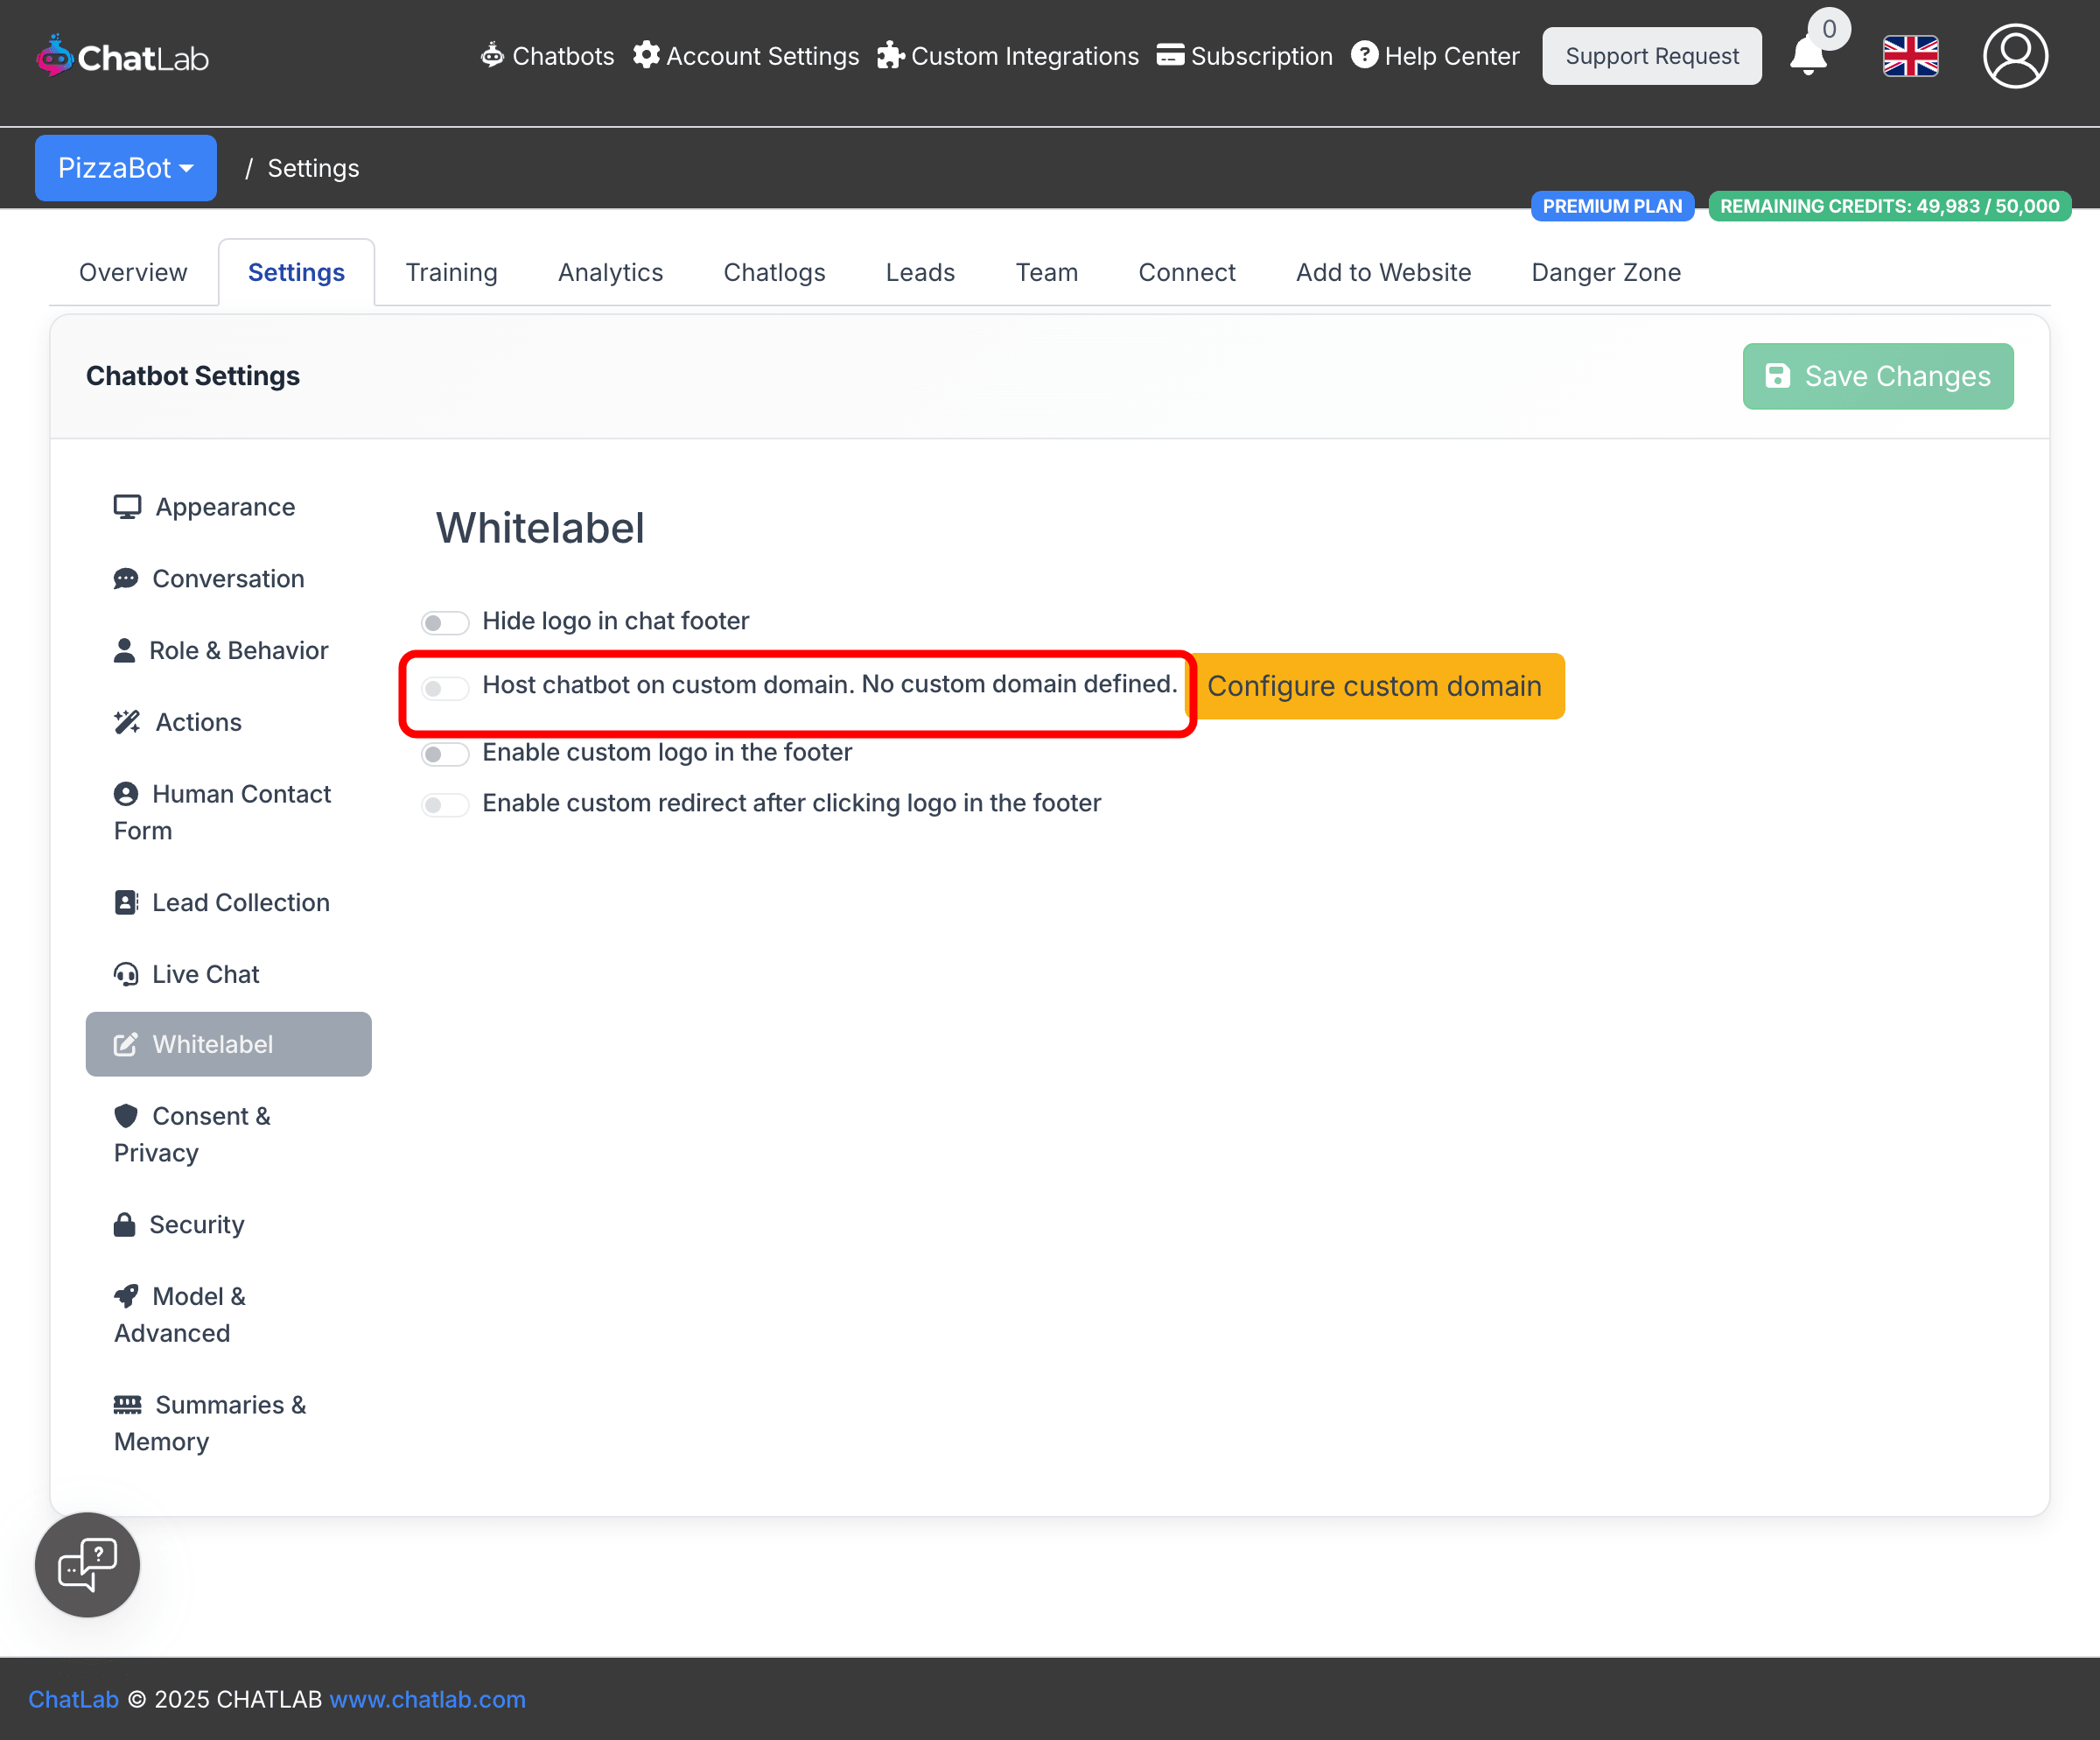
When this toggle is enabled, the chatbot's script embed code (found in Add to Website) will use your custom domain instead of script.chatlab.com, and all API calls from the widget will route through your custom API subdomain.
If you have not yet configured a custom domain, you will see "No custom domain defined" next to the toggle, along with a Configure custom domain button that takes you directly to the Account Settings page.
Pending and approved requests
After submitting a domain change request, a notice appears on the Custom Domain settings page showing your pending request details. You can cancel the request at any time by clicking Cancel request in the notice.
Once the domain is fully set up and approved, the form fields display "Currently approved" badges next to each subdomain, showing the active configuration.
Removing a custom domain
To remove your custom domain, navigate to Account Settings > Custom Domain and click Remove Custom Domain. A confirmation dialog will appear warning that this will also remove the Custom User Portal if one is configured.
Related articles
- Custom User Portal -- set up a branded admin portal for your agency clients
- How does the agency program work? -- overview of the affiliate and agency partnership options