ChatLab offers two ways to resell AI chatbots to your clients: the Affiliate Program for commission-based referrals, and the Agency Package for a complete white-label solution under your own brand.
Affiliate Program vs. Agency Package
Affiliate Program
The Affiliate Program lets you earn recurring commissions with no upfront investment.
- No costs - sign up and receive a unique affiliate link
- 20% commission - earn 20% of each referred client's subscription for the first 6 months
- Hands-off - ChatLab handles onboarding, billing, and support for your referrals
- Payout terms - check the affiliate portal for current payout methods and conditions
You can also offer additional value by helping clients set up and train their chatbots. If a client invites you as a team member, you can manage their bot directly.
Agency Package
The Agency Package gives you a fully white-labeled chatbot platform under your own brand. Configure the domains, logos and email settings you want clients to see.
- Your domain - chatbot scripts, APIs, and admin portal all run under your domain
- Your branding - configure the widget logo, portal branding and email sender settings
- Your pricing - you bill clients directly and keep 100% of revenue
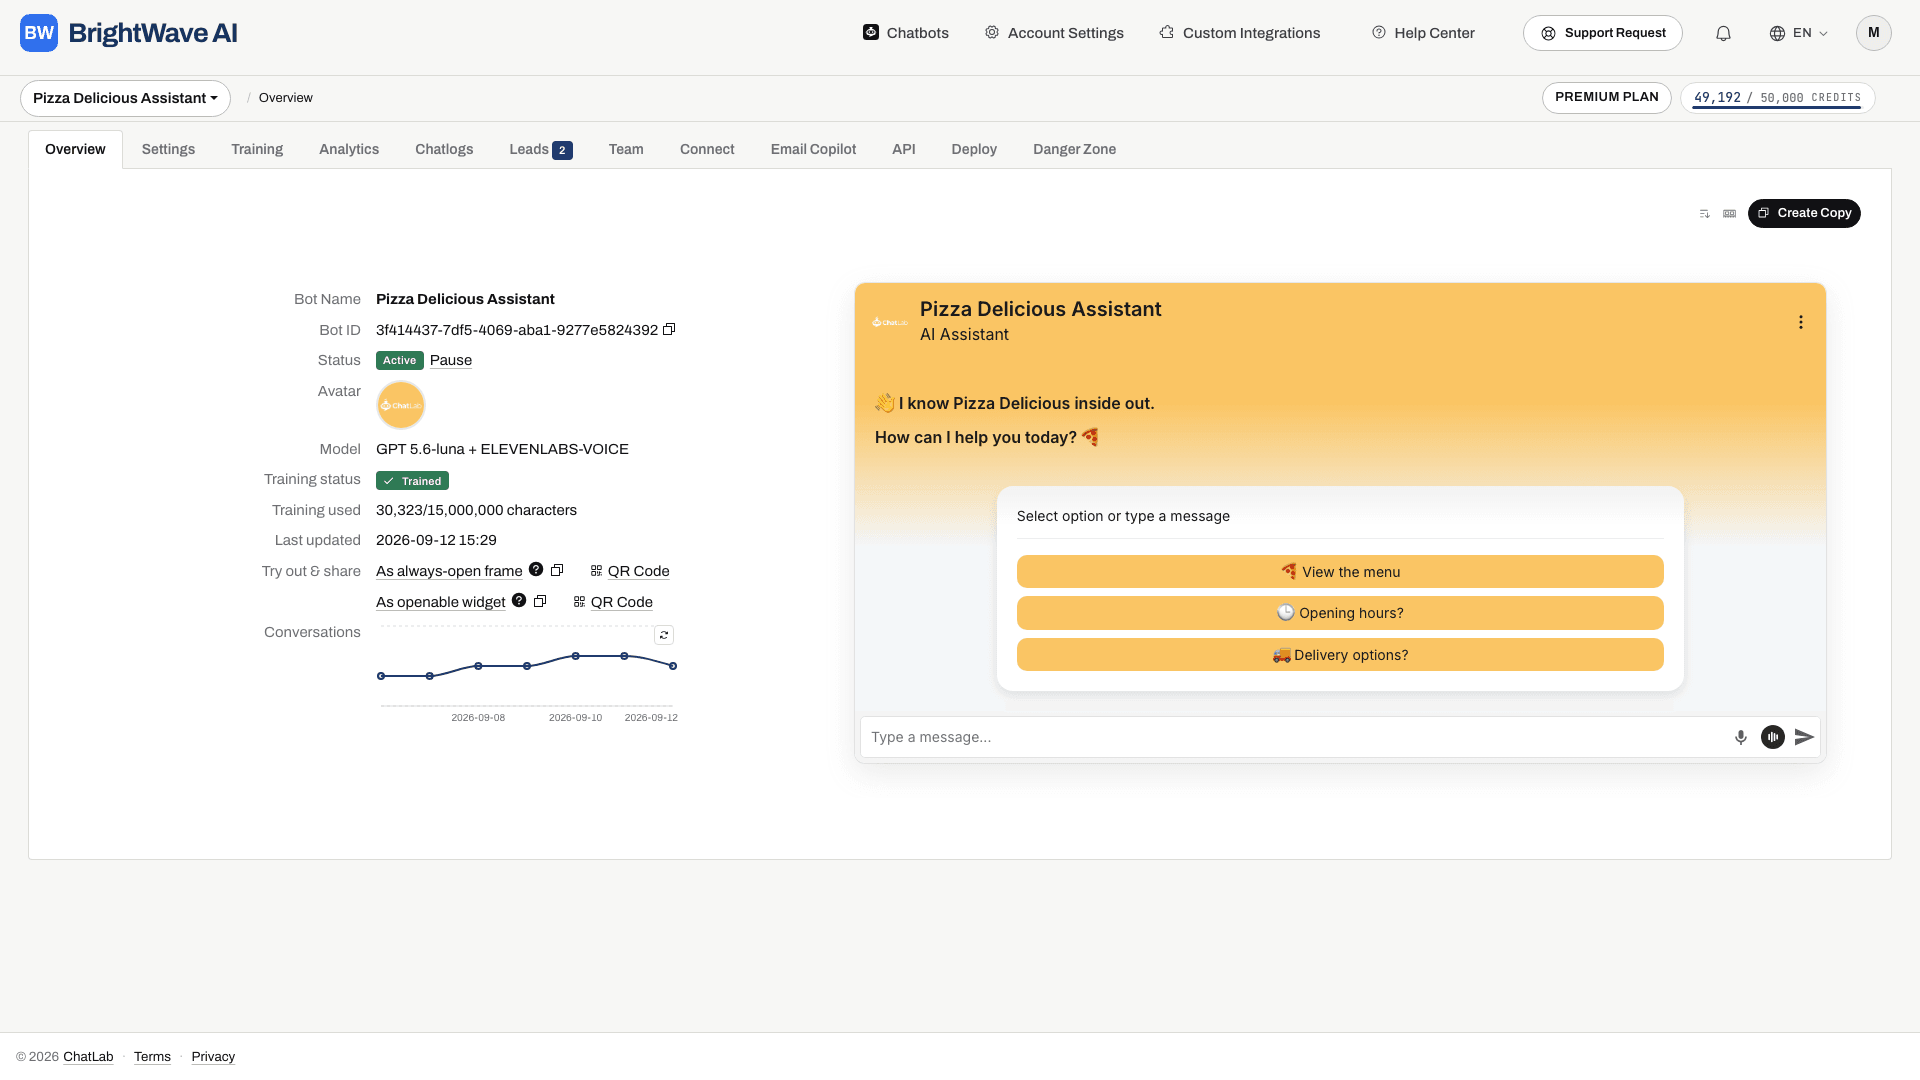
- Client portal - clients access a branded admin panel where they can manage shared chatbots, view chatlogs, train, and review analytics
Agency Package: what's included
Check Subscription for the white-label features and capacity available to your account. The setup combines:
- Client chatbots - create separate bots within your account's allowance
- Portal users and team access - create client accounts and share the appropriate bot with each one
- Message credits - shared account usage plus applicable per-chatbot limits. Review each bot's limit before handing it to a client
- Custom domain hosting - serve everything from your own domain
- Branded client portal - your clients register and log in at your domain with your logos
- Custom SMTP - emails sent from the portal use your domain and sender name
- Custom CSS - style the client portal to match your brand
If you need more capacity, additional chatbots, user accounts, and message credits can be purchased separately.
How it works: step by step
1. Set up custom domains
Go to Account Settings > Custom Domain and configure your subdomains (script, API, and admin). This is a DNS-level change - no software hosting required on your end.
See Custom Domains for detailed setup instructions.
2. Set up the client portal
Go to Account Settings > Custom User Portal and configure your brand name, logos, website URL, privacy policy, and terms of service. Optionally configure custom SMTP so emails come from your domain.
See Custom User Portal for detailed setup instructions.
3. Create and train chatbots
Create a chatbot for each client. Follow Creating your first chatbot and Training basics. Configure its appearance and required integrations, then test representative customer questions.
4. Assign chatbots to your custom domain
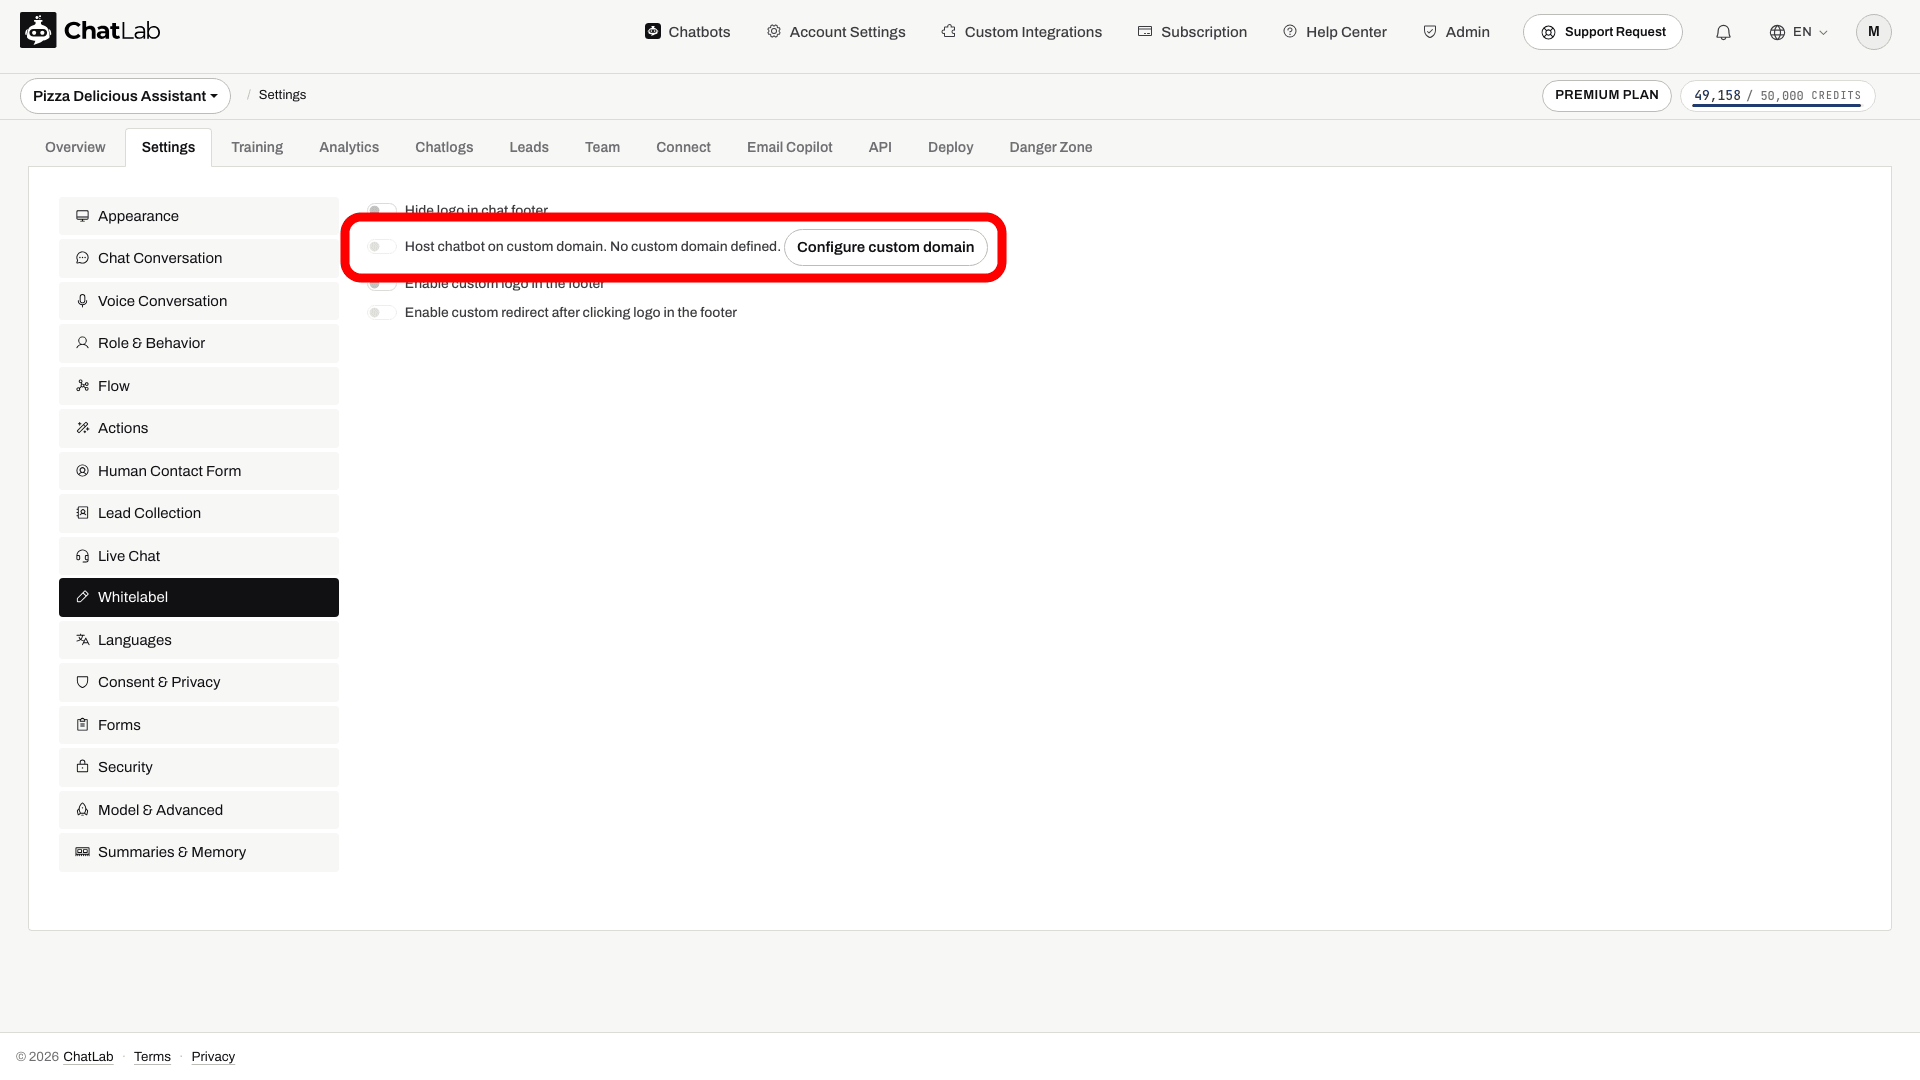
Open each chatbot's settings, go to Settings > Whitelabel, and enable Host chatbot on custom domain. This makes the chatbot's embed code use your domain instead of chatlab.com.
5. Manage portal users
You have full control over who can access your branded portal. Go to Admin > Users Administration to view, create, and manage portal users.
Creating users:
- Click Create User
- Enter the client's email address
- Optionally set a password - leave it empty to auto-generate a secure password
- Click Create
After the user is created, their email and password are displayed with copy-to-clipboard buttons so you can share the credentials securely.
Sending invitation emails:
After creating a user, click Edit & Send Invitation to send them a welcome email. The email template is pre-filled with the login URL, credentials, and your brand name, but you can edit the subject and message body before sending. The email uses your portal's mail configuration; test Custom SMTP before relying on your own sender domain.
Controlling self-registration:
Check the current Allow Self-Registration setting before giving clients the portal address. To restrict access so that only users you create can log in, disable the Allow Self-Registration toggle in Account Settings > Custom User Portal.
6. Share chatbots with clients
Use the Team tab on each chatbot to invite your client's email address. Once they have a portal account (either created by you or self-registered), they must accept the invitation to access the shared chatbot within the permissions you set. See Inviting administrators.
7. Clients embed on their websites
Clients copy the embed code from the Deploy tab and paste it into their site. The code references your custom domain, then test the published site to confirm that the bot loads correctly.
What clients can do in the portal
Clients who log in to your branded portal can:
- View and manage chatbots shared with them
- Access chatlogs and analytics
- Add training data and corrections
- View leads collected by the chatbot
- See their message credit usage
Clients cannot create their own chatbots - they only see bots you share with them.
Billing and pricing control
All invoicing is handled outside ChatLab. You decide:
- Your prices - charge whatever fits your business model (flat rate, per-message, tiered packages)
- Your currency and terms - bill in any currency, on your schedule
- Your add-ons - upsell services like setup, training, custom integrations, or premium support
- Per-bot credit limits - control how many message credits each client's chatbot can use (Settings > Model & Advanced)
Related articles
- Custom Domains - set up your domain for the white-label solution
- Custom User Portal - configure the branded client admin portal
- Inviting Administrators - share chatbot access with team members and clients