The Custom User Portal is a white-label solution that lets agencies offer a branded admin interface to their clients. Instead of seeing ChatLab branding, your clients log in to a portal under your domain with your logos and company name.
What clients can do in the portal
Agencies share prepared chatbots with their clients through the portal. Clients cannot create their own chatbots, but they can manage the bots shared with them:
- Train the chatbot with new content
- Manage selected bot settings
- Add corrections to improve responses
- View chatlogs and analytics
This gives your clients hands-on control while you maintain ownership of the chatbot configuration.
Where to find Custom User Portal settings
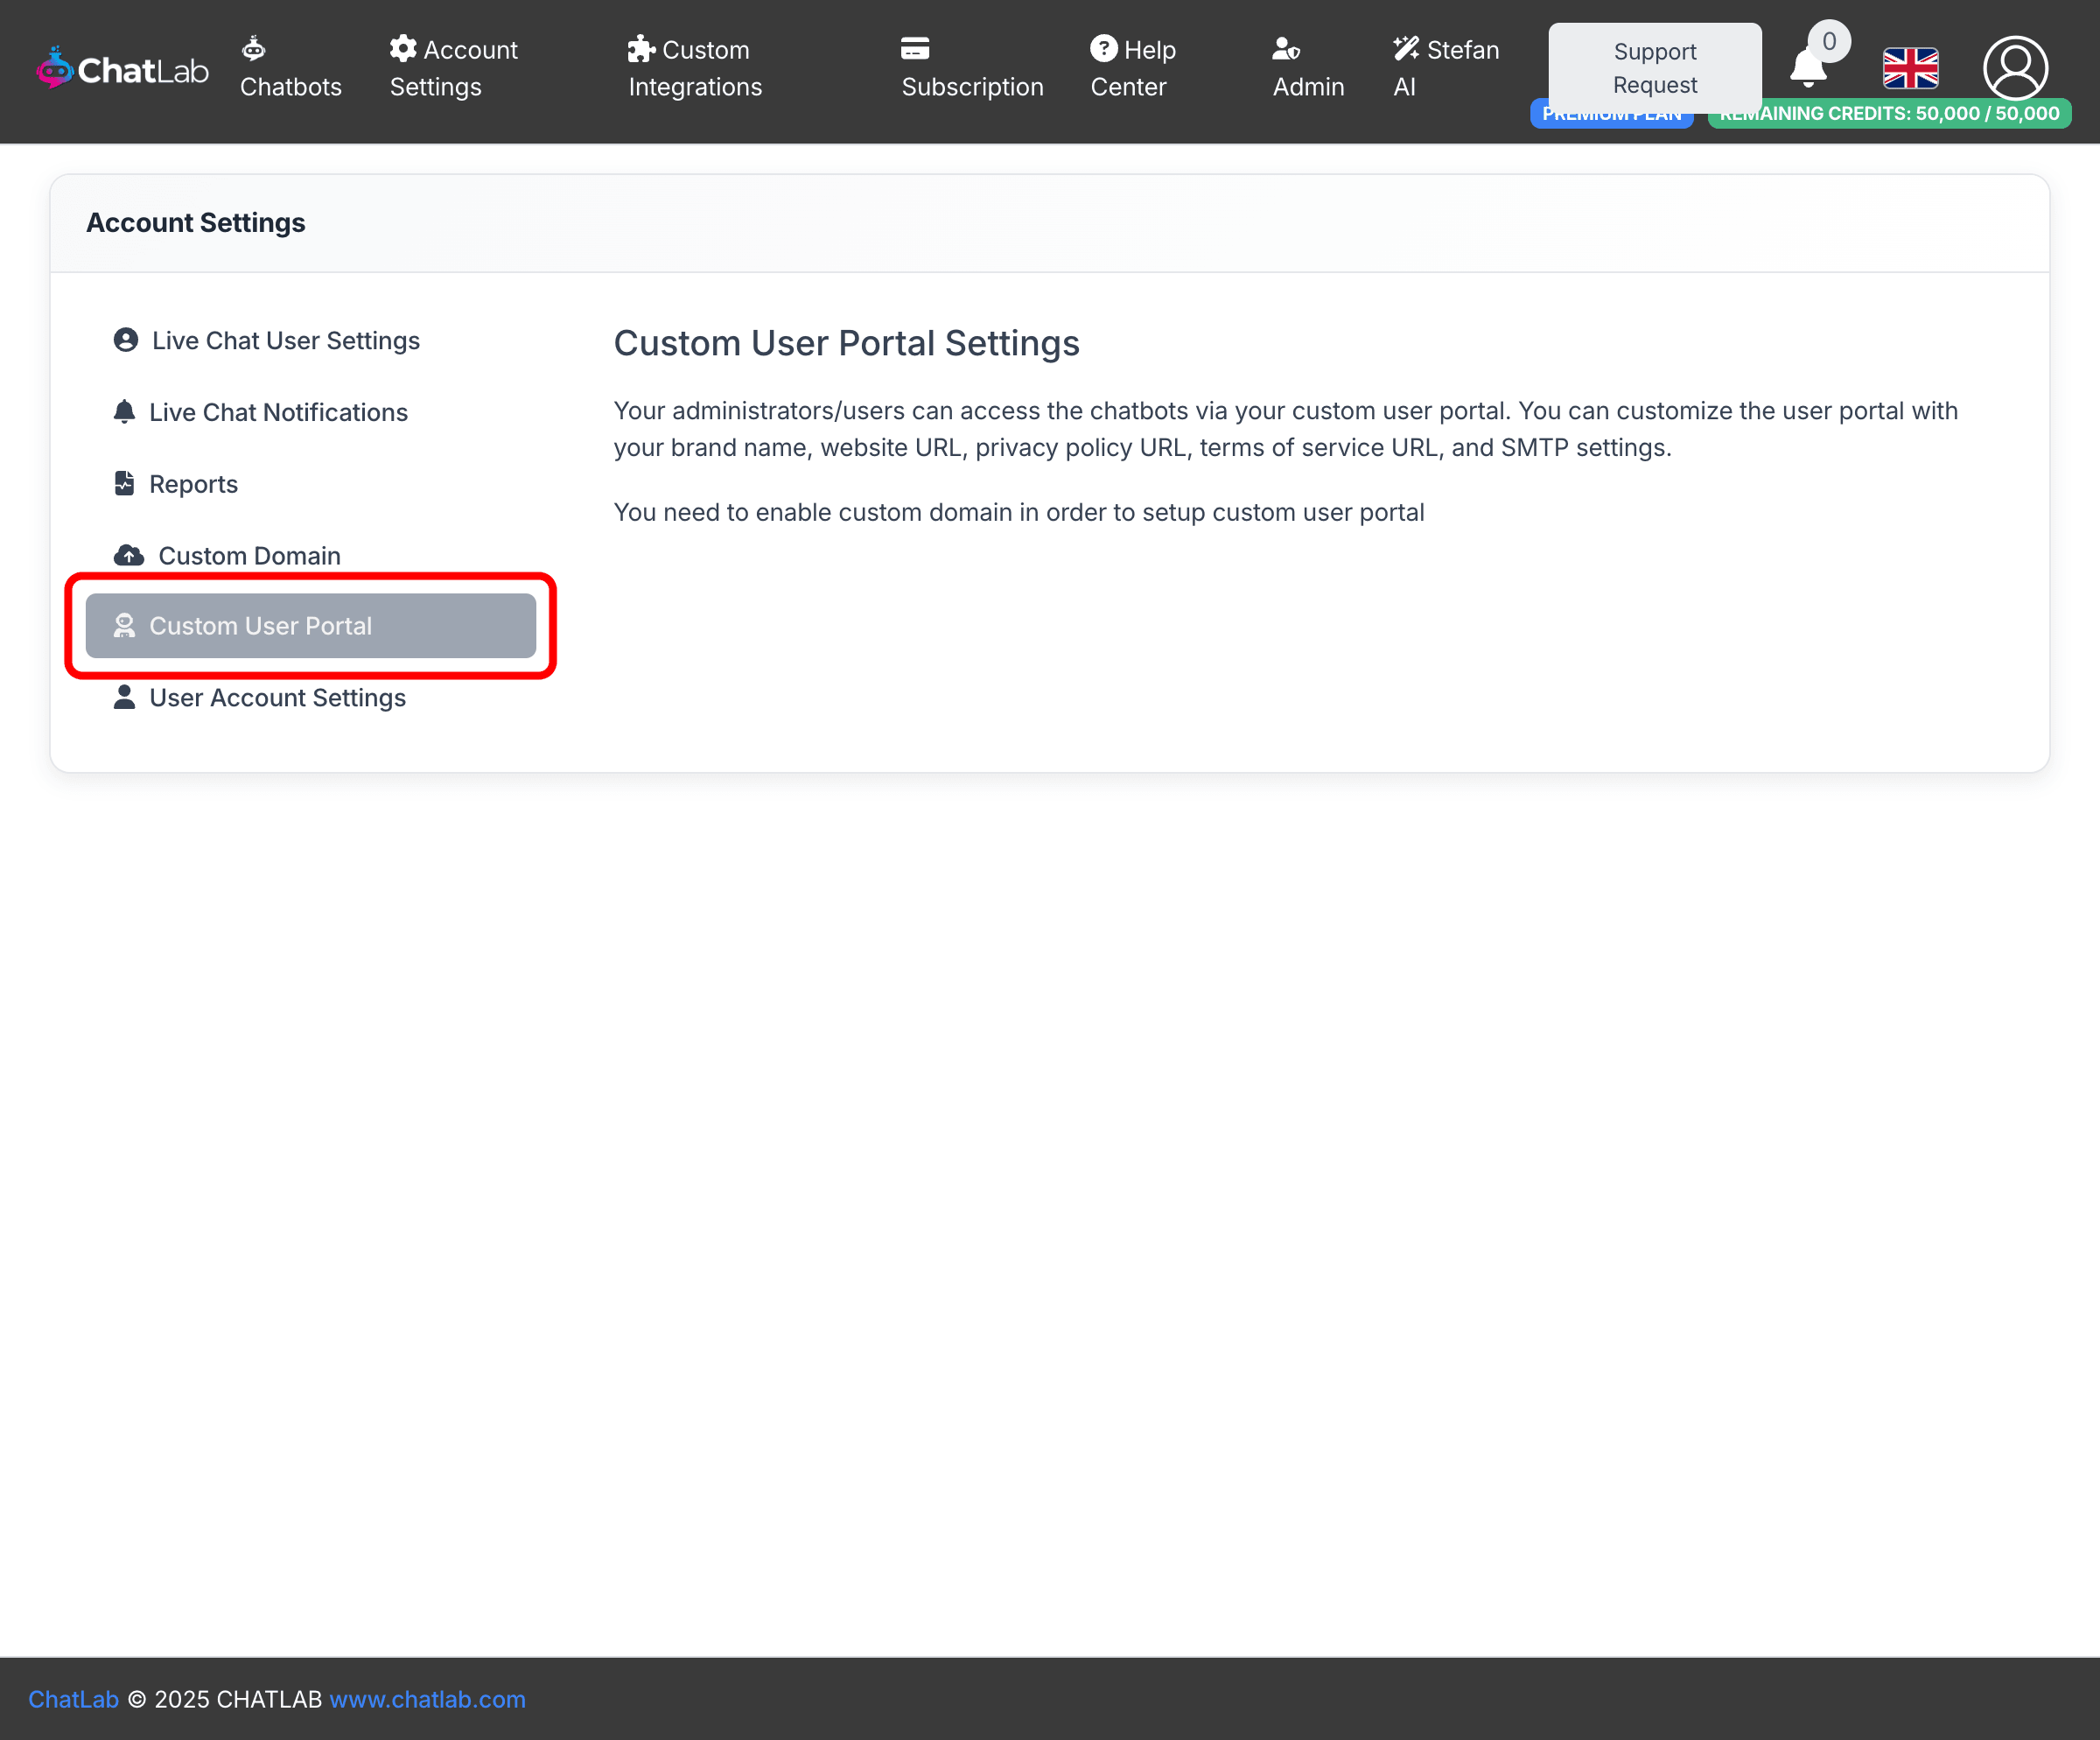
Go to Account Settings in the main navigation menu, then select Custom User Portal in the left sidebar.
Prerequisites
You must have a custom domain configured before enabling the Custom User Portal. The Admin App Subdomain you set during custom domain setup becomes the address for your portal. For example, if your domain is brightwave.com and you entered admin as the Admin App Subdomain, your portal will be available at admin.brightwave.com.
If no custom domain is configured, the page displays a message asking you to set one up first.
Enable the portal
Once your custom domain is active, click Enable Custom User Portal to reveal the configuration form.

Configure portal settings
After enabling, the full settings form appears.
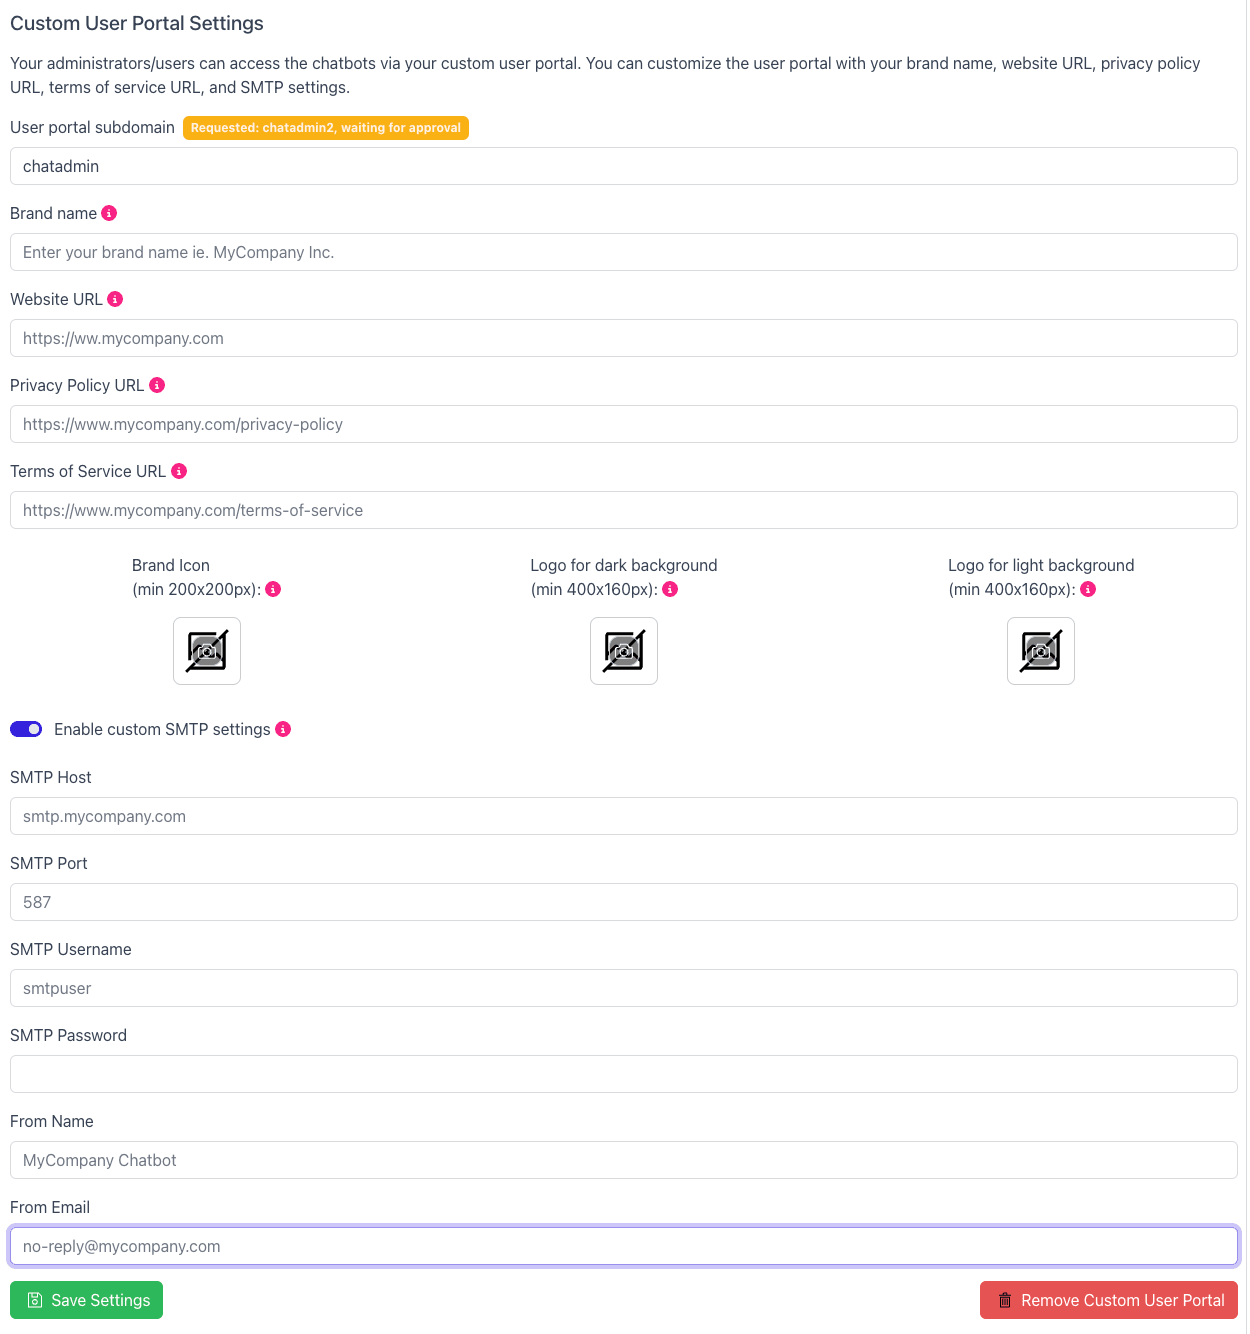
Branding
-
Brand Name - your agency name, displayed throughout the portal in place of "ChatLab"
-
Website URL - your agency's website, shown in the portal footer as a branded link
-
Privacy Policy URL - link to your privacy policy, required during client registration
-
Terms of Service URL - link to your terms of service, also required during registration
Logos
Upload three logo variations used across the portal:
- Brand Icon (min 200x200px) - used in dialogs and confirmations
- Logo for dark background (min 400x160px) - transparent background, for display on dark surfaces such as the sidebar
- Logo for light background (min 400x160px) - transparent background, for display on light surfaces
Self-Registration
The Allow Self-Registration toggle controls whether new users can sign up for your portal on their own. When enabled (the default), anyone can register through the portal's sign-up page. When disabled, new users can only be created by you through the Admin > Users Administration section. This gives you full control over who has access to your portal.
Custom SMTP
Toggle Enable custom SMTP settings to send all portal emails from your own mail server. When enabled, provide:
- SMTP Host - your mail server address (e.g.
smtp.brightwave.com) - SMTP Port - the server port (e.g.
587) - SMTP Username and SMTP Password - credentials for authentication
- From Name - the sender name shown in emails (e.g.
BrightWave Support) - From Email - the sender address (e.g.
no-reply@brightwave.com)
After saving, a Send Test Email button appears so you can verify your SMTP configuration works correctly. If you plan to send user invitation emails, configuring Custom SMTP is recommended so that invitations come from your own domain.
Custom CSS
Optionally add up to 5,000 characters of custom CSS to further style the portal's appearance beyond the logo and brand name changes.
User Portal Chatbot ID
Optionally embed a helper chatbot inside the portal to assist your clients. Train one of your chatbots with information about how to use the portal, then paste its Chatbot ID here. The Chatbot ID is visible on the bot's Overview tab, below the bot name.
Managing portal users
Once your portal is active, an Admin item appears in the top navigation menu. Click Admin to open the Users Administration page where you can view all portal users and create new ones.
Viewing users
The Users Administration page shows a table of all users registered on your portal with their email, creation date, last login, and email verification status. Use the search field to filter users by email.
Creating a new user
- Click the Create User button in the top-right corner of the Users Administration page
- Enter the new user's email address
- Optionally enter a password - if you leave the password field empty, a secure password is generated automatically
- Click Create
After the user is created, a confirmation screen displays the email and password. Use the clipboard buttons next to each field to copy the credentials.
Sending an invitation email
After creating a user, click Edit & Send Invitation to open the invitation email editor. The email is pre-filled with:
- The recipient's email and password
- Your portal's login URL
- A branded message using your portal's brand name
You can edit the subject line and message body before sending. The invitation is sent using your portal's SMTP settings, so it arrives from your own domain.
Controlling user access
To restrict who can join your portal, disable the Allow Self-Registration toggle in Account Settings > Custom User Portal. When self-registration is off, only users you create through the Admin section can access the portal.
Save and domain verification
Click Save Settings to submit your configuration. If this is your first time enabling the portal, the system initiates a domain verification process for your Admin App Subdomain:
- You receive an email with CNAME records to add to your DNS
- After DNS verification, the portal infrastructure is provisioned automatically
- You receive a confirmation email once the portal is live
A pending status message appears on the settings page while the subdomain is being verified. You can cancel the request at any time.
Removing the portal
Click Remove Custom User Portal at the bottom of the settings form to disable the portal. A confirmation dialog appears before any changes are made.
Related articles
- Custom Domains - prerequisite for the user portal
- How does the agency program work? - overview of agency partnership options