Share chatbot administration with your team members to collaborate on managing your AI assistant. Team members can help monitor conversations, add training data, and improve responses.
Before you start
Your team members must have a ChatLab account to access shared chatbots. They can register for a free account at app.chatlab.com.
Sending an invitation
Step 1: Open the Team tab
Select your chatbot from the main dashboard, then click the Team tab in the navigation.
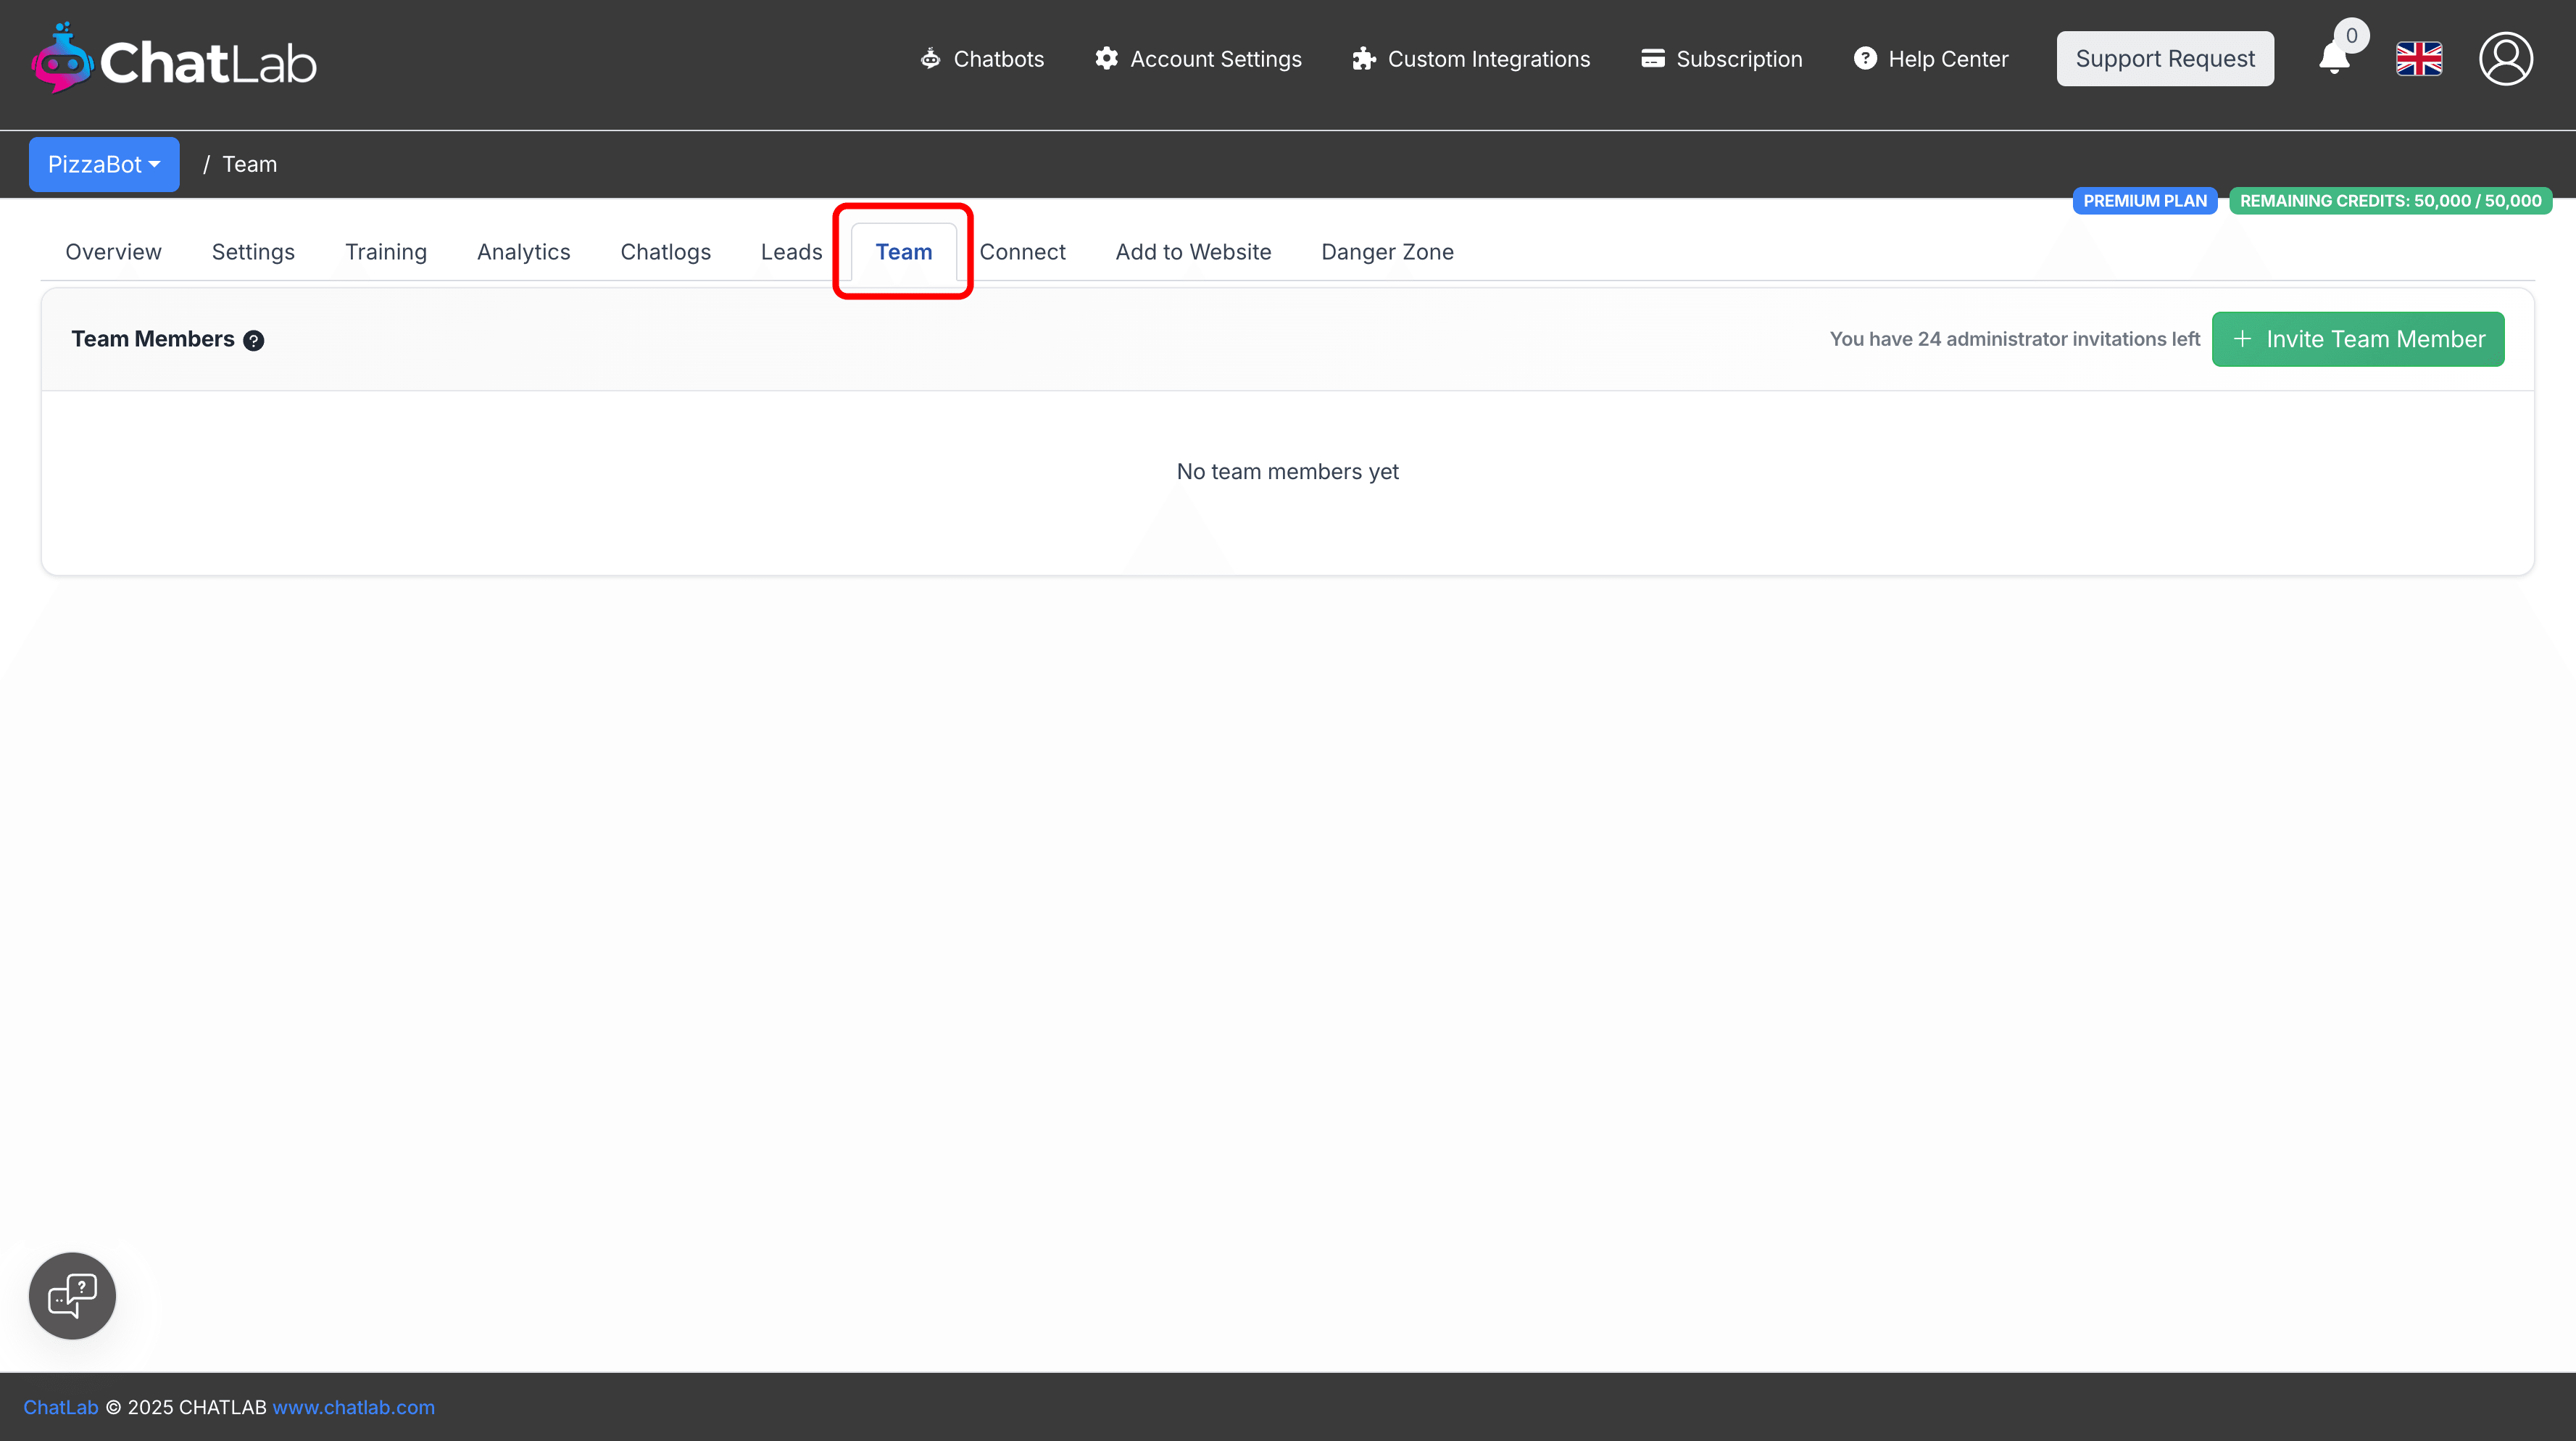
Step 2: Click Invite Team Member
Click the Invite Team Member button to open the invitation modal.
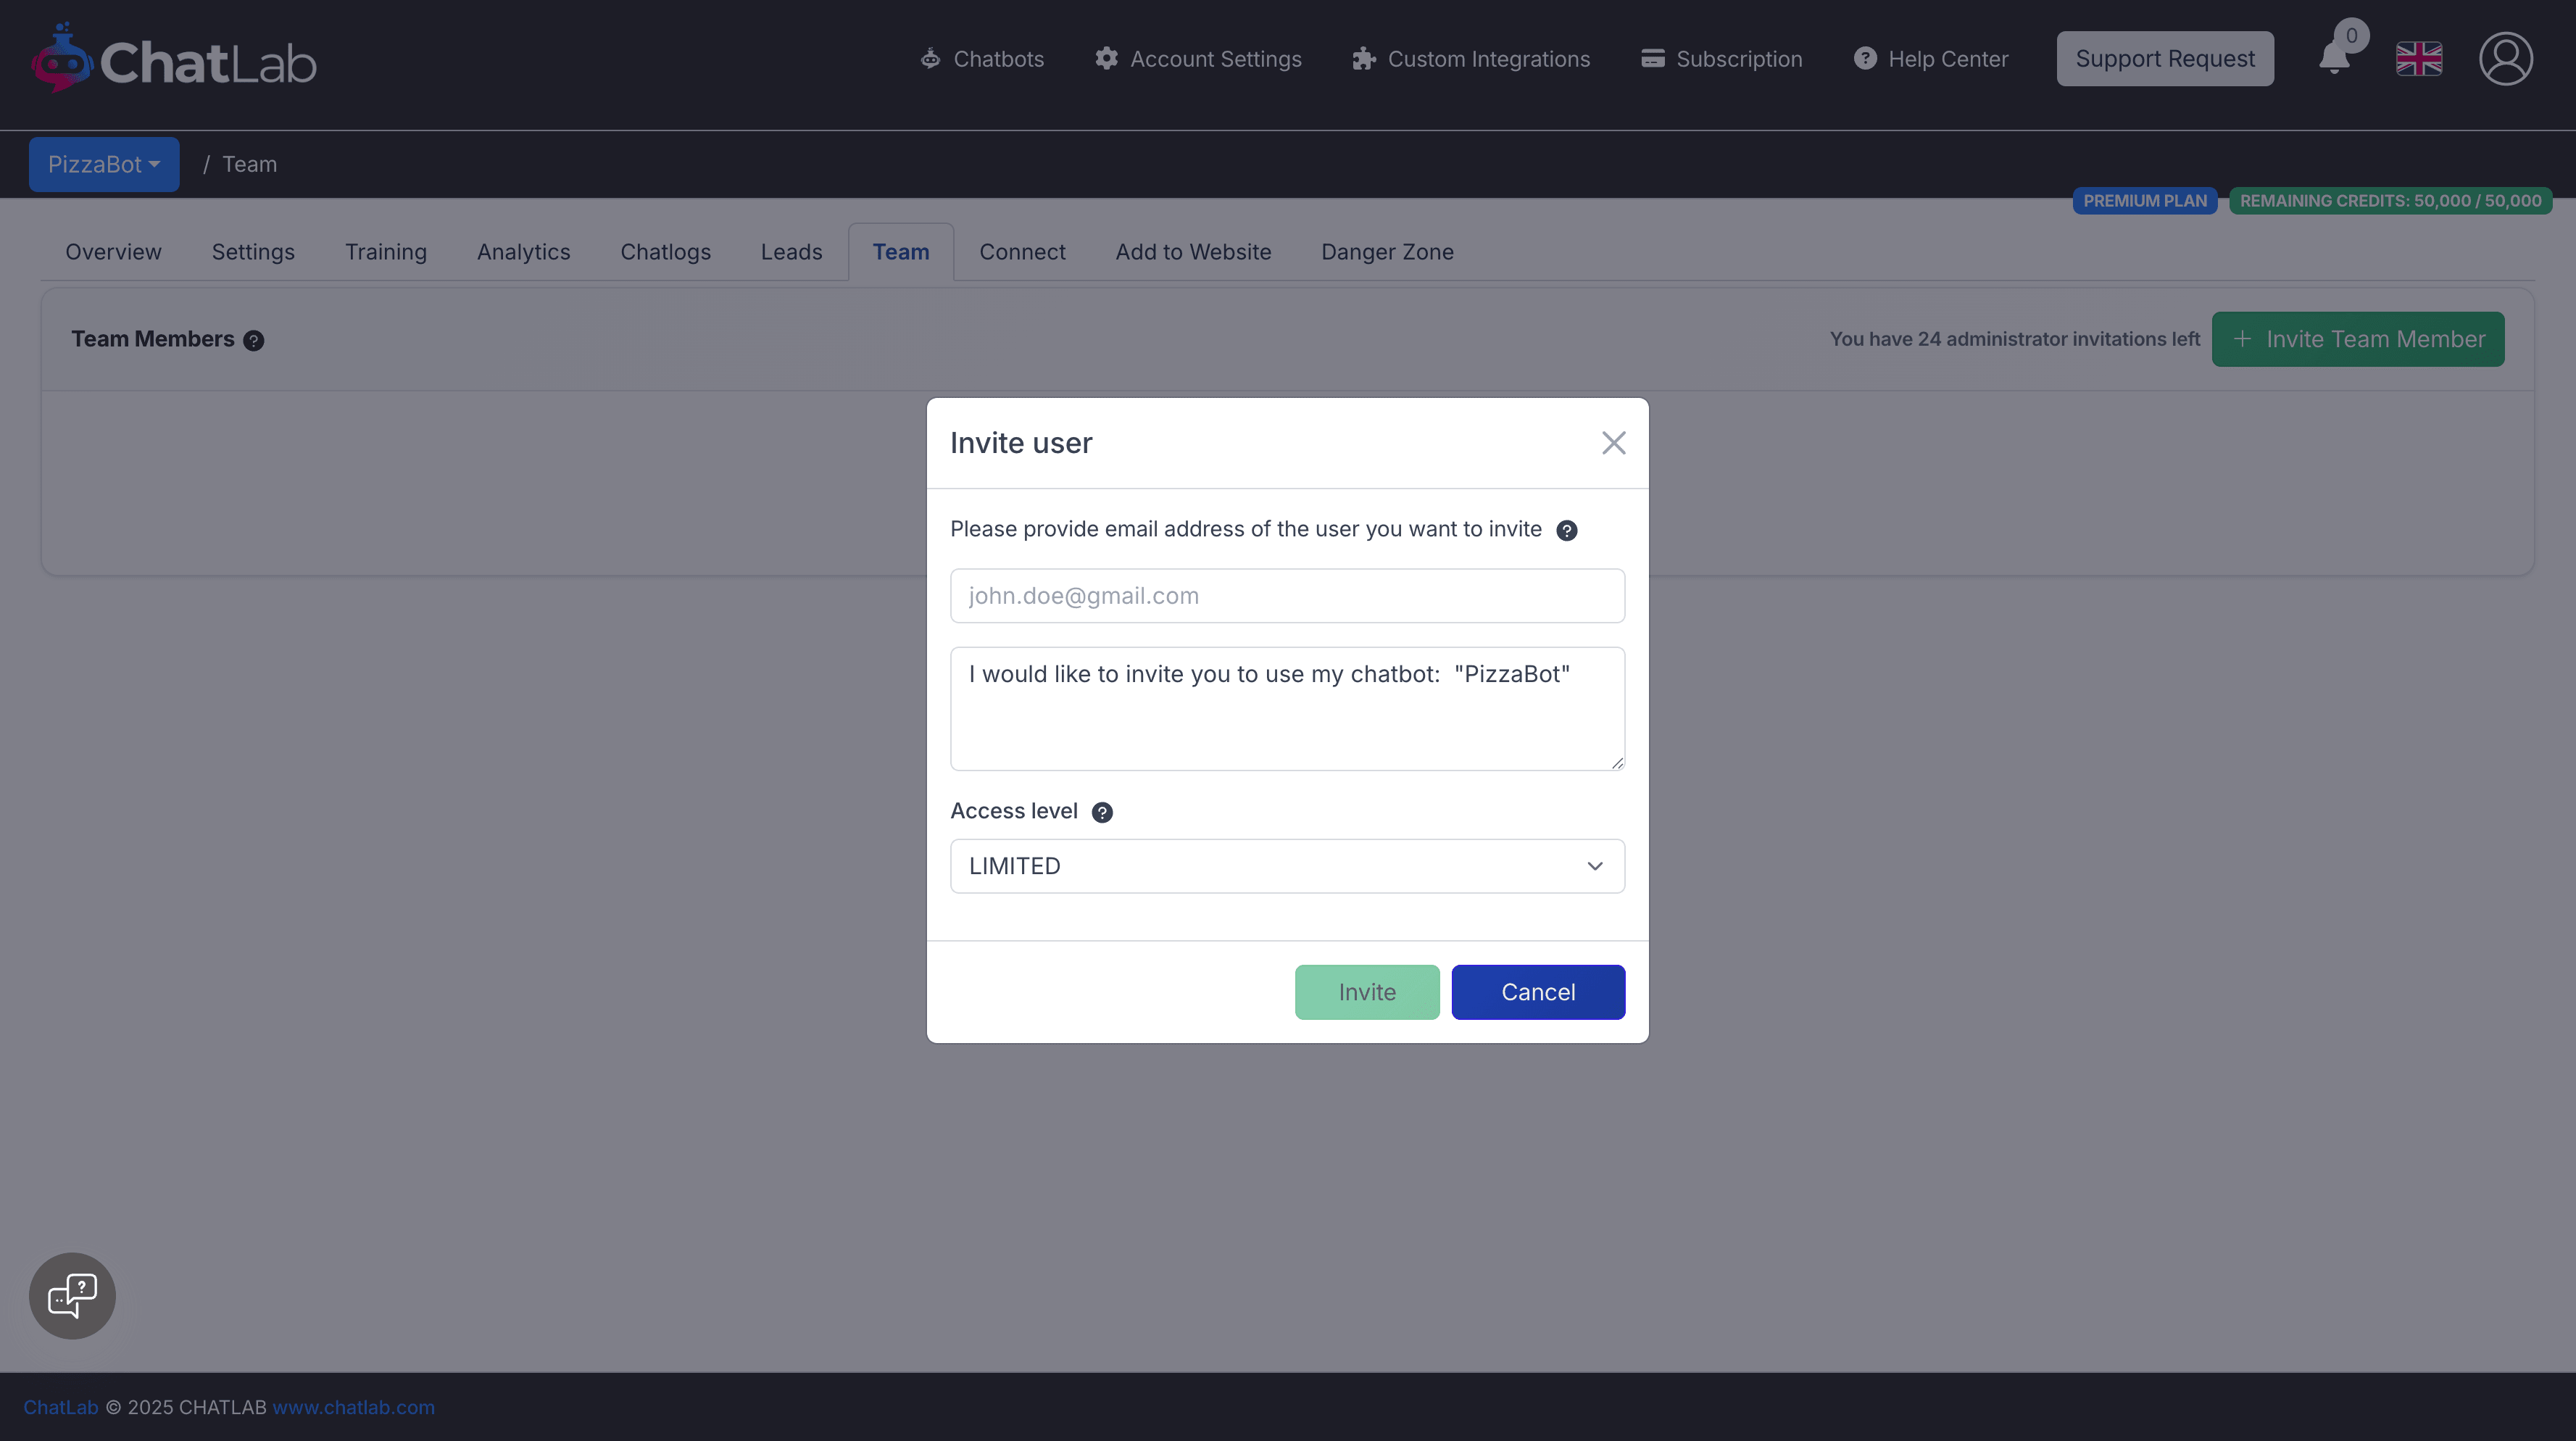
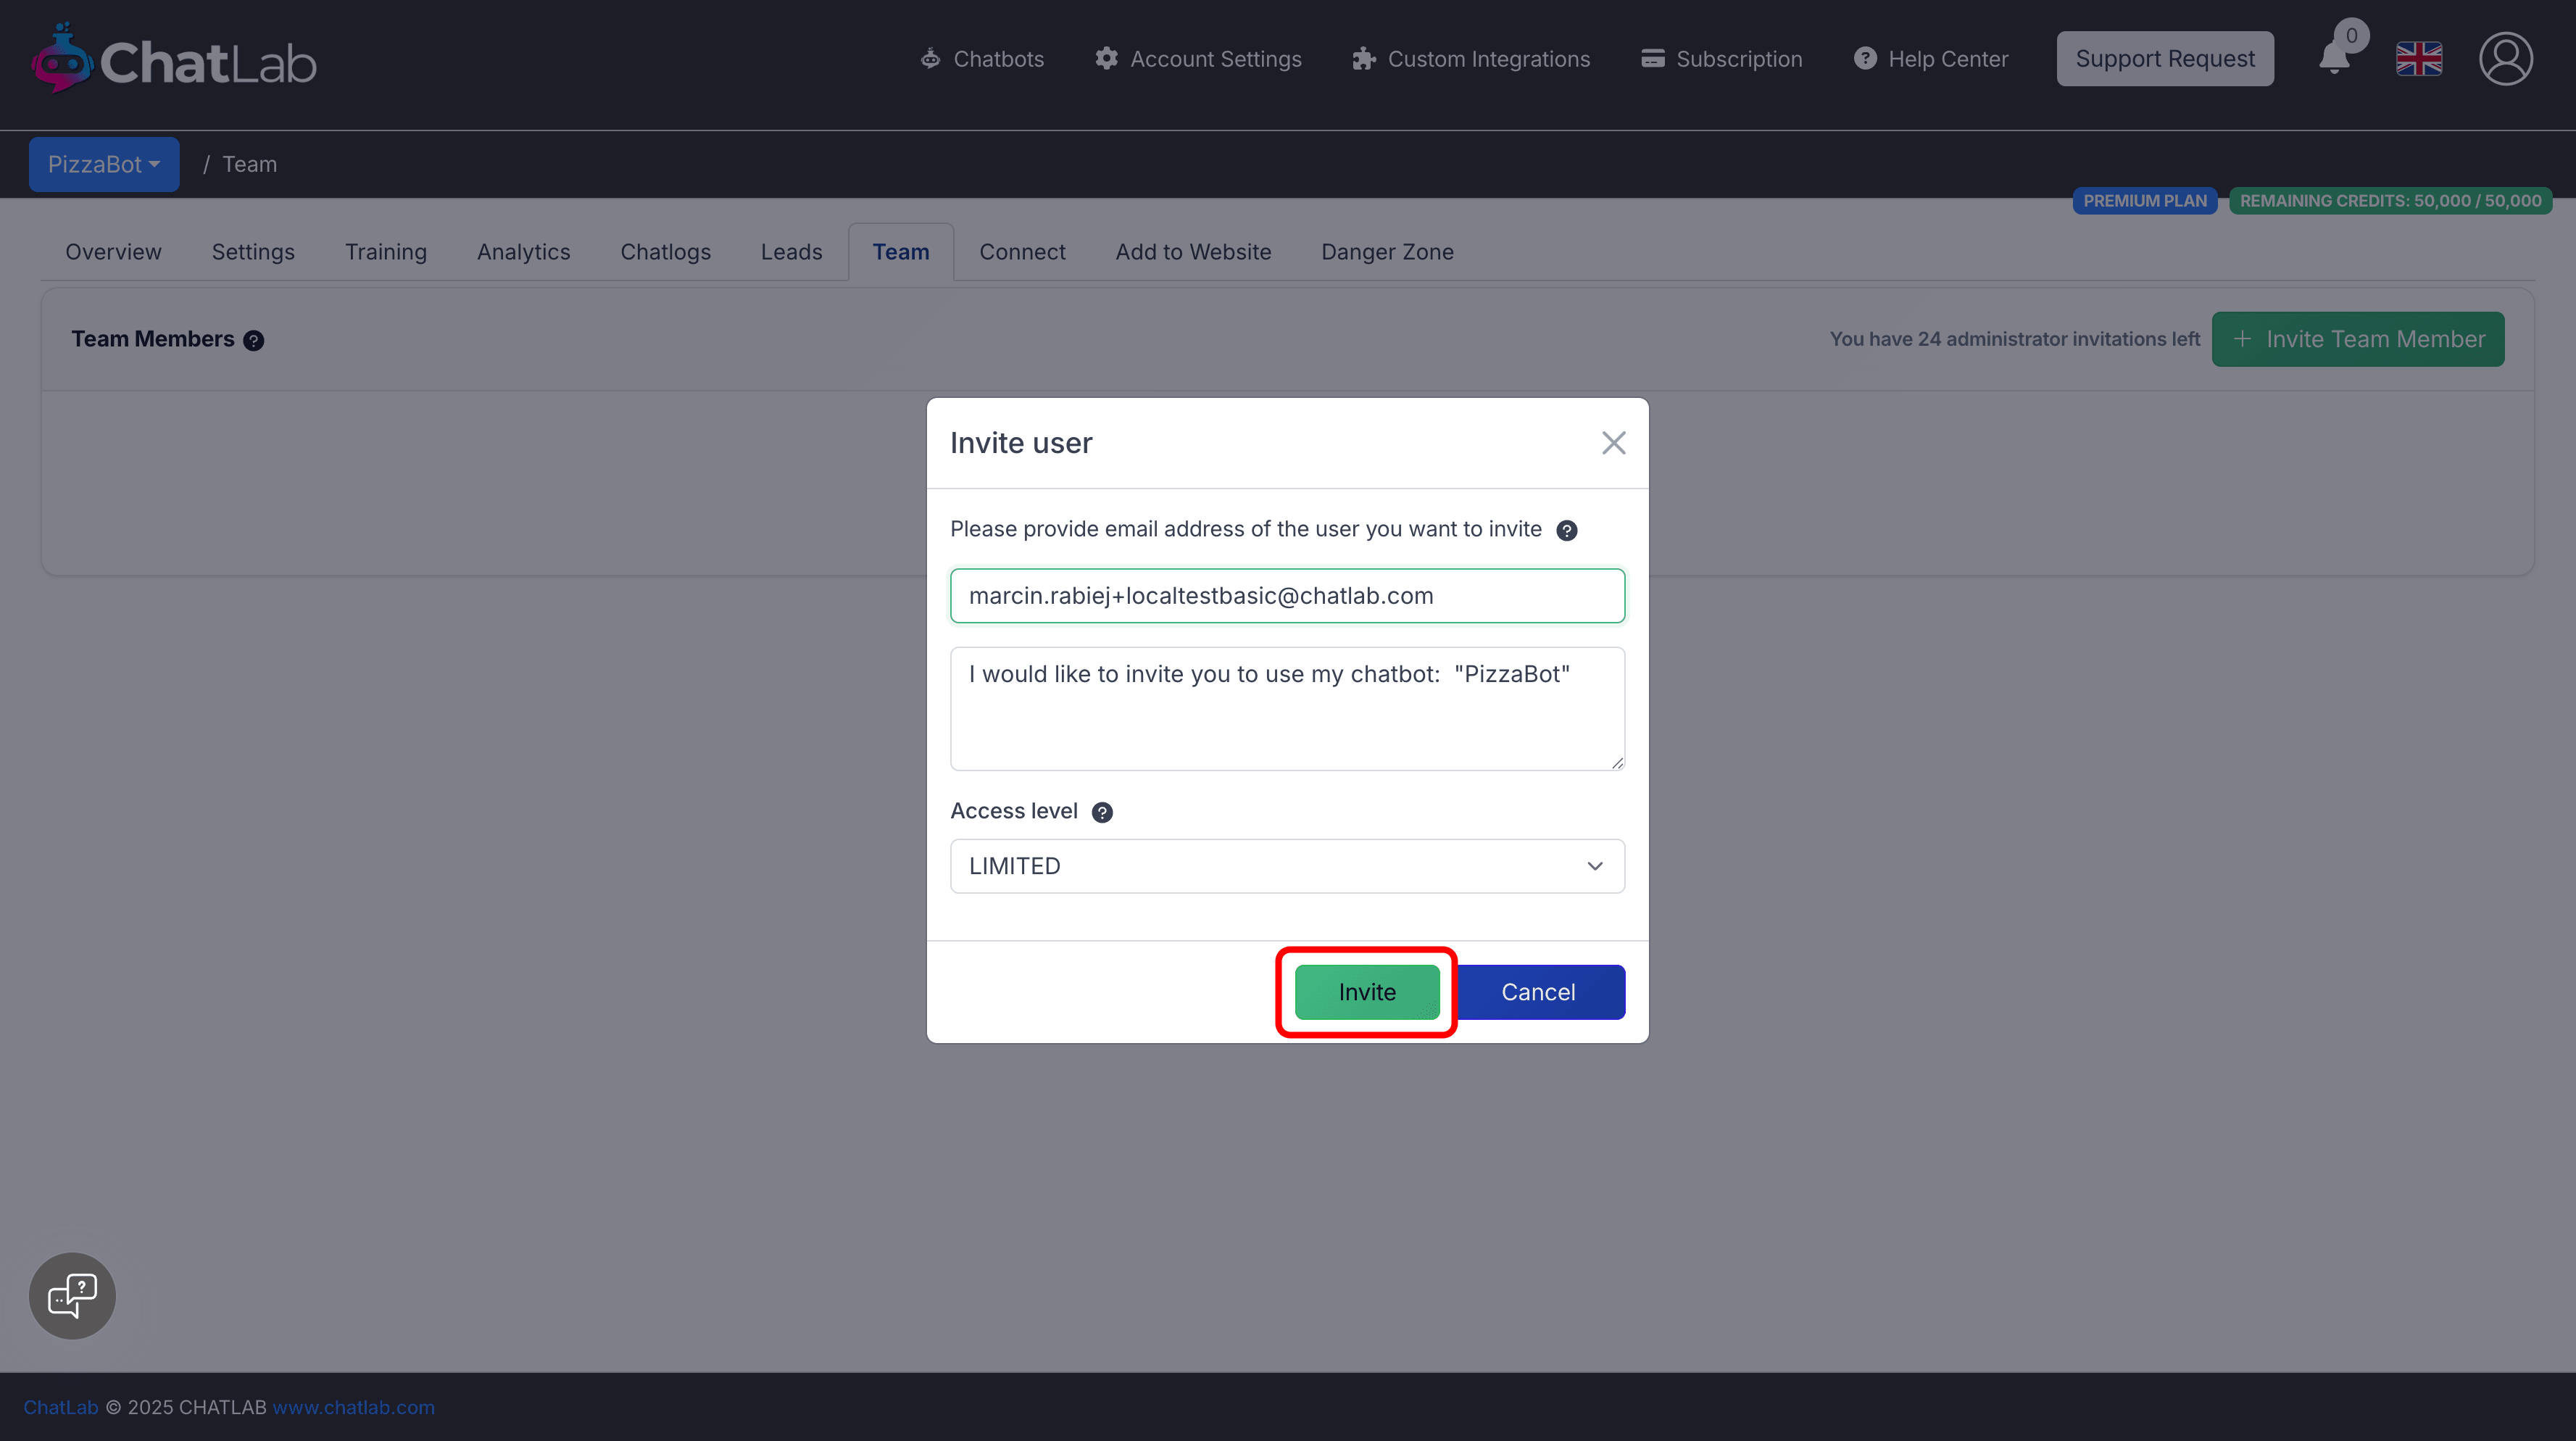
Step 3: Enter details and send
- Enter the team member's email address
- Select the access level (Limited or Full)
- Click Send Invitation
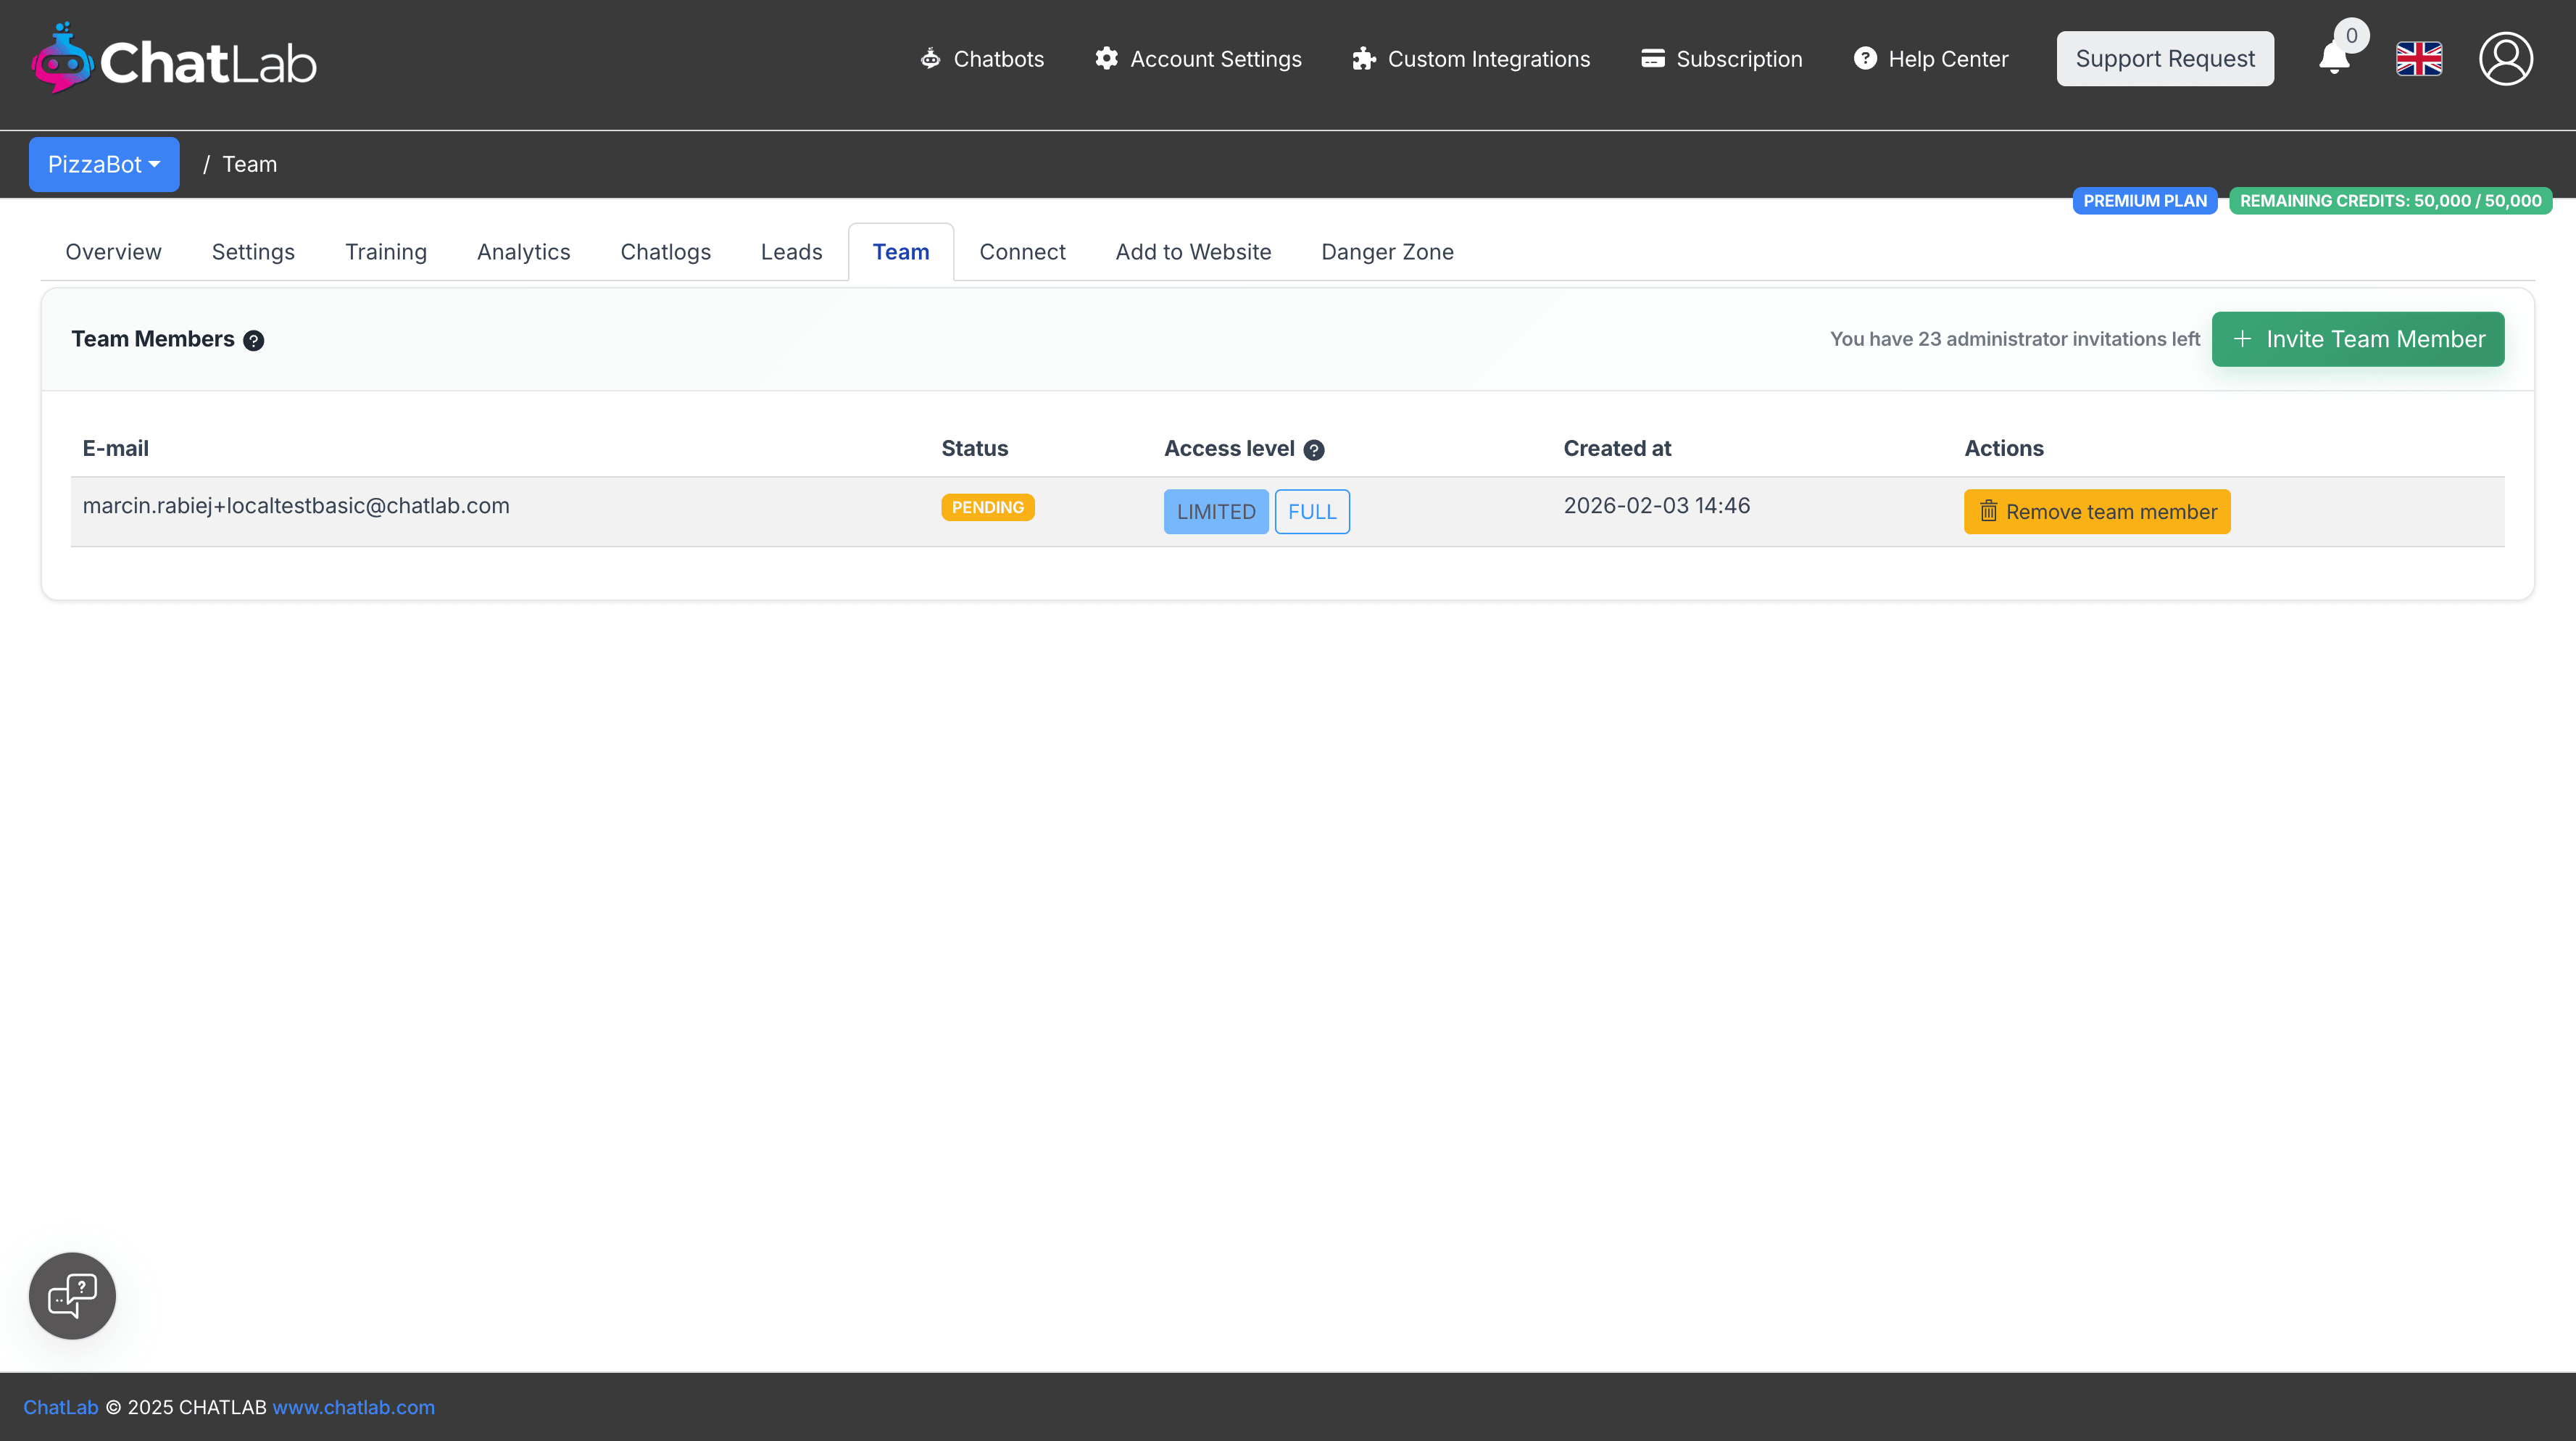
Step 4: Track pending invitations
After sending, the invitation appears in your Team tab with a PENDING status. The invitation remains pending until the team member accepts it.
Accepting an invitation
When someone invites you to their chatbot, you'll see an invitation banner at the top of your dashboard after logging in.
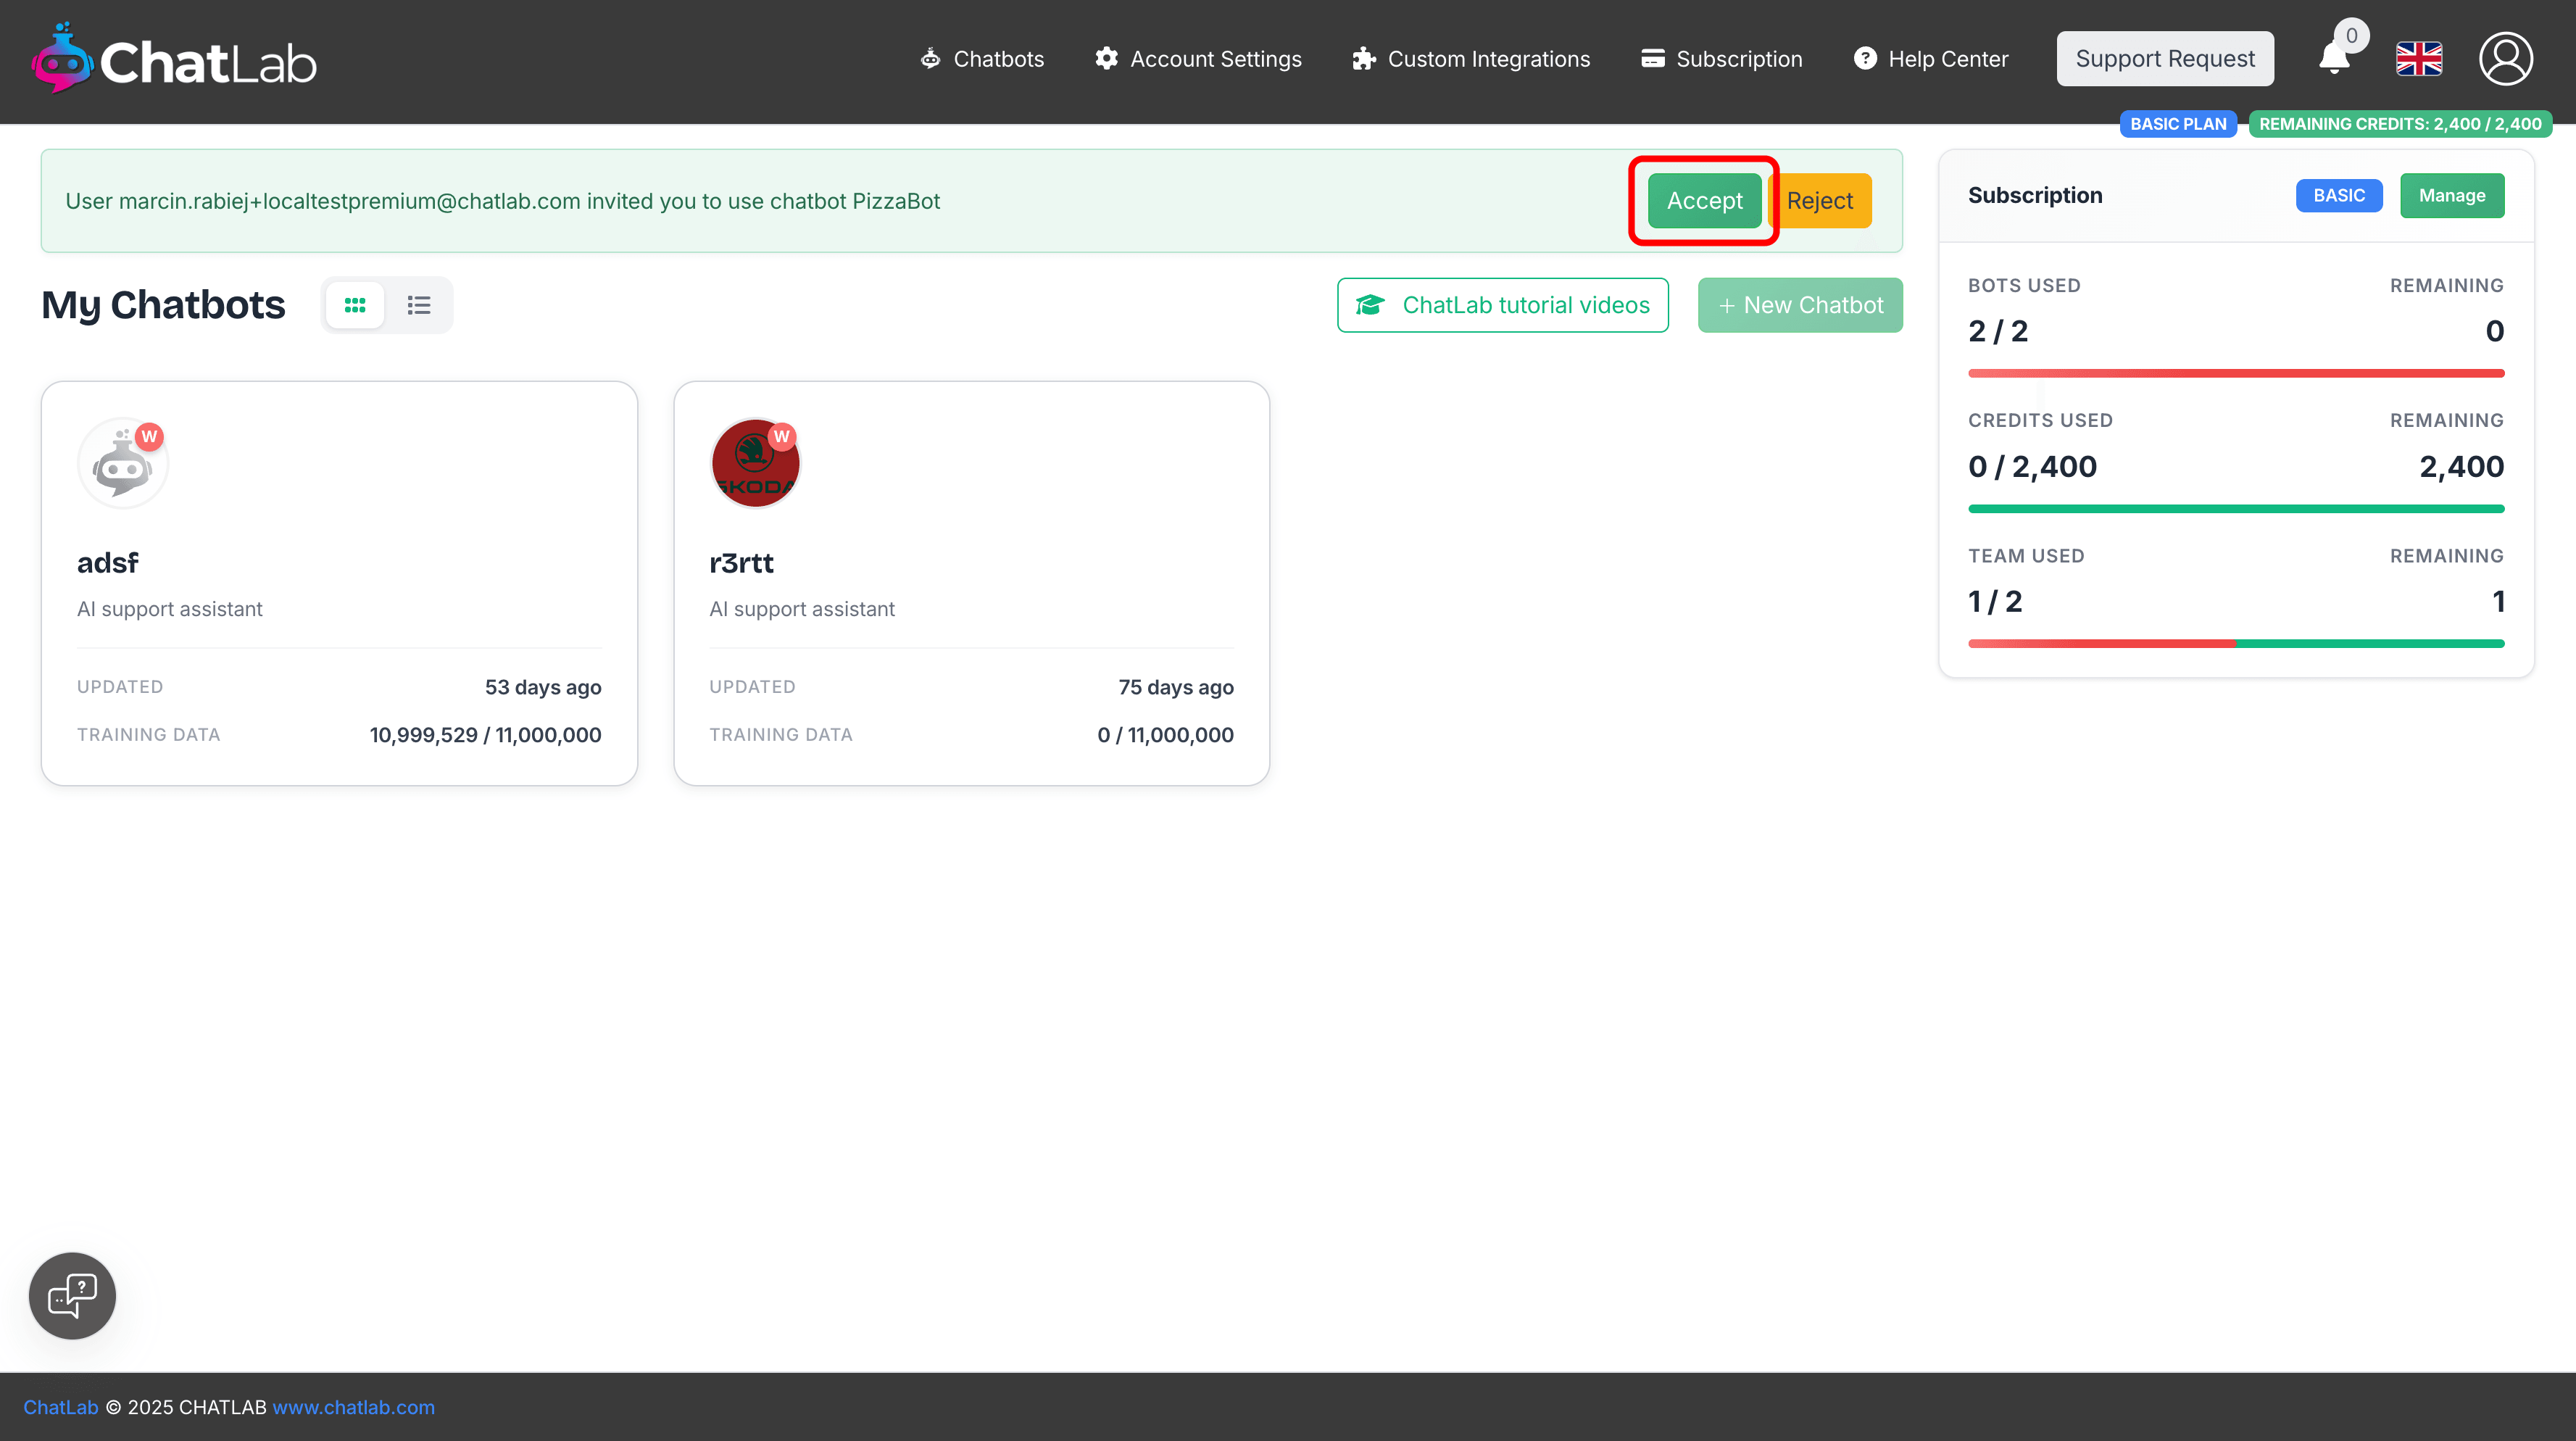
Click Accept to gain access to the shared chatbot, or Reject to decline.
Viewing shared chatbots
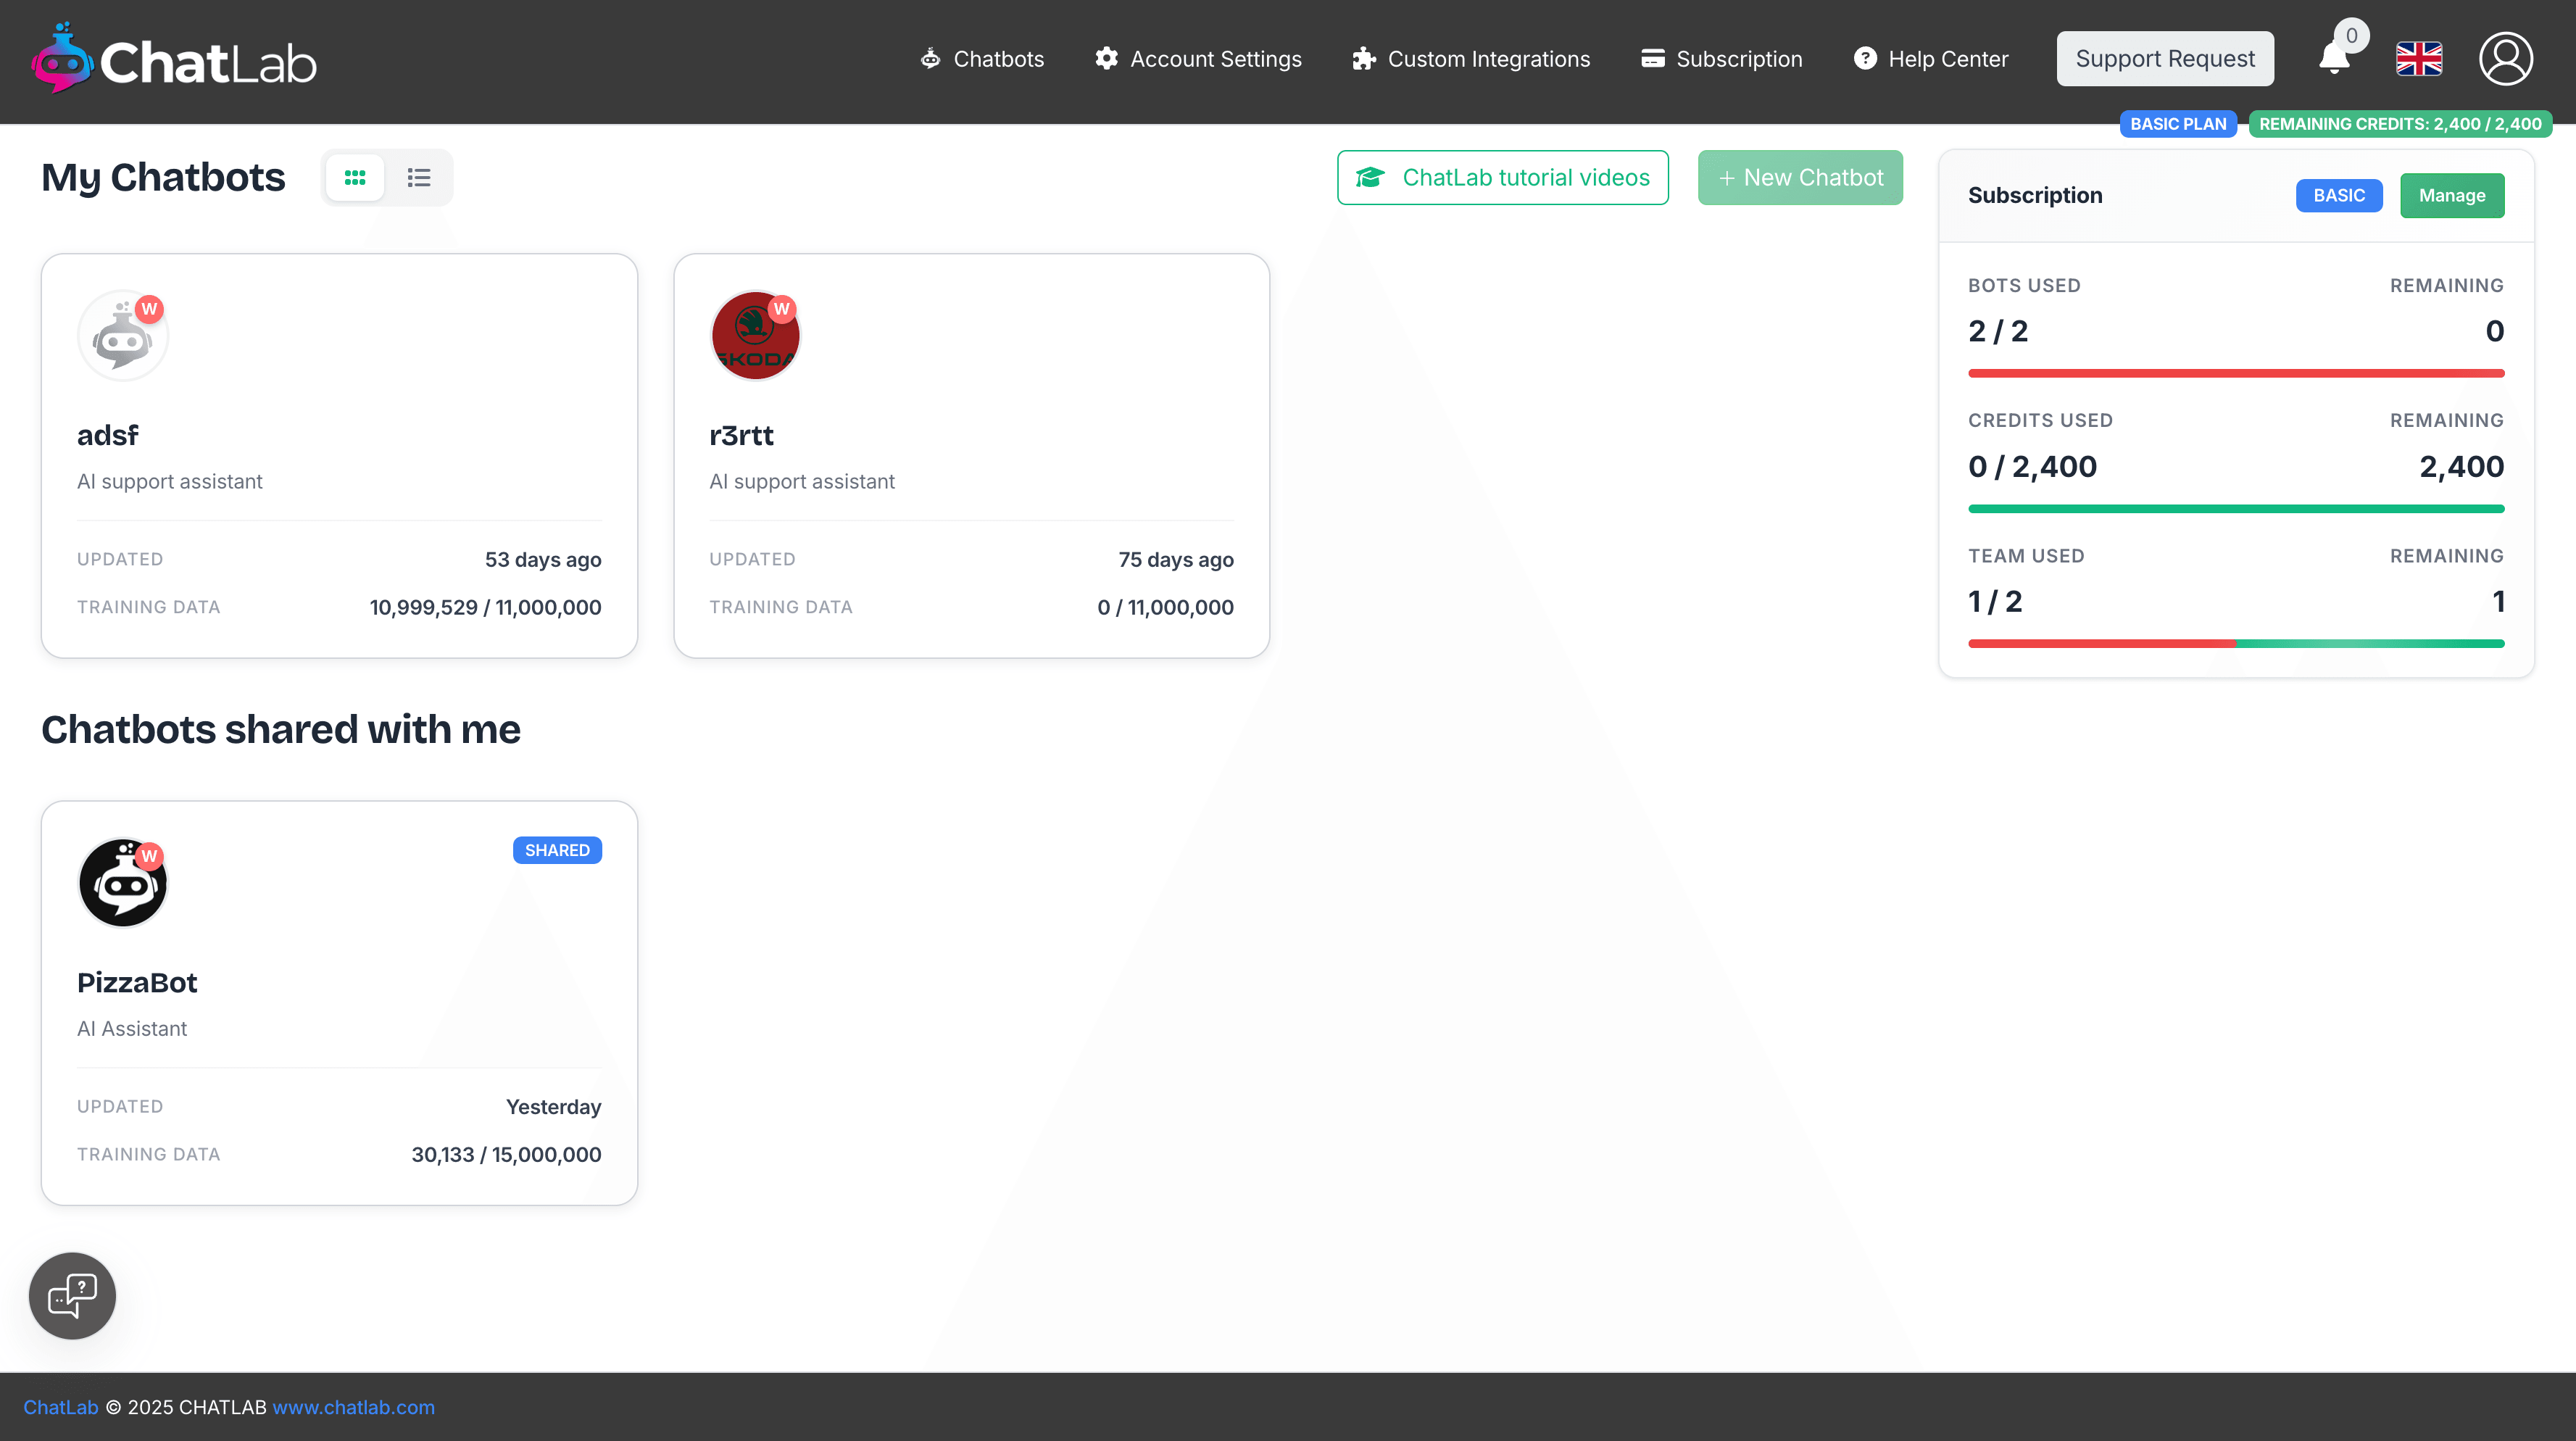
After accepting an invitation, the shared chatbot appears in a new Chatbots shared with me section on your dashboard. Shared chatbots display a SHARED badge to distinguish them from your own chatbots.
Access levels explained
Limited access
With Limited access, team members can:
- View chatbot information and settings (read-only)
- Access and review chatlogs
- Run training on existing data sources
- Add corrections to improve responses
- View analytics and leads
They cannot change settings, customize appearance, or delete the chatbot.
Full access
Full access provides complete control, equivalent to the chatbot owner:
- Everything included in Limited access
- Modify all chatbot settings
- Customize appearance and behavior
- Add and remove training data sources
- Delete the chatbot
Managing team members
From the Team tab, you can:
- View all team members and their access levels
- Change access levels for existing members
- Remove team members to revoke their access
- Resend invitations for pending invites
Agency portal user management
If you run an agency portal (white-label), you can create and manage user accounts for your portal directly from the Admin section. This gives you full control over who has access to your branded platform.
Creating a portal user
- Navigate to Admin > Users Administration from the main menu
- Click the Create User button in the top-right corner
- Enter the new user's email address
- Optionally set a password - leave the password field empty to auto-generate a secure password
- Click Create
After the user is created, a confirmation screen displays the email and password with copy-to-clipboard buttons next to each field. You can click the clipboard icon to copy either value quickly.
Sending an invitation email
From the user creation confirmation screen, click Edit & Send Invitation to open the invitation email editor. The email is pre-filled with a template that includes the user's login credentials and your portal's login URL.
You can customize the invitation before sending:
- Subject - Edit the email subject line
- Message - Modify the full email body, including the welcome text, credentials, and login link
Click Send to deliver the invitation email to the new user. The email is sent using your portal's SMTP settings, so it arrives from your own domain.
Disabling self-registration
By default, anyone can sign up for an account on your agency portal. If you want to control who joins, you can disable self-registration so that only users you create manually can access the portal.
- Navigate to Account Settings > Custom User Portal
- Find the Allow Self-Registration toggle
- Disable the toggle to prevent new users from signing up on their own
When self-registration is disabled, the "Sign up" link is hidden from the login page, and the registration page redirects to login. New users can only be created by you through the Admin > Users section.
Why share chatbot administration?
Enhanced collaboration - Multiple team members can contribute expertise, ensuring comprehensive and accurate responses.
Continuous improvement - With multiple administrators monitoring conversations, your chatbot evolves with your business needs.
Workload distribution - Share administration tasks to prevent burnout and ensure the chatbot is always well-maintained, especially during peak times.