When a website visitor requests live chat, you respond directly from the Chatlogs panel. This article covers how to find active conversations, receive notifications, set your operator identity, and manage per-chatbot notification preferences.
Accessing live chats
Live chat conversations appear alongside regular chatbot conversations in the Chatlogs tab. A visitor may start with the AI chatbot and then request a live operator mid-conversation.
Select your chatbot and click the Chatlogs tab.
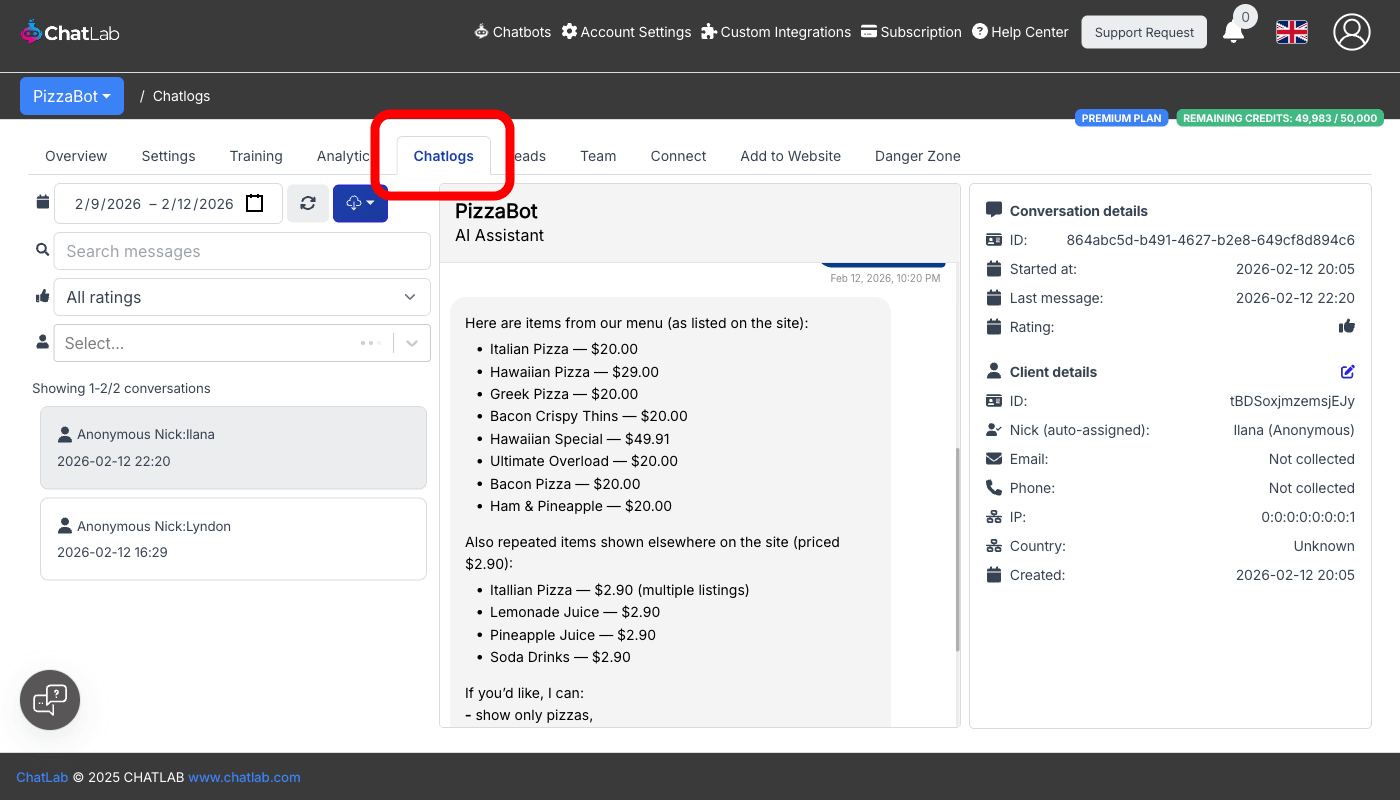
Active conversations waiting for an operator are marked with a blinking live chat icon in the conversation list. Click any active conversation to open it and begin exchanging messages with the visitor in real time.
While the live chat is active:
- The message input is enabled so you can type and send replies
- A typing indicator shows when the visitor is typing
- You can close the live chat session at any time using the close button in the chat header
Once you close the session (or it times out), the conversation returns to AI-only mode and the message input is disabled.
Live chat notifications
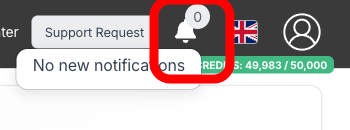
When a visitor starts a new live chat or sends a message in an active session, a notification appears on the bell icon in the top-right corner of the dashboard. The badge count shows how many conversations need attention.
The dropdown groups notifications into two categories:
- New Live Chats - Not Answered Yet -- sessions where no operator has joined
- Live Chats - New Messages -- sessions where the visitor sent a new message
Click any notification to jump directly to that conversation in the Chatlogs panel.
Setting up your operator name and avatar
Go to Account Settings > Live Chat User Settings.
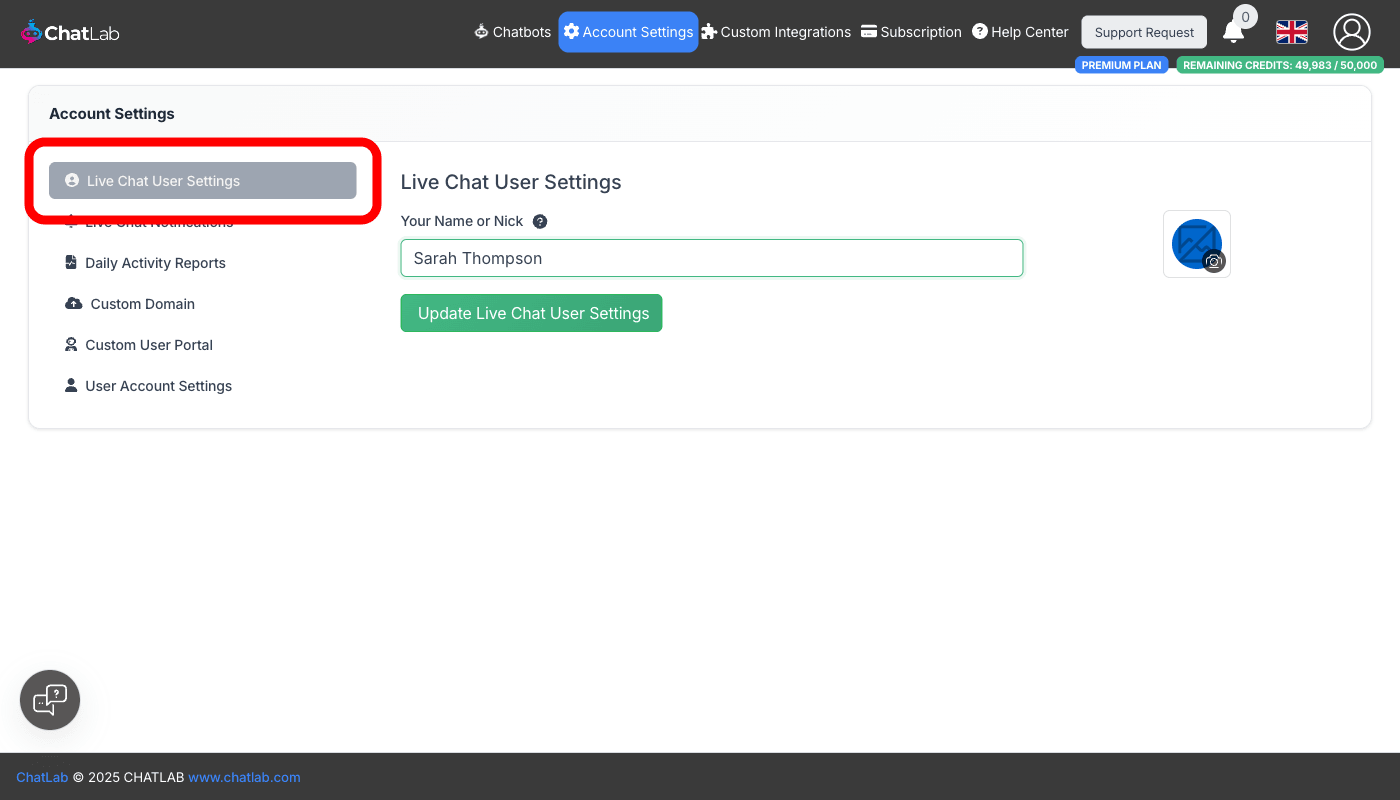
Enter your name or nickname and optionally upload a custom avatar. These are displayed to visitors during live chat conversations and appear in the chatlogs history.
If you do not set a custom avatar, a default headphones icon is used and "Admin" is shown as your name.
Click Update Live Chat User Settings to save.
Enabling browser notifications
Go to Account Settings > Live Chat Notifications.
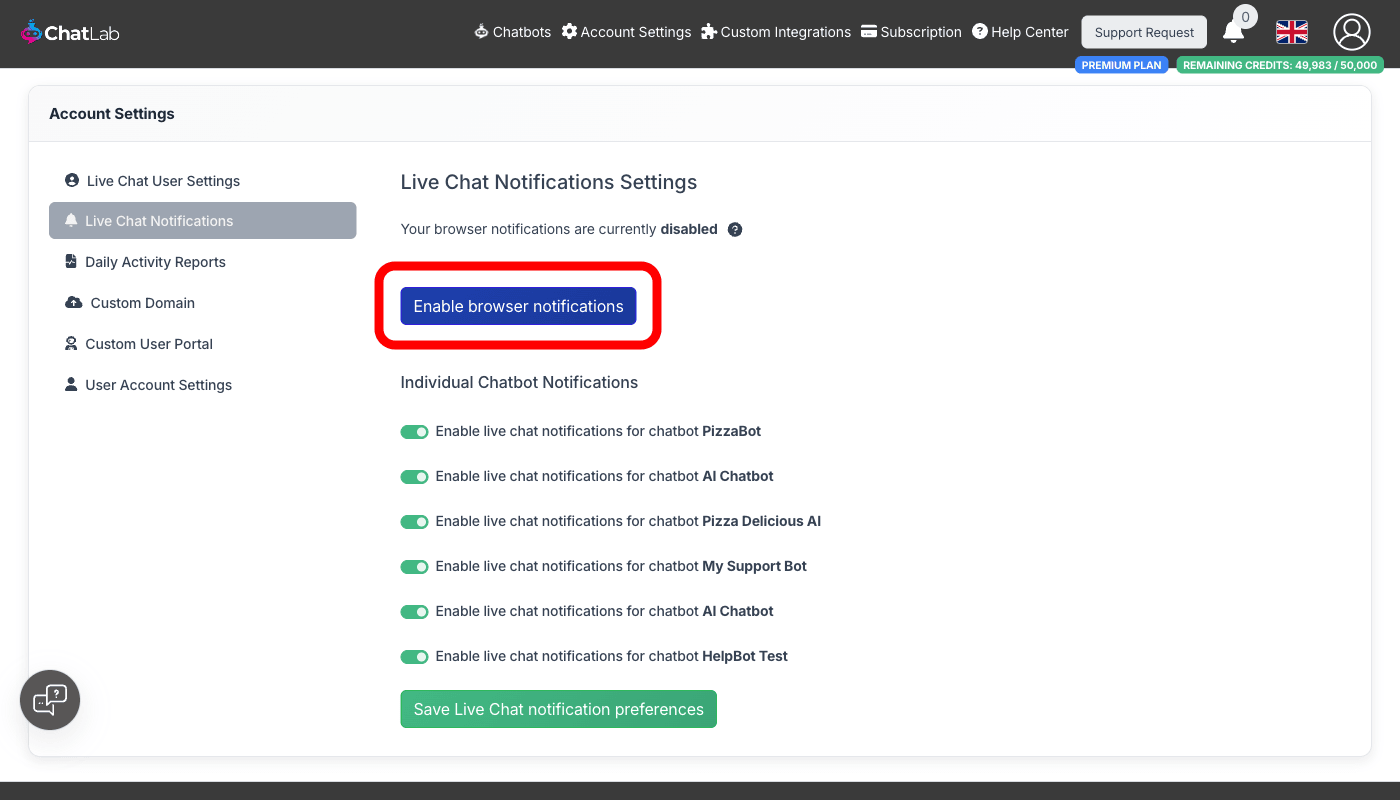
Click Enable browser notifications to receive desktop alerts with sound when a live chat starts or a new message arrives. If your browser shows the notification status as "disabled", click the button to grant permission.
After enabling, you will receive a sound alert and a system notification you can click to jump directly to the ChatLab window.
⚠️ Receiving sound notifications for inactive tabs may require additional browser settings. Some browsers mute sounds from background tabs by default.
Per-chatbot notification preferences
On the same Account Settings > Live Chat Notifications page, scroll down to the Individual Chatbot Notifications section. Toggle notifications on or off for each chatbot individually. This includes chatbots shared with you by other users.
Click Save Live Chat notification preferences after making changes.
This is useful when you want to delegate specific chatbots to certain operators. For example, you can disable notifications for chatbots that another team member handles. See Live Chat setup with multiple operators for more details.
Related articles
- Live Chat -- how to enable live chat, configure the schedule, and customize messages
- Live Chat setup with multiple operators -- configuring notifications for teams
- Human Support Contact Form -- the offline fallback when live chat is unavailable