Connect your ChatLab chatbot with your Shopify store to give customers real-time access to product information and order tracking directly in the chat.
Important: E-Commerce Best Practices
After completing the integration below, read the comprehensive guide on optimizing your chatbot for e-commerce: How to set up ChatLab for your E-commerce store
What the Integration Provides
Product Search -- Customers can search your Shopify catalog by entering a phrase. The chatbot searches across product titles, descriptions, types, tags, and vendors, returning matching active products with:
- Product name, description, and type
- Vendor and tags
- Price or price range (for products with multiple variants)
- Available variants with SKU, compare-at price, inventory quantity, and availability status
- Product image and direct link to your store
Order Details -- Customers can check order status by providing their order number and email address. Both values are validated against your Shopify store records. The chatbot returns:
- Order reference, date, total, and currency
- Ordered items with names, quantities, prices, SKU, variant title, and vendor
- Fulfillment status and tracking information (number, company, URL)
- Shipping address and billing address
- Shipping method and cost
- Customer contact information (email, name, phone)
- Cancellation reason and date (for cancelled orders)
Step 1: Create Shopify API Credentials
- Log in to your Shopify admin panel
- Go to Settings > Apps
- Click Develop apps
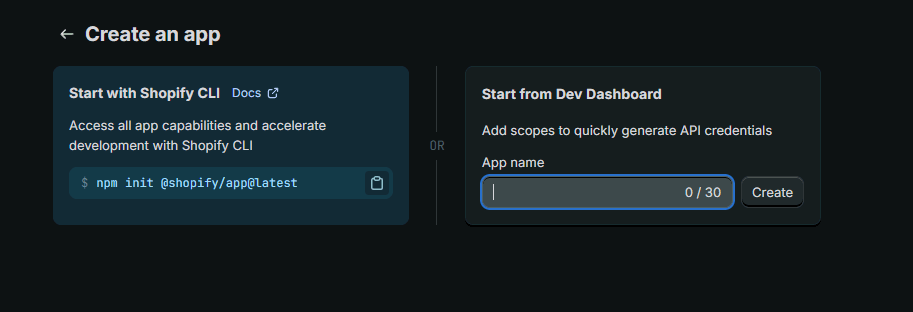
- On the App Development page, click Build apps in Dev Dashboard -- this opens dev.shopify.com/dashboard
- Click Create app and enter a name (e.g., "ChatLab Integration")
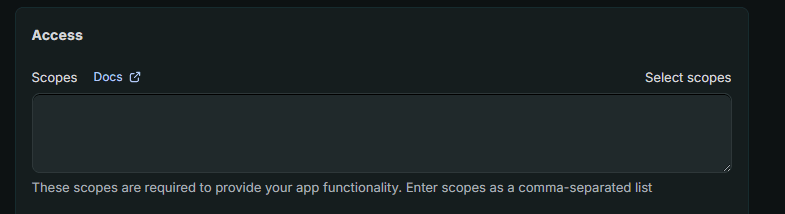
- Once created, scroll to the Access section and click Select scopes
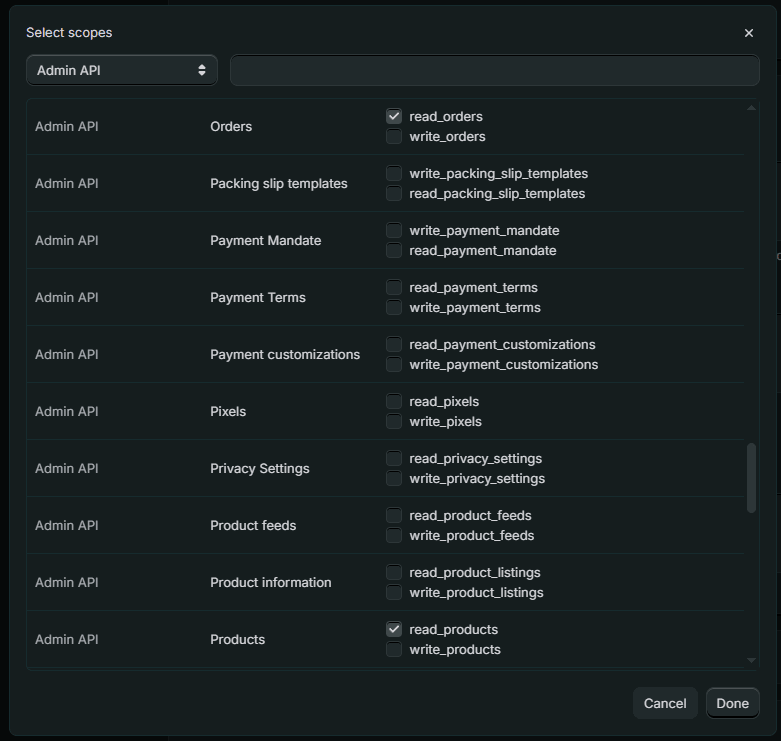
- Under Admin API access scopes, find and enable these permissions:
read_productsread_orders
- Click Done
- Click the Release button to release your app
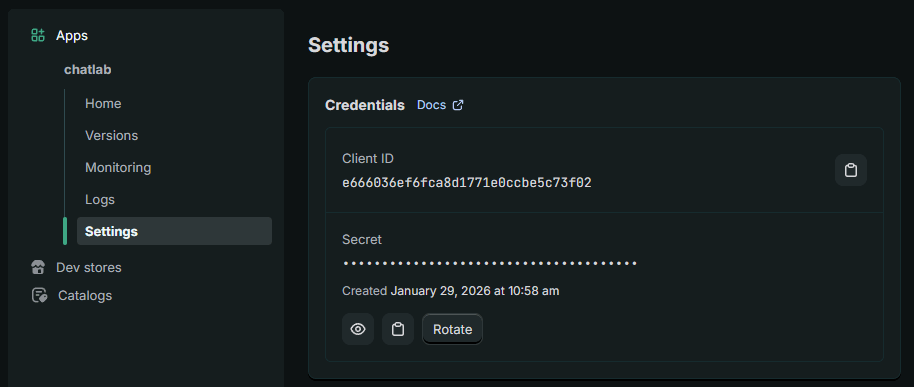
- Go to App settings and copy the Client ID and Secret -- store these securely, you will need them to connect with ChatLab
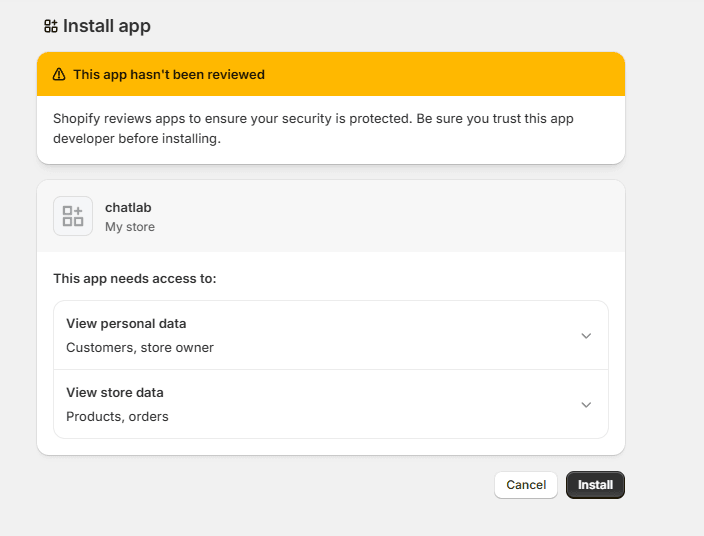
- Go to the Home section and click to install the application in your store
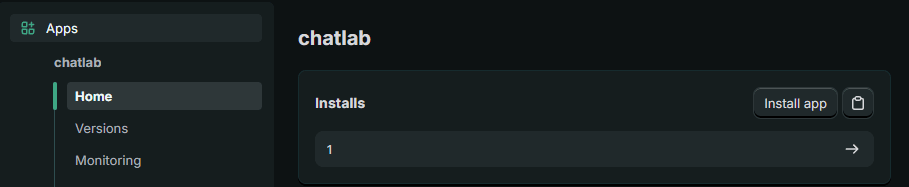
- Select your store and confirm by clicking Install
Step 2: Find Your Store Subdomain
Your subdomain is the part before .myshopify.com in your Shopify admin URL. For example, if your admin URL is https://pizza-delicious.myshopify.com/admin, then your subdomain is pizza-delicious.
Step 3: Connect Shopify in ChatLab
- Log in to ChatLab and select your bot
- Go to the Connect tab
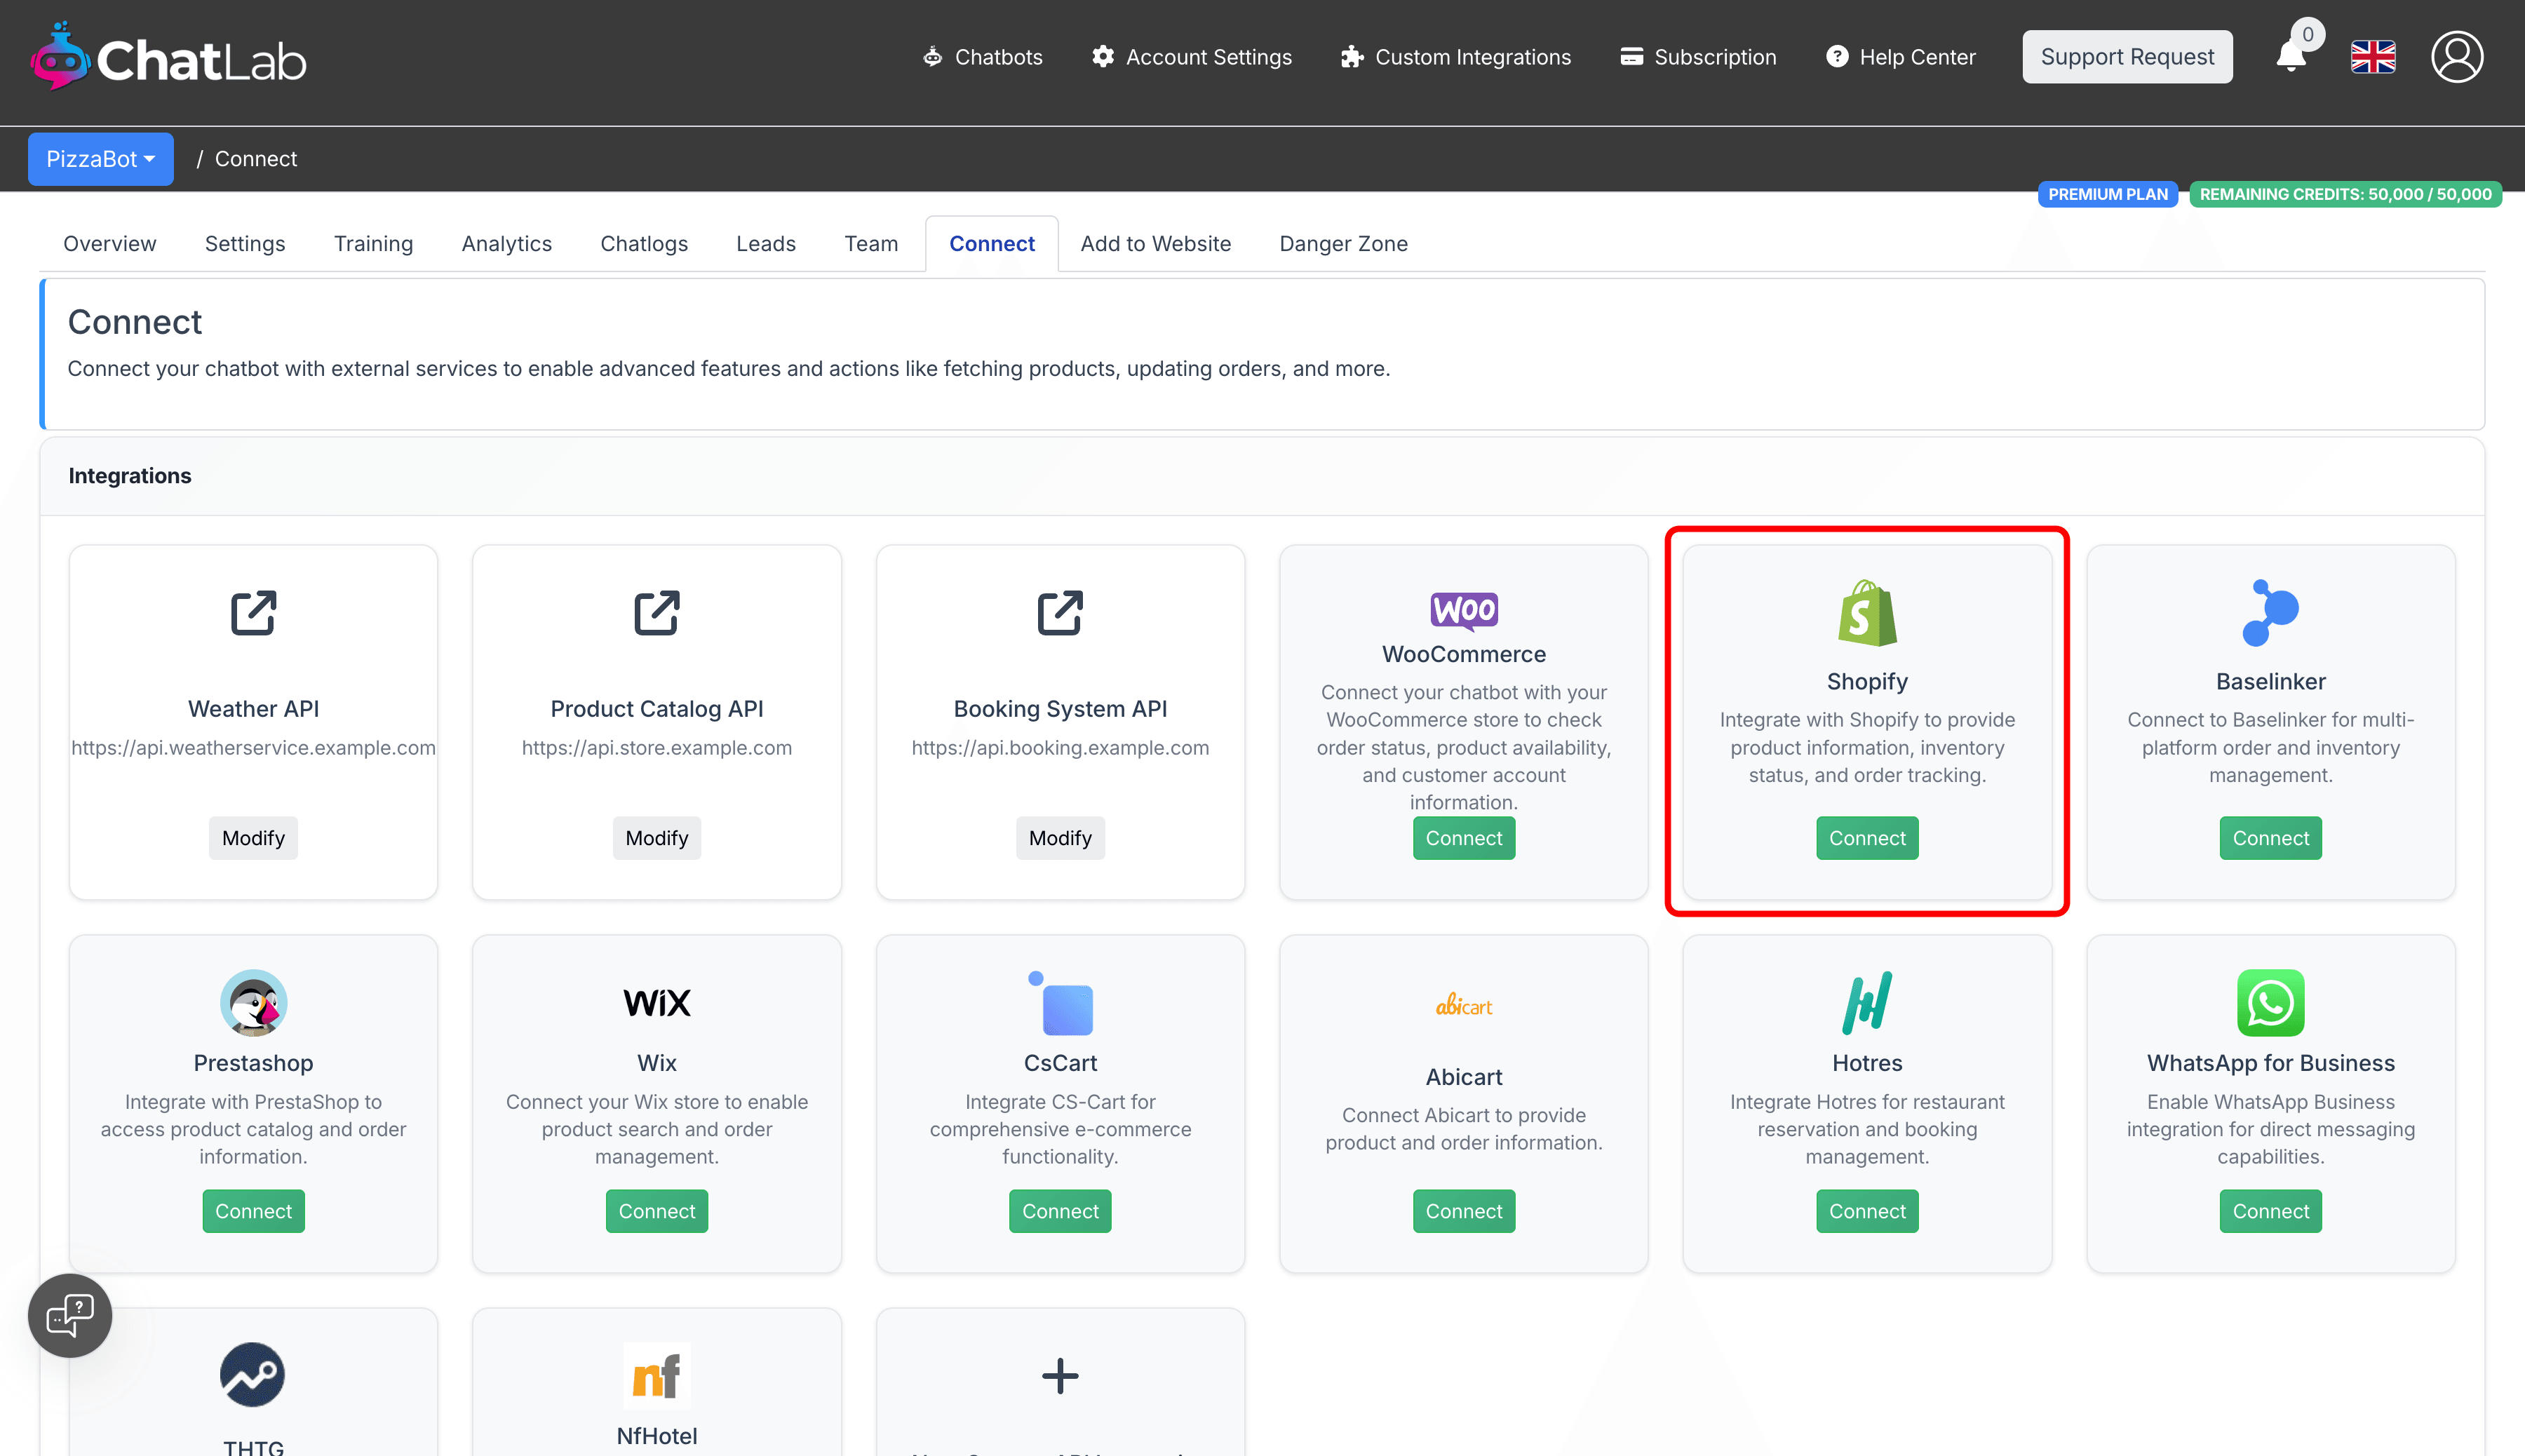
- Click Connect on the Shopify tile
- Enter your Client ID (from Step 1)
- Enter your Secret (from Step 1)
- Enter your Shopify subdomain (from Step 2)
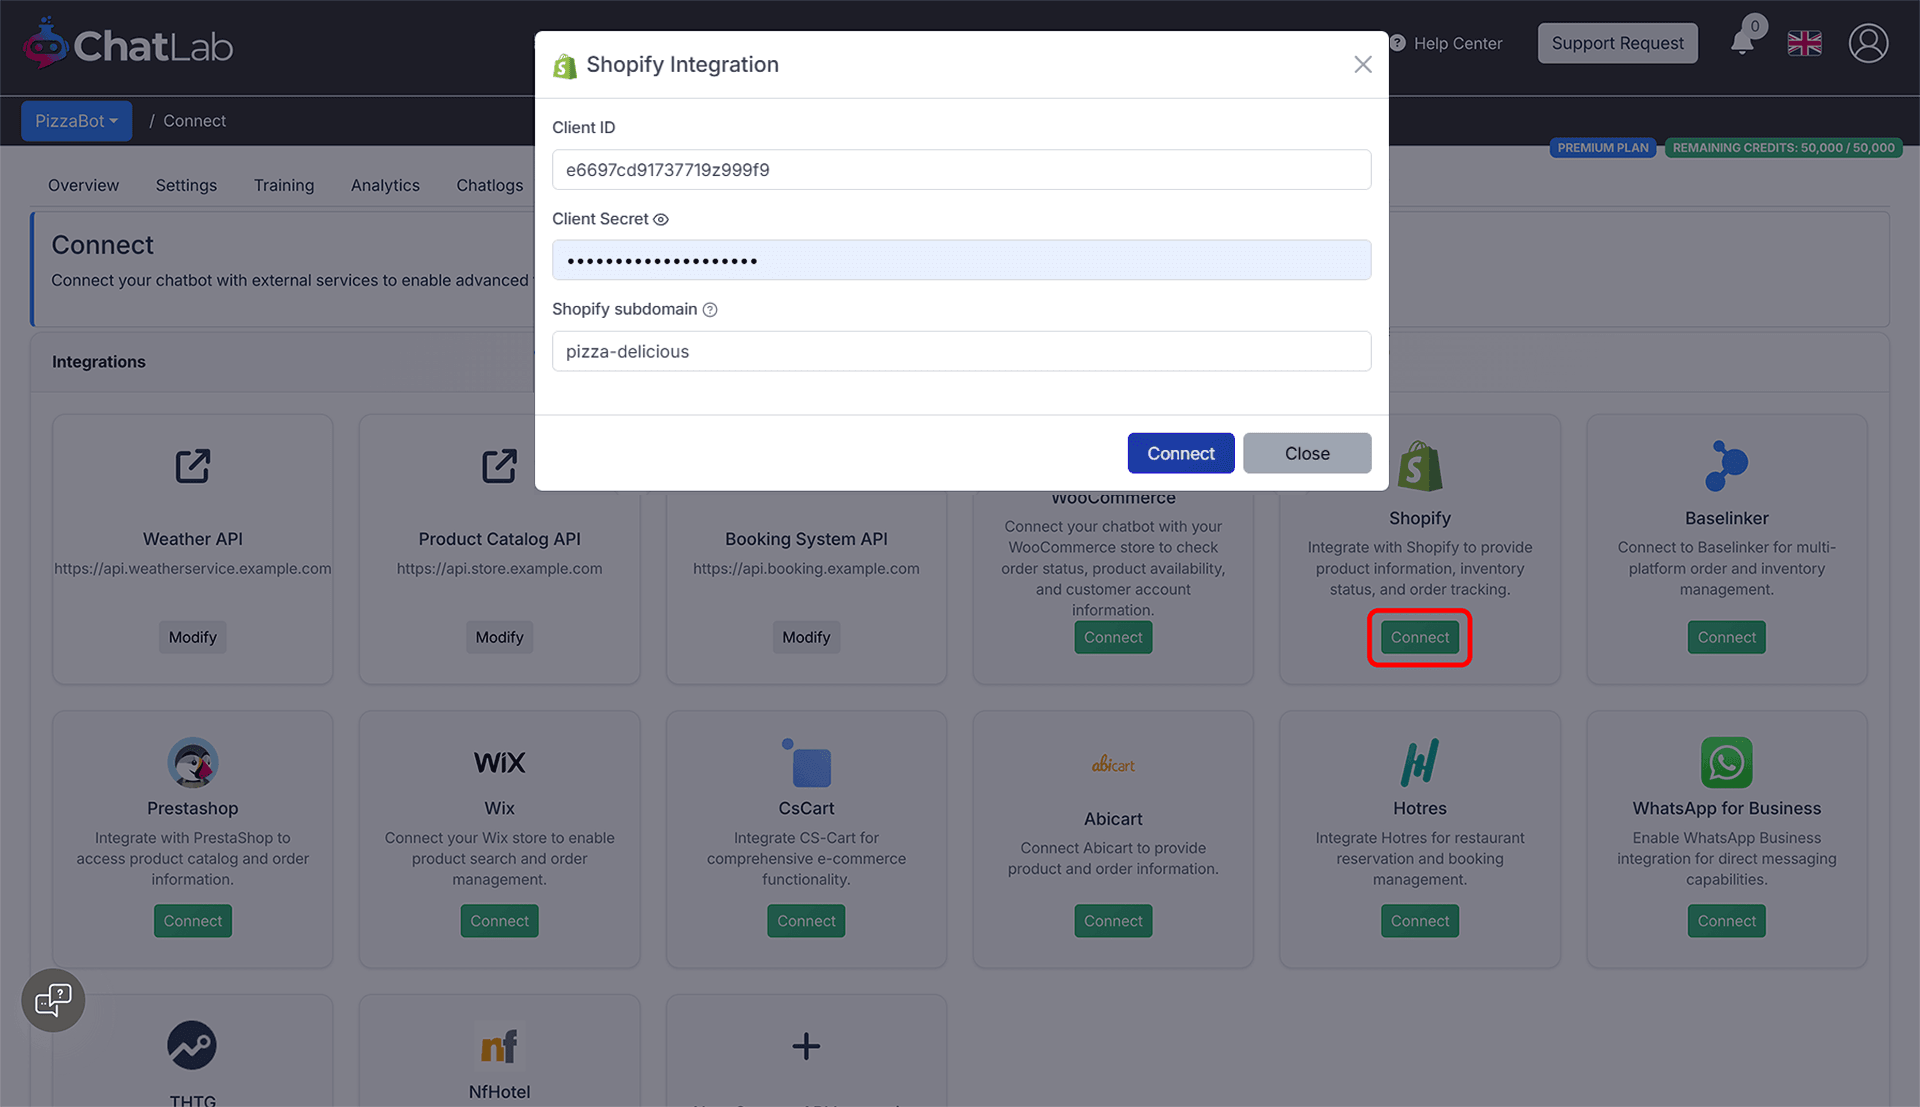
- Click Connect
ChatLab automatically tests the connection by verifying that your API credentials have the required access scopes. If successful, you will see a confirmation message.
Step 4: Configure Shopify Actions
After connecting, you can enable and customize individual AI actions. Navigate to Settings > Actions and filter by the Shopify platform.
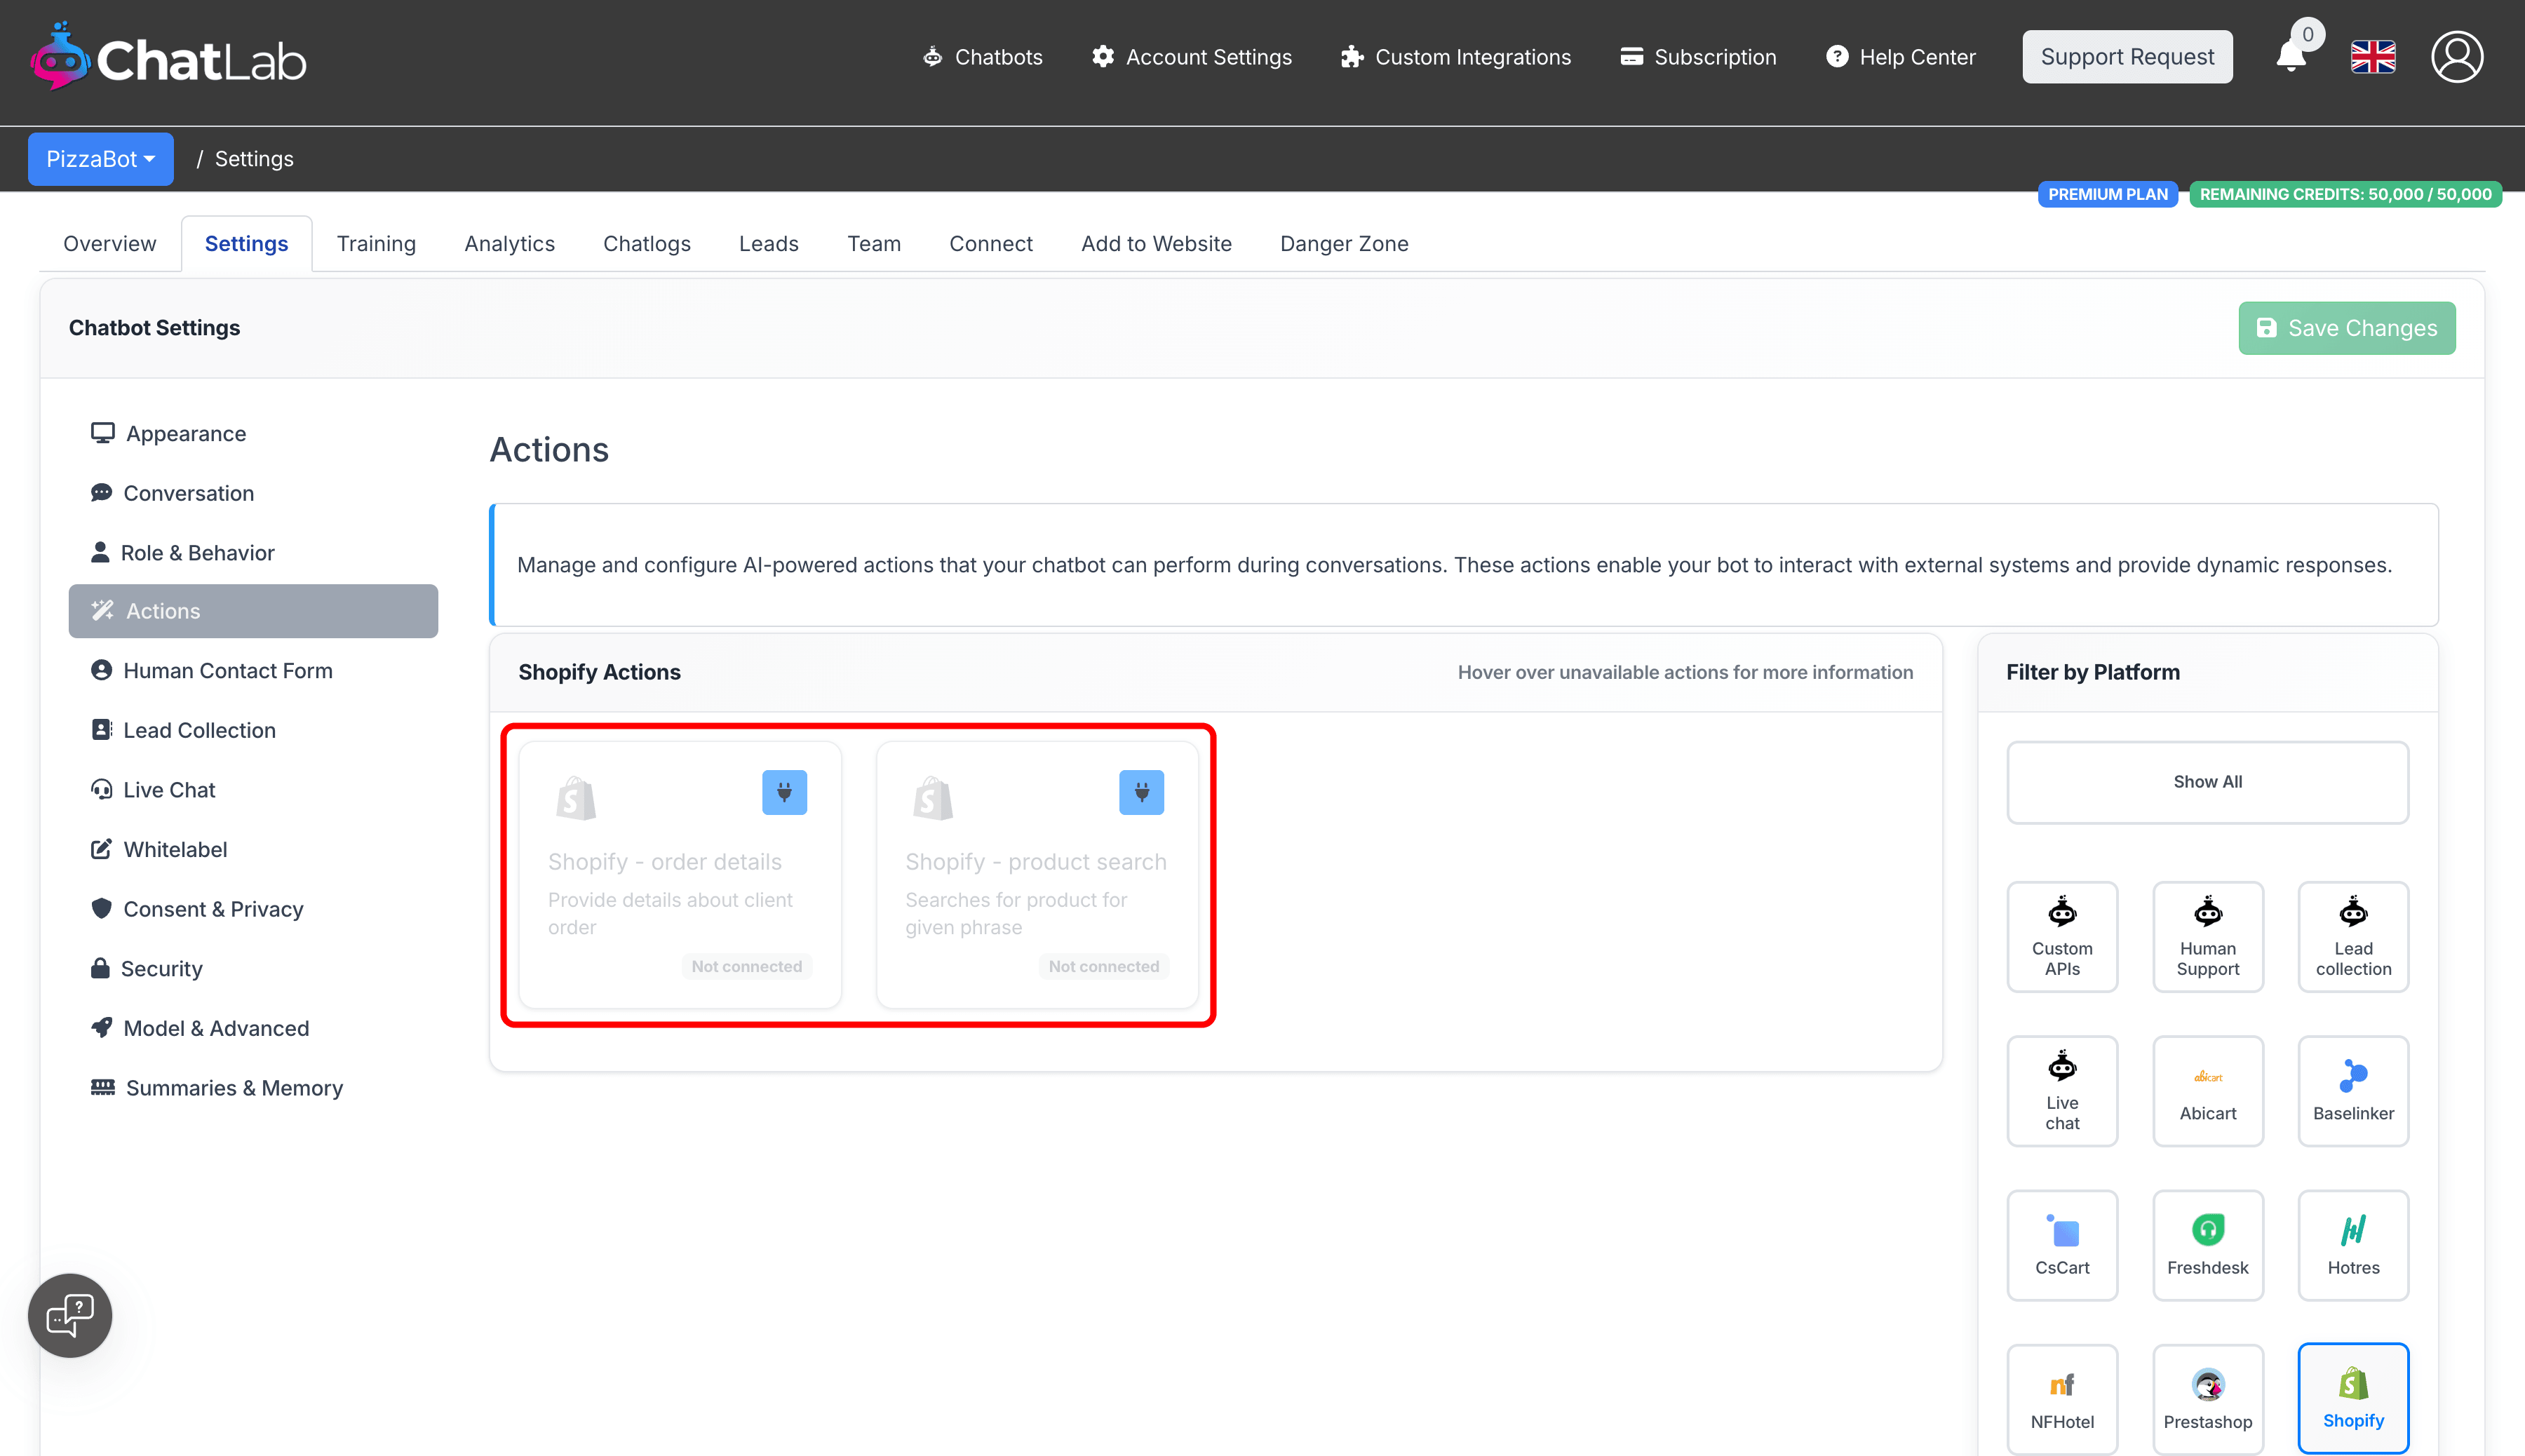
Two actions are available:
- Shopify - product search -- enables the chatbot to search your product catalog
- Shopify - order details -- enables the chatbot to look up order information
Click the activate button on each action to enable it. You can also customize the action label (the message shown to users while the action runs) and the instructions that guide how the AI uses each action.
Testing Your Integration
After activating the actions, open your chatbot widget and try:
- "Show me running shoes" (tests product search)
- "What's the status of my order #1001?" (tests order details)
Verify that the responses match data from your Shopify store and that product links open correctly.
Install Chatbot on Your Shopify Store
To add the chat widget to your Shopify storefront:
- In ChatLab, go to the Add to Website tab for your bot
- Select the Shopify platform tab
- Copy the code snippet
- In your Shopify admin, go to Online Store > Themes
- Click the three-dot menu on your active theme and select Edit code
- Open the
theme.liquidfile under Layout - Paste the code snippet inside the
<head>section - Click Save
At the end - you need to enable AI Actions available for Shopify - Order details and Product Search.