Upload files to add documents directly to your chatbot's knowledge base. ChatLab extracts text from your files, processes the content, and makes it available for the chatbot to reference when responding to user queries.
Where to find file upload
From the main menu, select Chatbots, click on your chatbot, then select the Training tab. In the left sidebar, click Files.
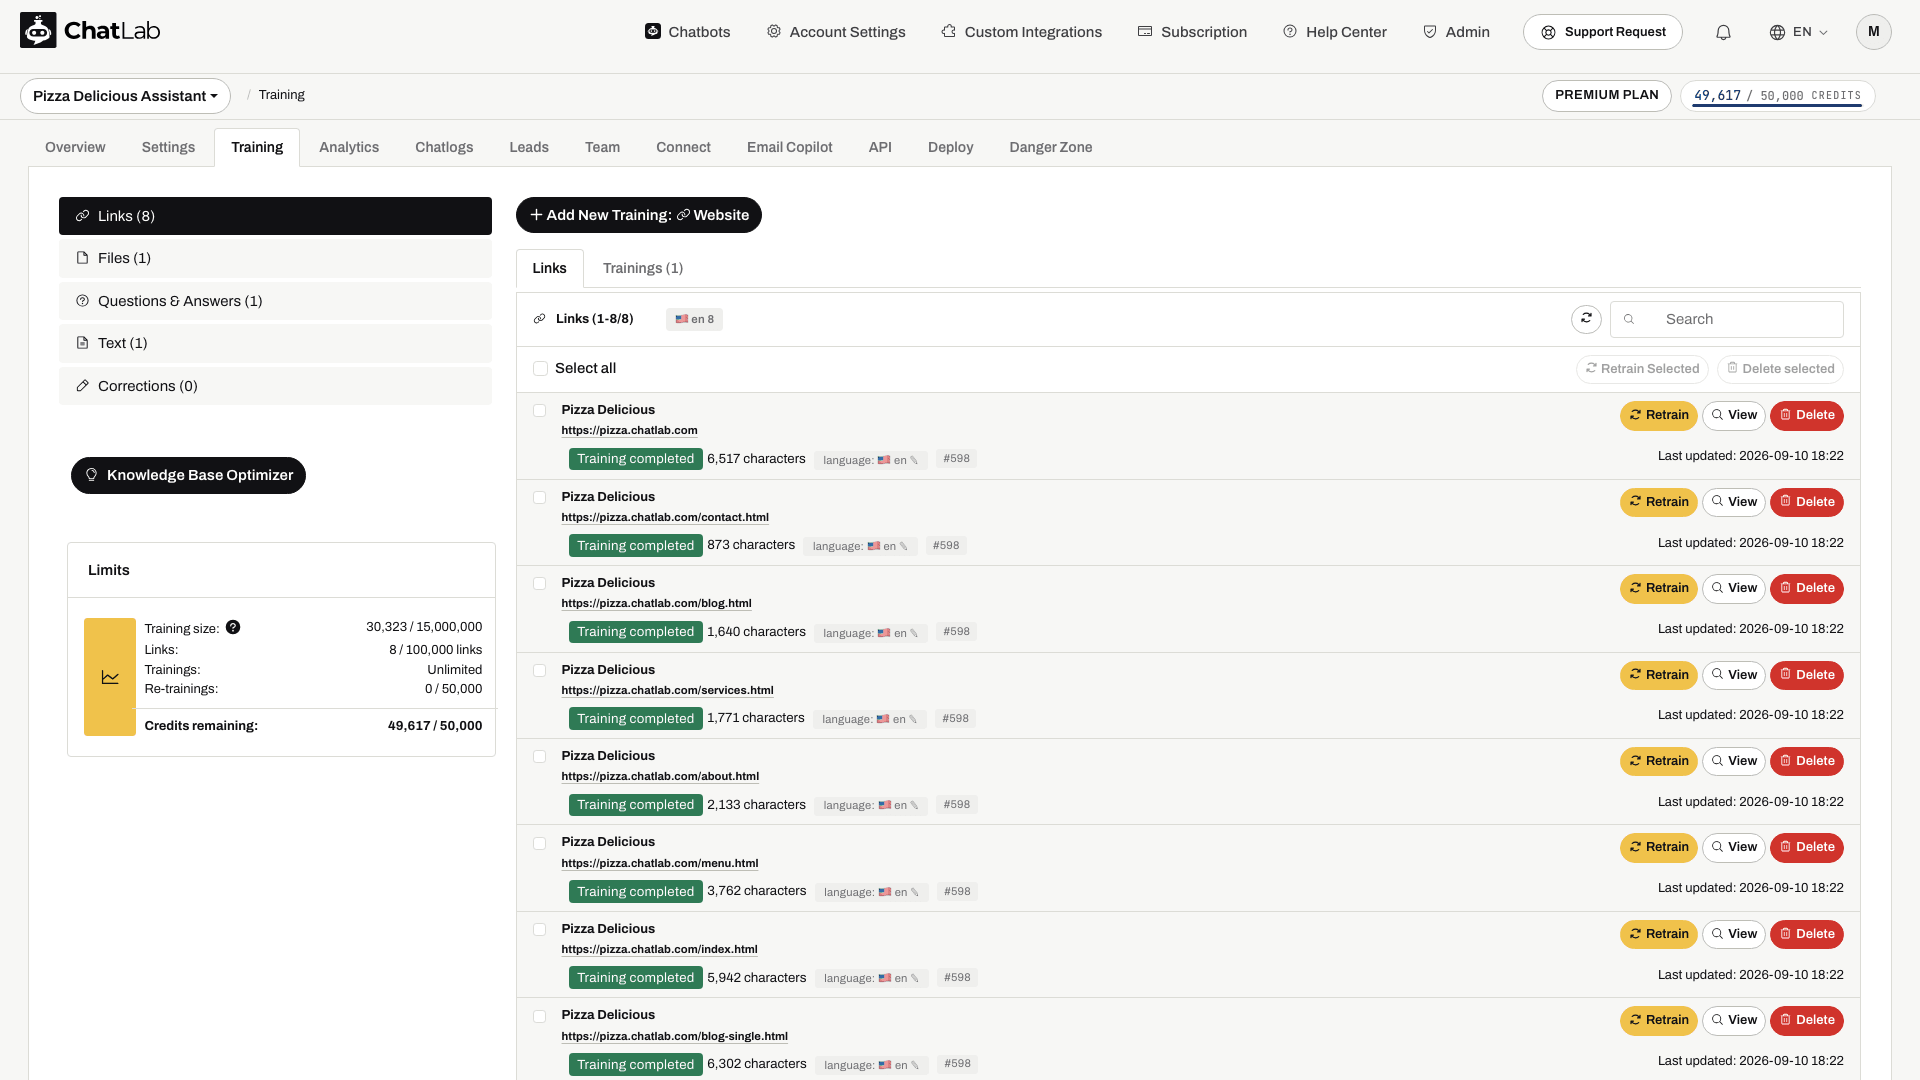
Before uploading, create a chatbot and check its training capacity. The 20 MB upload limit is 20,000,000 bytes and measures file size; the training limit measures extracted characters. Use documents with readable text. Image-only PDFs need text recognition before upload; ChatLab's PDF parser extracts the existing text layer. Check the preview carefully for scanned PDFs or complex tables.
The server also limits each multipart upload request to 50 MB in total. The browser sends selected files individually, so this is not a shared 50 MB allowance for the whole selection. Selecting 20 files does not guarantee that all will train successfully: each must meet the file limit, and the extracted content must fit the chatbot's remaining training capacity.
How to add files
- Click the Add New Training: File button at the top of the page.

- Click Choose Files to open the file picker. Select one or more files from your computer. Supported formats: PDF, TXT, MD, JSON, DOC, DOCX, CSV, XLS, XLSX. You can select up to 20 files at once (max 20 MB per file).

- After selecting your files, click Upload to start the upload and training process.

How file processing works
After you click Upload, ChatLab processes your files in the background:
- Upload - Your files are sent to the server.
- Processing - ChatLab extracts text content from each file.
- Training - The extracted data is indexed and integrated into your chatbot's knowledge base.
You will see a confirmation message once the upload is complete. Training continues in the background, so you can leave the page and come back later.

Once training is finished, your files appear in the File sources list with a green "Training completed" status. Each file shows the character count and the date it was last updated. You can use the View button to inspect the extracted content, or Delete to remove it.

Verify and use the content
Keep the page open until upload finishes. Check any per-file error messages; a partial success does not mean every selected file was added. Processing can continue after upload, and its duration depends on the documents' size and structure. Once a file shows Training completed, use View to check the extracted text, then open Overview and ask a question answered by that file. To replace an outdated document, upload the revised file and remove the obsolete source so conflicting copies do not remain.