There are two ways to add a ChatLab chatbot to your PrestaShop store: installing the ChatLab module (recommended) or manually pasting the script code into your theme.
Before you start
Create and train your chatbot before sharing it with customers. For installation, you also need access to your PrestaShop back office (the admin panel of your store) and permission to install modules or edit the theme. See How to create your first chatbot.
Getting the Embed Code
Select your chatbot from the main dashboard, then click the Deploy tab.
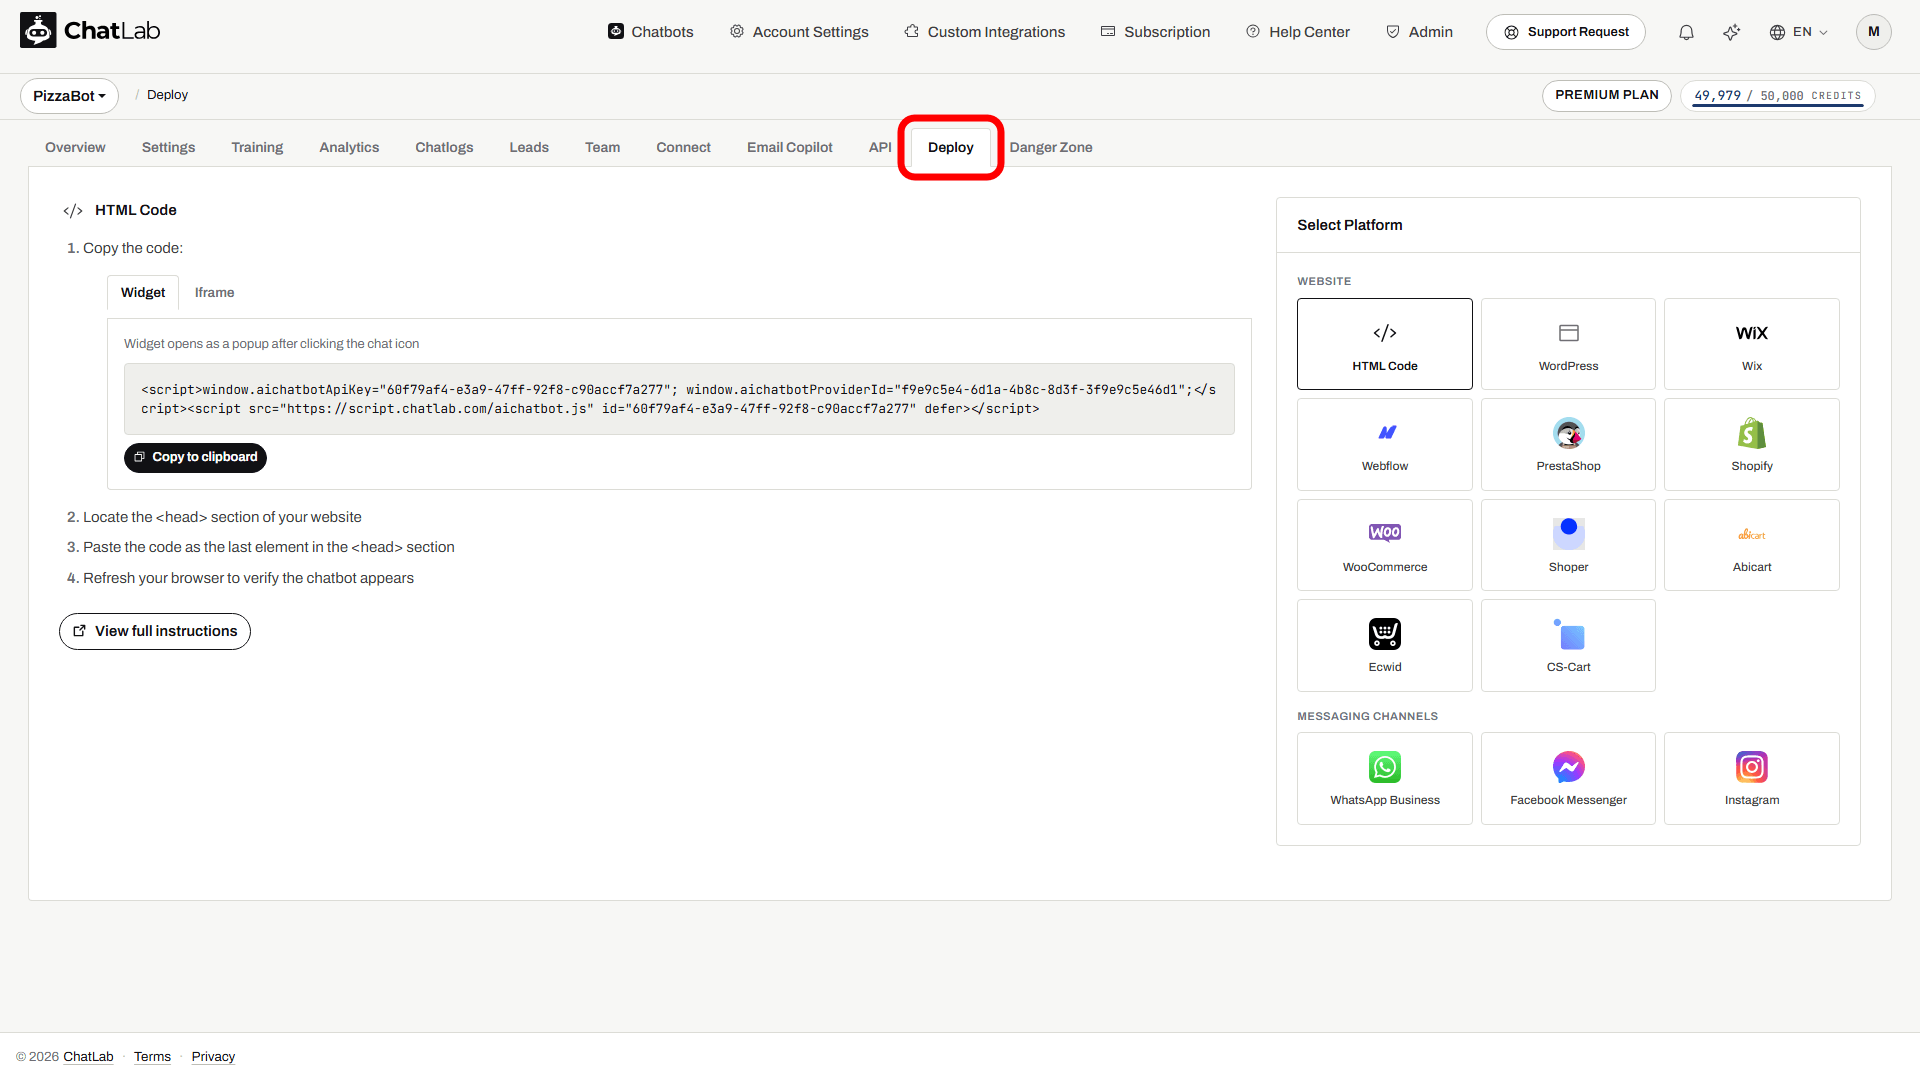
In the Select Platform panel on the right, click PrestaShop.
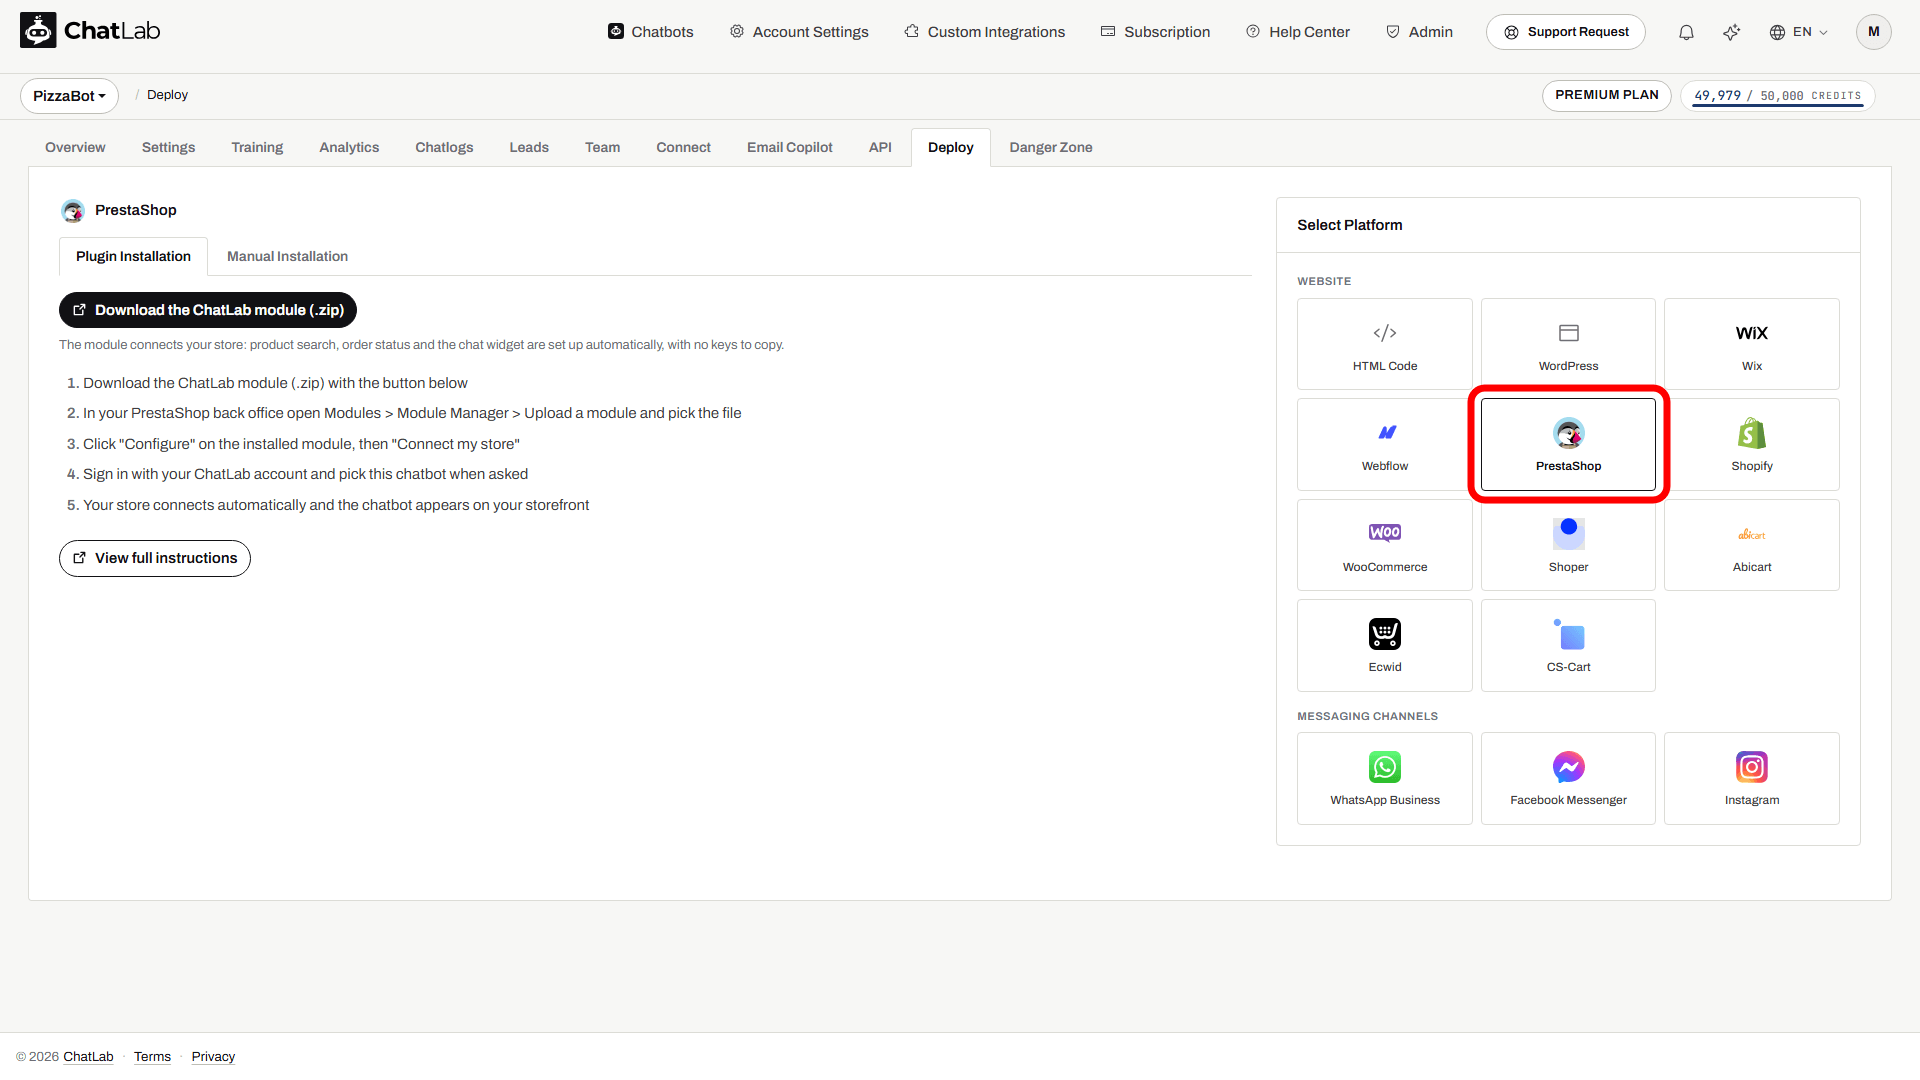
Method 1: Using the PrestaShop Module (Recommended)
The module is the easiest option: it connects your store (product search and order status) and adds the chat widget to your storefront in one go, with no keys to copy. The ChatLab module is not distributed through the PrestaShop Addons marketplace - you download it directly from ChatLab as a ZIP file.
The Plugin Installation tab is selected by default. Follow the numbered steps shown on screen.
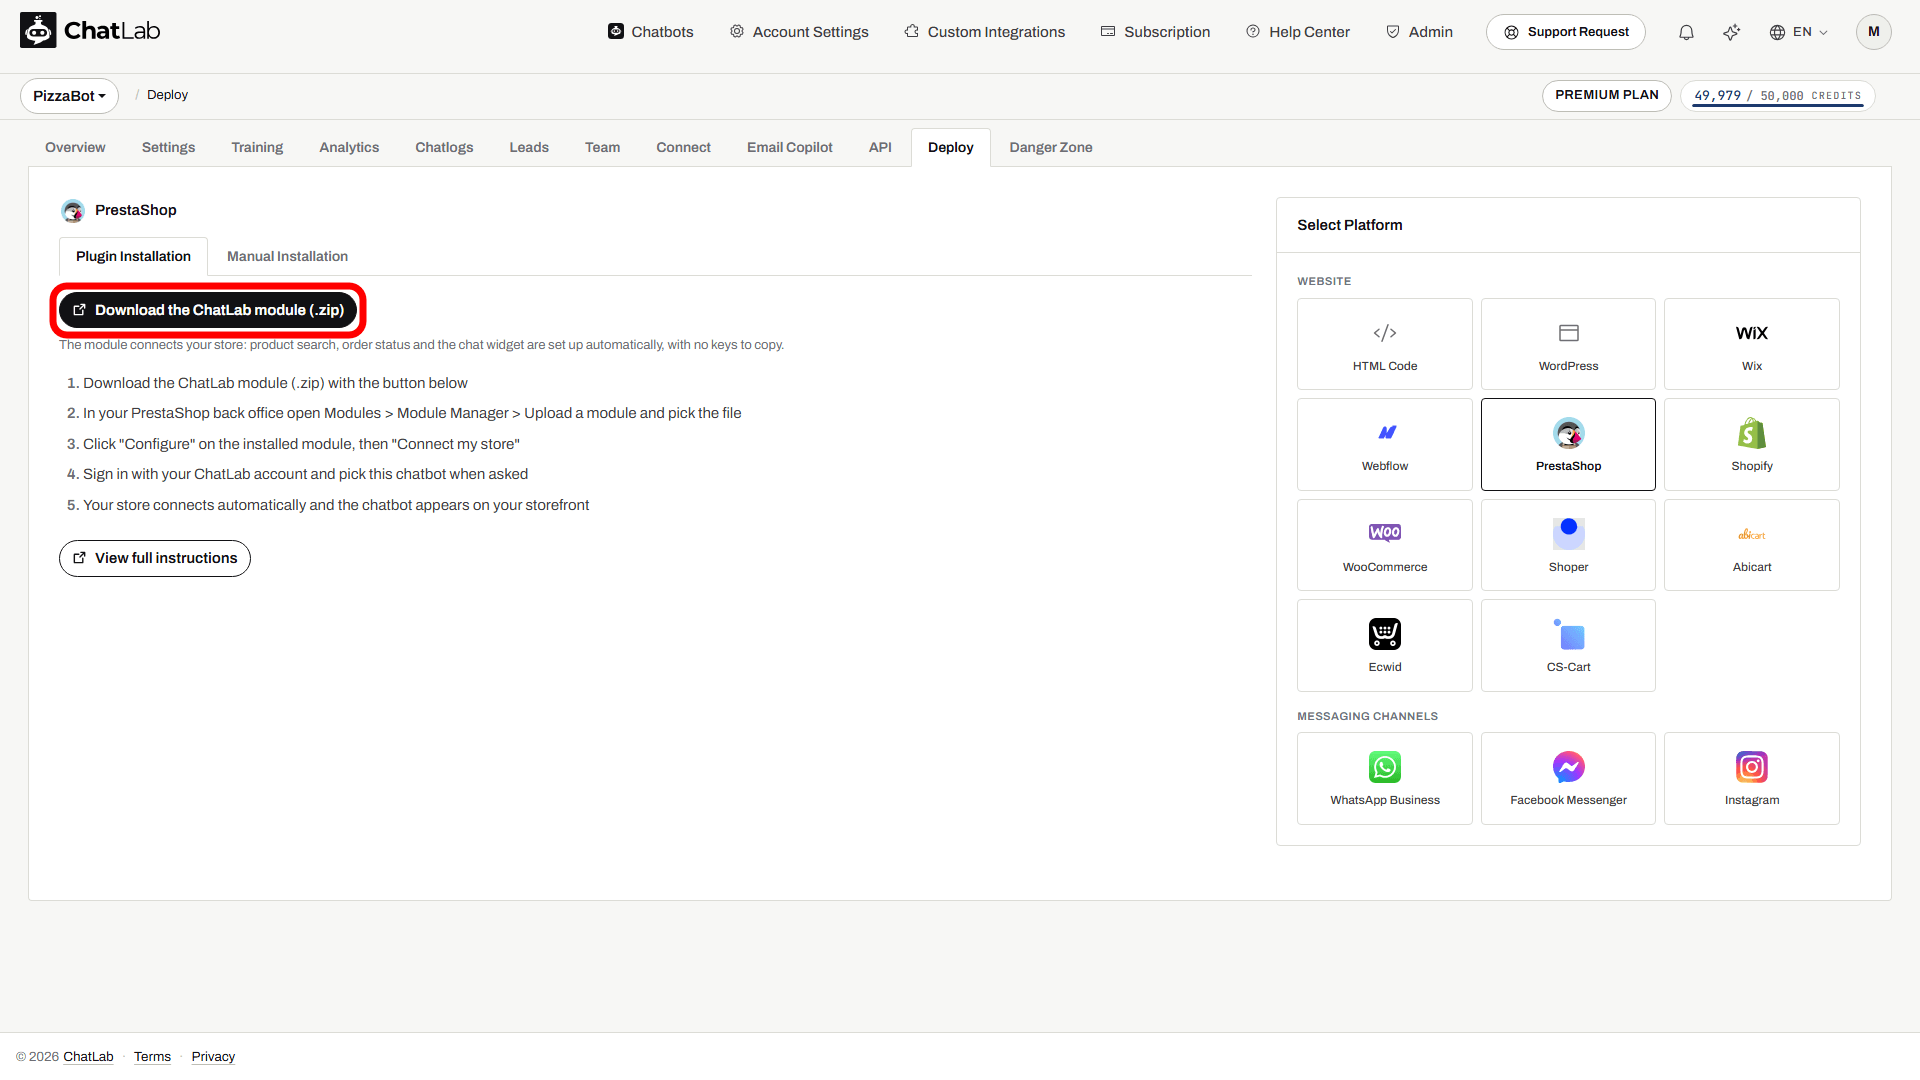
- Click Download the ChatLab module (.zip). Your browser saves the module as
chatlab.zip. Do not unpack it - PrestaShop needs the ZIP file itself. - In your PrestaShop back office, open Modules > Module Manager, click Upload a module and select the
chatlab.zipfile you downloaded. - Click Configure on the installed ChatLab module, then Connect my store.
- Sign in with your ChatLab account and select this chatbot when prompted.
- Your store connects automatically and the chatbot appears on your storefront.
- Open your storefront and send a test message. To check store data, also ask about a product and about an order you can verify in the back office.
If you create your chatbot with the setup wizard and pick PrestaShop as your platform, the Connect PrestaShop step shows the same download link and the same installation steps. The wizard notices the connection on its own and continues to the Deploy your chatbot step once your store is connected.
Alternative: Connect without the module
If you cannot or do not want to install the module (for example, your hosting does not allow module uploads), you can connect the store yourself with a PrestaShop webservice key. A webservice key is an access key you create in your PrestaShop back office that lets ChatLab read your products and orders.
- From the bot: select your chatbot, open the Connect tab and click Connect on the Prestashop tile. Then enter your webservice key and store details.
- From the setup wizard: on the Connect PrestaShop step, tick I'm an advanced user - I'll configure the integration myself. The wizard then shows the Prestashop integration tile instead of the module instructions - click Connect on it to open the same connection form.
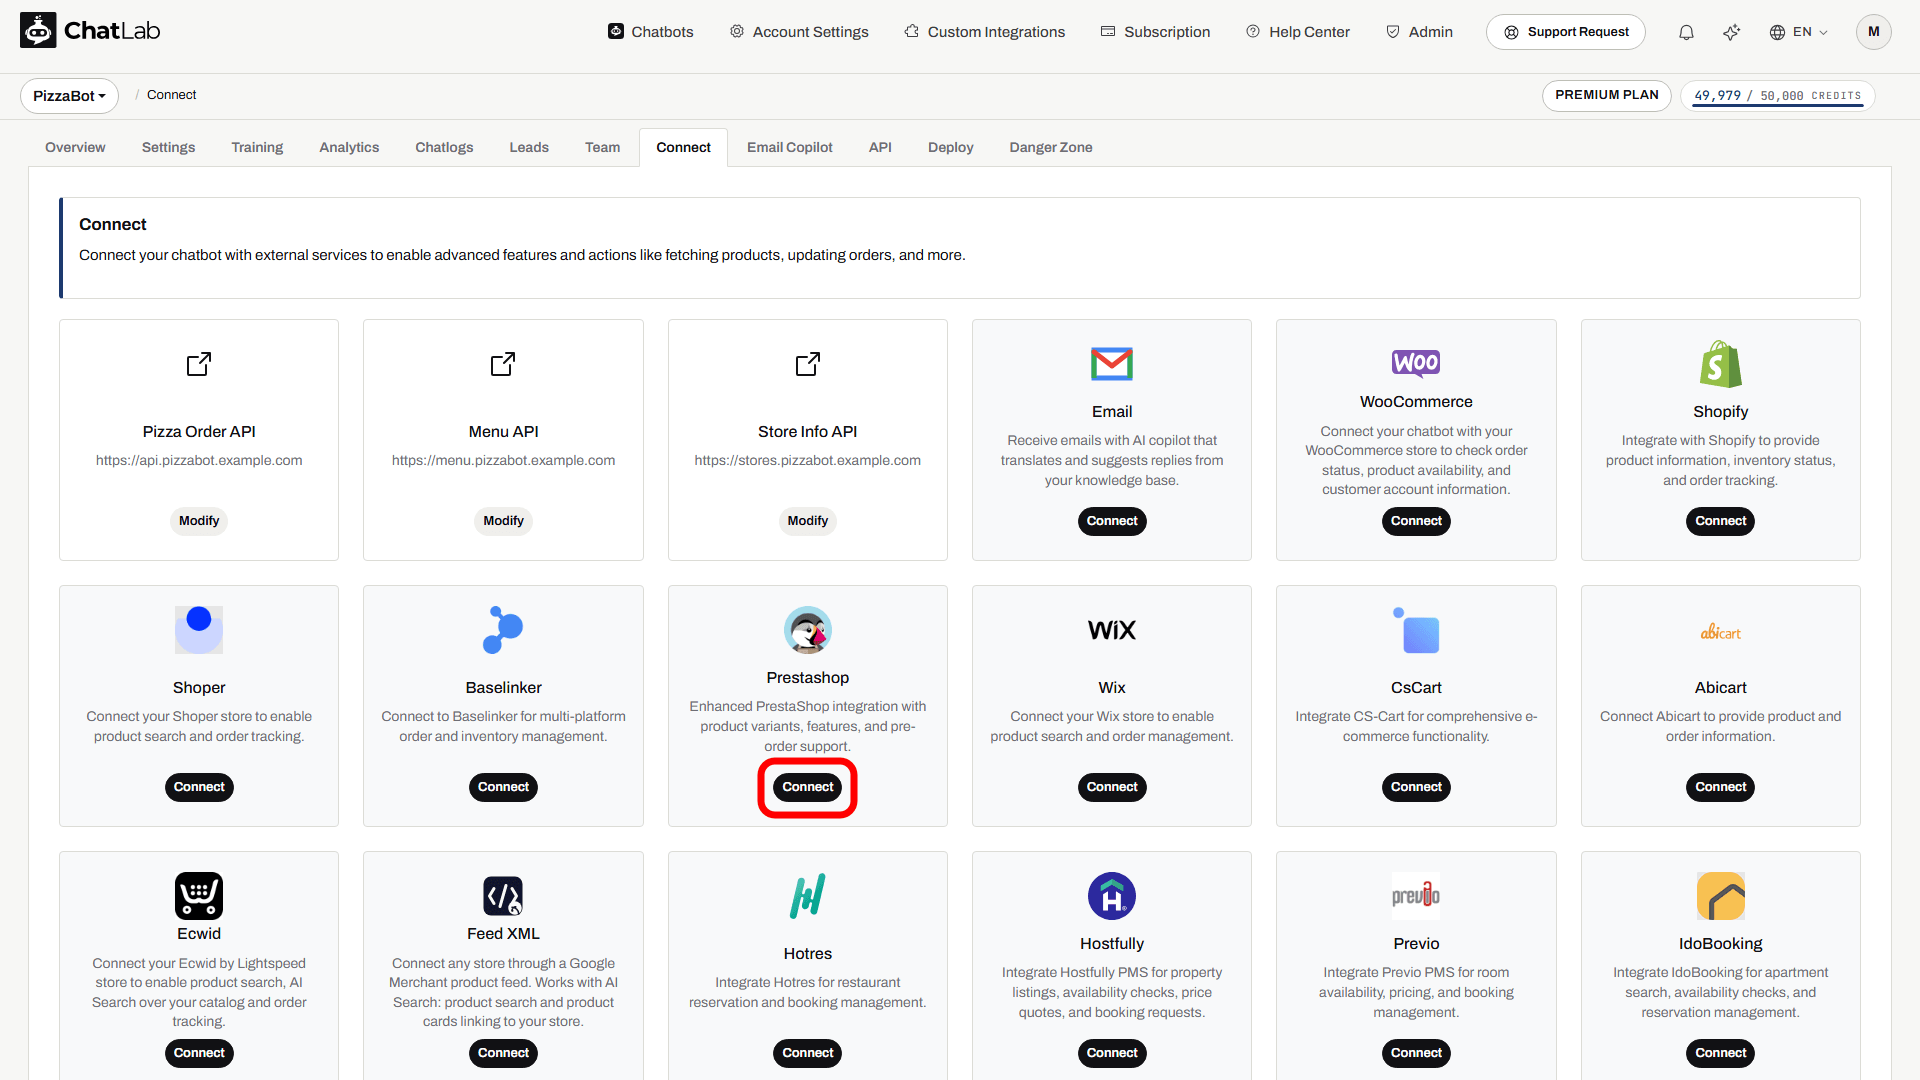
For how to create the webservice key, which permissions to grant and how to fill in the form, follow Integration with PrestaShop.
Without the module, the chat widget is not added to your storefront automatically. Add it yourself with the Manual Installation tab, as described in Method 2 below.
Method 2: Manual Script Installation
Use this method if you connected your store without the module, or if you only want the chat on your storefront.
Click the Manual Installation tab.
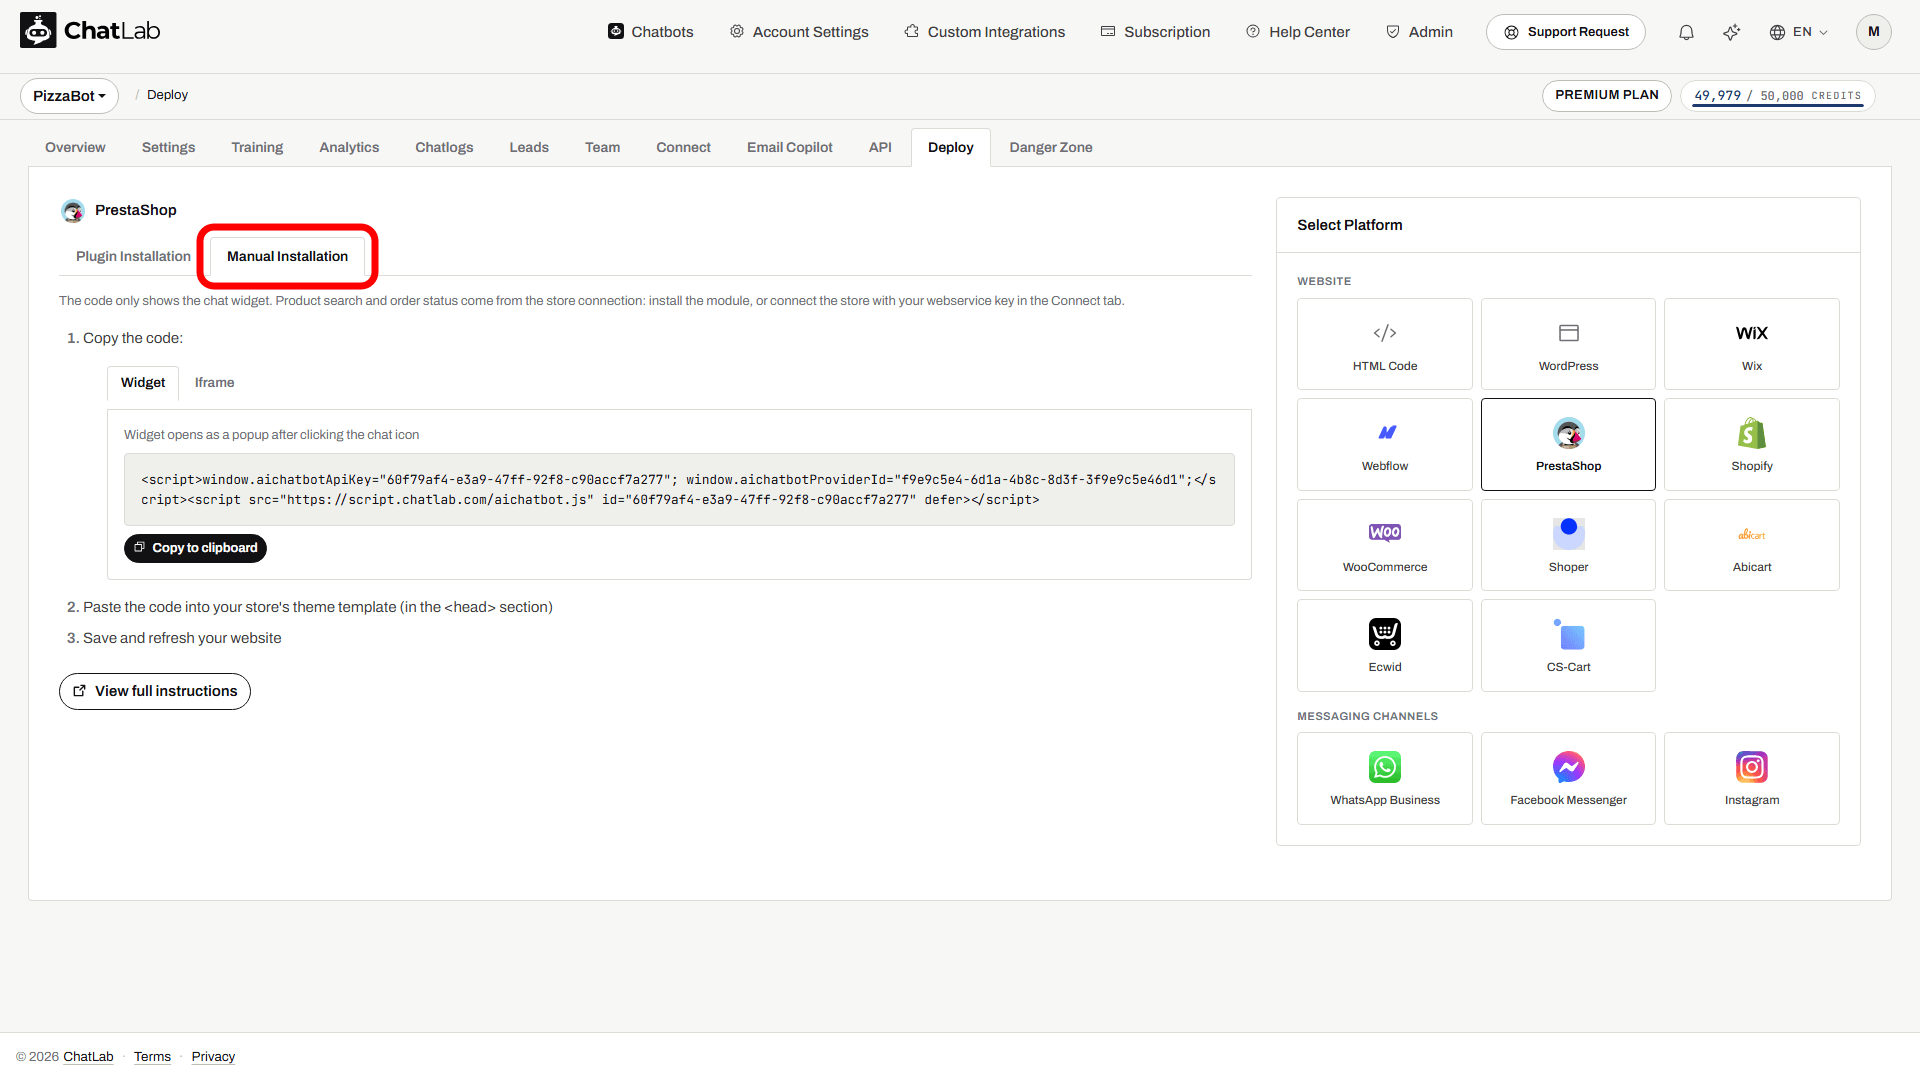
The note at the top of the tab explains the limitation: the code only shows the chat widget. Product search and order status come from the store connection - either the module or the webservice key connection on the Connect tab.
-
Choose between Widget (popup chat icon) or Iframe (always-visible chat frame).
-
Click Copy to clipboard to copy the code.
-
Ask the person who maintains your theme to open the appropriate template file.
-
For Widget, paste the code into the
<head>section of the theme template. For Iframe, insert the iframe in the page body where the chat should appear. -
Save the file and refresh your store to verify the chatbot appears.
Not sure which embed type to choose? Read What is the difference between widget and Iframe? for a comparison.
E-Commerce Integration
Adding the chatbot widget to your store is just the first step. If you installed the module, your store is already connected. Otherwise, connect it to enable product search and order tracking in the chat: Integration with PrestaShop
For general best practices on running a chatbot on an e-commerce store, see: How to set up ChatLab for your E-commerce store